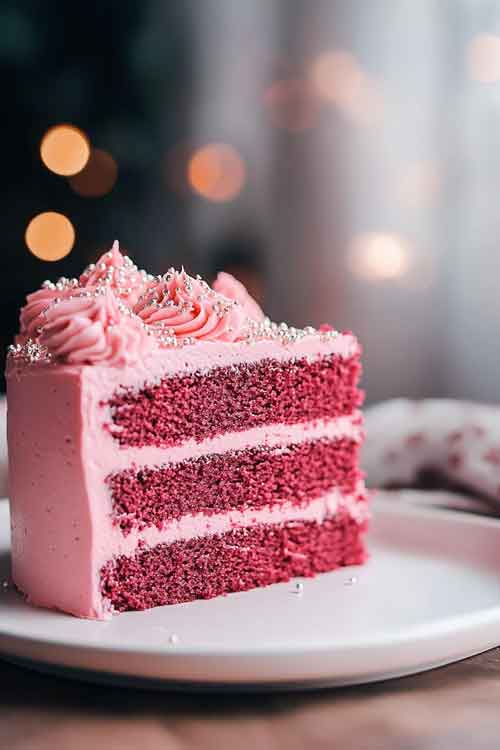
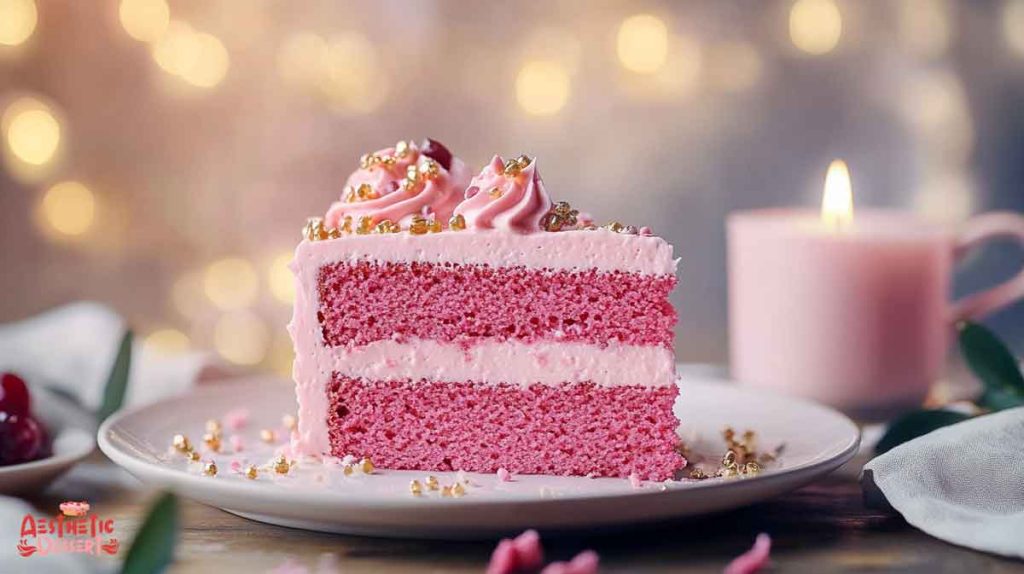
If you’re searching for a dessert that’s as stunning as it is delicious, this Pink Velvet Cake is the perfect choice. With its soft, velvety texture and delightful pink hue, it’s a showstopper for any occasion. Let me guide you through this irresistible recipe, crafted with care and designed to wow your taste buds.
Part 1: Ingredients You’ll Need
For the Cake:
To create the perfect pink velvet cake, you’ll need the following ingredients:
- 13 oz cake flour: Ensures a soft and fluffy texture.
- 12 oz granulated sugar: Adds the perfect amount of sweetness.
- 1 teaspoon salt: Balances the flavors.
- 1 tablespoon baking powder: Helps the cake rise beautifully.
- ½ teaspoon baking soda: Combines with buttermilk for extra lift.
- 5 oz egg whites: Brings a light, airy structure to the cake.
- 4 oz vegetable oil: Adds moisture without making the cake dense.
- 10 oz buttermilk: Use room-temperature or slightly warm for the best results.
- 6 oz unsalted butter: Softened to create a creamy batter.
- 2 teaspoons vanilla extract: Provides a classic, comforting aroma.
- 2 drops electric pink food coloring: For that signature pink hue.
For the Stabilized Whipped Cream:
The whipped cream topping makes this cake a dream dessert:
- 24 oz heavy whipping cream: The base for a light, fluffy topping.
- 4 oz powdered sugar: Adds just the right amount of sweetness.
- 2 teaspoons powdered gelatin: Helps the cream hold its shape.
- 1 tablespoon cold water: To bloom the gelatin.
- 1 teaspoon vanilla extract: A subtle flavor enhancer.
- 1 teaspoon heavy whipping cream: To dissolve the gelatin.
- 1 cup fresh raspberries (optional): A vibrant garnish for added elegance.
Part 2: Preparing the Pink Velvet Cake Batter
Creating the perfect pink velvet cake starts with a flawless batter. Follow these steps to ensure a soft, velvety crumb:
Step 1: Preheat and Prepare
- Preheat your oven to 350°F (175°C).
- Grease and line three 8-inch round cake pans with parchment paper for easy removal.
Step 2: Mix the Dry Ingredients
- In a large bowl, whisk together the cake flour, granulated sugar, salt, baking powder, and baking soda. Set this mixture aside.
Step 3: Cream the Butter and Wet Ingredients
- In a stand mixer fitted with the paddle attachment, beat the unsalted butter on medium speed until creamy and pale.
- Gradually add the dry ingredients, mixing until the texture resembles fine crumbs.
Step 4: Add the Liquid Ingredients
- In a separate bowl, combine the egg whites, vegetable oil, buttermilk, and vanilla extract. Whisk well to combine.
- Slowly pour the wet mixture into the dry ingredients, mixing on low speed until smooth and lump-free.
Step 5: Add the Pink Color
- Stir in 2 drops of electric pink food coloring, adjusting to achieve your desired shade. Be gentle with the mixing to maintain the batter’s fluffiness.
Step 6: Divide and Bake
- Evenly divide the batter between the prepared cake pans.
- Bake for 30-35 minutes, or until a toothpick inserted into the center comes out clean.
- Allow the cakes to cool in the pans for 10 minutes before transferring them to a wire rack to cool completely.
Part 3: Making the Stabilized Whipped Cream
The stabilized whipped cream is the perfect complement to the light and airy pink velvet cake. Here’s how to make it:
Step 1: Bloom the Gelatin
- In a small bowl, sprinkle 2 teaspoons powdered gelatin over 1 tablespoon cold water. Let it sit for about 5 minutes until the gelatin absorbs the water and becomes spongy.
Step 2: Dissolve the Gelatin
- Heat the bloomed gelatin gently in the microwave for 5-10 seconds until it becomes liquid.
- Stir in 1 teaspoon heavy whipping cream to cool the mixture slightly.
Step 3: Whip the Cream
- In a large, chilled mixing bowl, combine 24 ounces of heavy whipping cream, 4 ounces of powdered sugar, and 1 teaspoon vanilla extract.
- Use a hand or stand mixer fitted with the whisk attachment to beat the mixture on medium speed.
Step 4: Add the Gelatin
- When the cream starts to thicken but before it forms peaks, slowly pour the dissolved gelatin into the mixture while continuing to whip.
Step 5: Whip to Stiff Peaks
- Increase the speed to high and whip until stiff peaks form. Be careful not to overwhip, as this can cause the cream to separate.
Part 4: Assembling and Decorating the Pink Velvet Cake

Now that you have the pink velvet cake layers and stabilized whipped cream ready, it’s time to assemble and add the final touches for a stunning dessert.
Step 1: Level the Cake Layers
- Use a serrated knife or a cake leveler to trim the tops of your cake layers if they are domed. This ensures an even surface for stacking.
Step 2: Add the First Layer of Whipped Cream
- Place the first cake layer on a cake board or serving plate.
- Spread a generous layer of stabilized whipped cream over the top using an offset spatula.
- If you’re using fresh raspberries for garnish, scatter a few on top of the whipped cream for added texture and flavor.
Step 3: Stack and Repeat
- Gently place the second cake layer on top of the whipped cream. Repeat the process of spreading whipped cream and adding raspberries.
- Add the final cake layer and apply a thin crumb coat of whipped cream over the entire cake to seal in any crumbs. Chill the cake for 15-20 minutes to set the crumb coat.
Step 4: Frost the Cake
- Once the crumb coat is set, spread a smooth, thick layer of whipped cream around the entire cake. Use a bench scraper to achieve a clean finish.
Step 5: Add Decorations
- Pipe additional whipped cream rosettes on the top edges of the cake for a decorative touch.
- Garnish with fresh raspberries, or sprinkle edible pink glitter for an extra festive look.
Step 6: Chill and Serve
- Refrigerate the cake for at least 1 hour before serving to allow the layers and cream to set beautifully.
- Slice and serve chilled for the best taste and texture.
Conclusion
Your pink velvet cake is now ready to wow your family and friends. The vibrant color, soft texture, and creamy frosting make it perfect for any special occasion!


