The legendary New York dessert that has captivated taste buds for generations – Junior’s Cheesecake! This iconic treat features a unique sponge cake crust topped with the creamiest, richest, most luxurious cheesecake filling you’ve ever tasted. Every bite delivers that perfect balance of velvety smooth texture and delicate flavor that has made Junior’s the benchmark for cheesecakes worldwide. Whether you’re a New York native missing a taste of home or simply a dessert enthusiast seeking the ultimate cheesecake experience, this recreation of the famous Junior’s recipe will transport you straight to the heart of Brooklyn. The best part? With my detailed instructions and insider tips, you can recreate this legendary dessert right in your own kitchen, impressing everyone who’s lucky enough to get a slice!
About The Recipe
I still remember my first bite of authentic Junior’s cheesecake during a trip to New York City. That moment changed my understanding of what cheesecake could be – it was unlike anything I’d ever tasted before, with a texture so creamy yet light, and that distinctive sponge cake crust instead of the usual graham cracker base.
When I returned home, I became obsessed with recreating that perfect Junior’s experience. This wasn’t just about making any cheesecake; it was about capturing the specific techniques and ingredients that make Junior’s so special. I spent months researching, testing, and fine-tuning every aspect of the recipe.
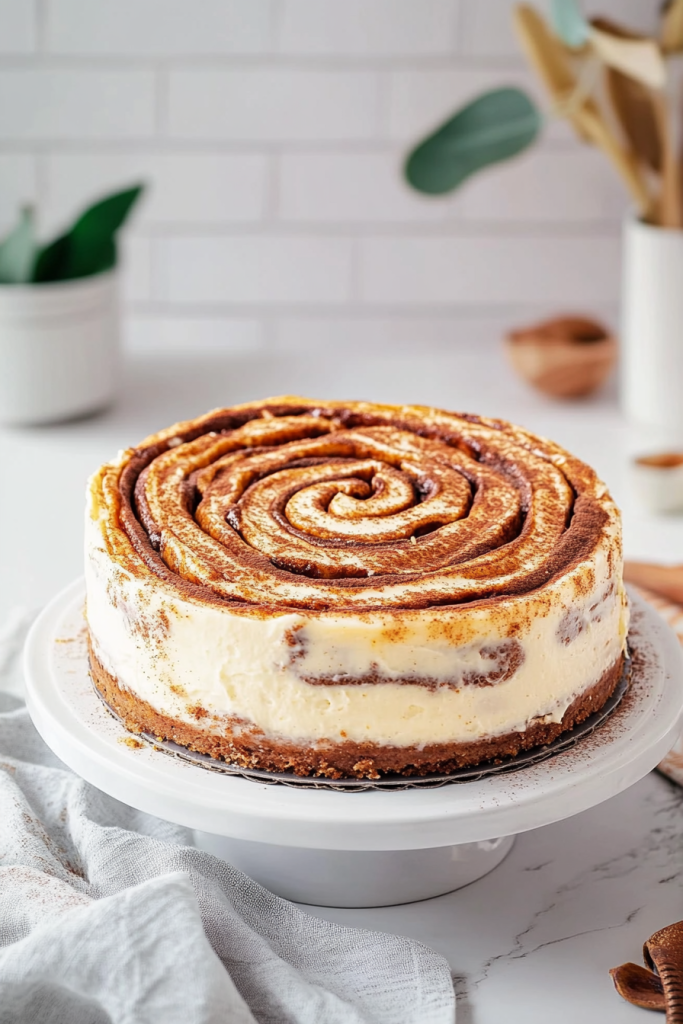
What makes this cheesecake truly unique is the signature sponge cake crust – a Junior’s hallmark that creates a completely different experience than traditional graham cracker crusts. Then there’s the filling, which uses a specific method involving cornstarch that creates that distinctively creamy, yet somehow light texture that has made Junior’s famous.
After countless attempts (and many delicious “failures”), I finally cracked the code. This recipe delivers that authentic Junior’s experience – a slice of New York cheesecake perfection that stands head and shoulders above any ordinary cheesecake. One bite, and you’ll understand why Junior’s has been drawing crowds since 1950!
Reasons You Will Love This Junior’s Cheesecake
- The authentic, signature sponge cake crust that sets it apart from all other cheesecakes
- Incredibly creamy texture that’s simultaneously rich and light
- Perfect balance of sweetness that lets the cream cheese flavor shine
- Show-stopping dessert that impresses at any gathering
- A true taste of New York bakery tradition in your own home
- Versatile base for endless topping possibilities
- Make-ahead friendly for stress-free entertaining
- The secret cornstarch technique that professional bakers use
Equipment Needed
- 8-inch Springform Pan
- Stand Mixer with Paddle and Whisk Attachments
- Large Mixing Bowls
- Small Mixing Bowl
- Measuring Cups and Spoons
- Rubber Spatula
- Sifter or Fine Mesh Strainer
- Water Bath Setup (large roasting pan)
- Parchment Paper
- Wire Cooling Rack
- Aluminum Foil
Ingredients
For The Sponge Cake Crust:
- 1/3 cup cake flour
- 1/2 teaspoon baking powder
- Pinch of salt
- 2 large eggs, separated
- 1/4 cup sugar
- 3/4 teaspoon vanilla extract
- 1/4 teaspoon lemon extract
- 2 tablespoons unsalted butter, melted
- 1/4 teaspoon cream of tartar

Description:
- Cake Flour – The fine texture of cake flour is essential for creating the delicate sponge cake crust that Junior’s is famous for. This isn’t your typical graham cracker crust!
- Baking Powder – Provides just the right amount of lift to create that light, airy texture in the thin sponge layer.
- Eggs – Separated and prepared differently, the yolks provide richness while the whites, when beaten, create the signature airy texture.
- Sugar – Just enough to sweeten the crust without competing with the cheesecake filling.
- Vanilla and Lemon Extracts – This combination of flavors is key to achieving that authentic Junior’s taste. The subtle hint of lemon brightens everything.
- Melted Butter – Adds richness and helps create a tender crumb in the sponge cake layer.
- Cream of Tartar – Stabilizes the beaten egg whites, ensuring your sponge cake has the perfect texture.
For The Cheesecake Filling:
- 3 packages (8 ounces each) cream cheese
- 1 1/3 cups granulated sugar
- 3 tablespoons cornstarch
- 1 tablespoon vanilla extract
- 2 large eggs
- 2/3 cup heavy whipping cream
Description:
- Cream Cheese – The star of the show! Use full-fat, room temperature cream cheese for the creamiest texture and best flavor.
- Granulated Sugar – Provides just the right level of sweetness to balance the tanginess of the cream cheese.
- Cornstarch – This is Junior’s secret weapon! It creates that signature silky-smooth texture and helps prevent cracking without the need for a water bath.
- Vanilla Extract – Adds depth and warmth to the filling. Use the best quality you can find for an authentic flavor.
- Eggs – Provide structure and richness to the filling. Room temperature eggs incorporate more smoothly.
- Heavy Whipping Cream – Another Junior’s specialty ingredient that creates that impossibly creamy texture that sets their cheesecake apart.
For The Blueberry Lavender Topping (Optional):
- 2 cups fresh blueberries
- 1 tablespoon lavender buds
- 1/3 cup granulated sugar
- 2 tablespoons brown sugar
- 2 tablespoons cornstarch, sifted
- 1 tablespoon lemon juice
Description:
- Fresh Blueberries – Provide a bright, fresh contrast to the rich cheesecake. Their natural tartness balances the sweetness perfectly.
- Lavender Buds – Add a sophisticated floral note that elevates this topping to something truly special.
- Sugars – The combination of granulated and brown sugar creates depth of flavor and the perfect consistency.
- Cornstarch – Thickens the topping to a perfect spreadable consistency without making it gummy.
- Lemon Juice – Brightens all the flavors and enhances the natural flavor of the blueberries.
How To Make A Perfect Junior’s Cheesecake
Instructions For The Sponge Cake Crust
Step 1: Prepare your pan and oven Preheat your oven to 350°F. Generously grease an 8-inch springform pan, making sure to coat the sides well. This ensures your delicate sponge cake won’t stick.
Step 2: Prepare the dry ingredients In a small bowl, sift together the cake flour, baking powder, and salt. Sifting is crucial here – it ensures your sponge cake will have that light, airy texture that’s characteristic of Junior’s crust. Set this mixture aside.
Step 3: Prepare the egg yolk mixture In the bowl of your stand mixer fitted with the whisk attachment, beat the egg yolks, 2 tablespoons of sugar, vanilla extract, and lemon extract until the mixture becomes thick and pale yellow – about 3 minutes. This process, called “ribboning,” is essential for the proper texture of your sponge cake.
Step 4: Fold in dry ingredients and butter Gently fold the sifted dry ingredients into the egg yolk mixture using a rubber spatula. Use a light hand and fold just until combined – overmixing will deflate the mixture. Then fold in the melted butter, again being careful not to overmix.
Step 5: Beat the egg whites In a separate, clean bowl, beat the egg whites with the cream of tartar until frothy. Gradually add the remaining sugar and continue beating until stiff peaks form. The whites should be glossy and hold their shape when the beater is lifted.
Step 6: Combine and bake the crust Gently fold the beaten egg whites into the egg yolk batter until just combined. The mixture should be light and airy. Pour the batter into your prepared springform pan, spreading it evenly. Bake for 10-12 minutes, until the cake is set and just starting to pull away from the sides. Be careful not to overbake – the crust should not brown. Remove from the oven and let cool while you prepare the filling.
Instructions For The Cheesecake Filling
Step 1: Adjust oven temperature Reduce your oven temperature to 325°F after removing the sponge cake crust.
Step 2: Prepare the cream cheese mixture In the bowl of your stand mixer fitted with the paddle attachment, beat one package of cream cheese, 1/3 cup of sugar, and all of the cornstarch on low speed until creamy and well combined, about 3 minutes. Scrape down the sides of the bowl frequently.
Step 3: Add remaining cream cheese Add the remaining cream cheese, one package at a time, scraping down the bowl after each addition until smooth. Increase the speed to medium and gradually add the remaining sugar, then the vanilla. This slow, methodical process is key to achieving the proper texture.
Step 4: Add eggs and heavy cream Reduce the mixer speed to low. Add the eggs, one at a time, beating well after each addition. Finally, slowly add the heavy cream, mixing just until it’s completely blended. Be careful not to overmix – you want to avoid incorporating too much air into the batter.
Step 5: Pour and prepare for baking Gently pour the cream cheese mixture over the cooled sponge cake crust. The batter will come almost to the top of the pan.
Step 6: Bake the cheesecake Place the springform pan in a larger roasting pan and carefully add hot water to the roasting pan to create a water bath, filling it about halfway up the sides of the springform pan. This creates a gentle, moist heat that helps the cheesecake bake evenly.
Bake at 325°F for about 60-70 minutes. The cheesecake is done when the center barely jiggles when you shake the pan gently. The edges should be slightly puffed and golden, but the center should still look moist.
Step 7: Cool properly Remove the cheesecake from the water bath and place it on a wire rack. Run a small knife around the edge of the cake to loosen it from the sides of the pan. This helps prevent cracking as the cake cools and contracts. Allow the cheesecake to cool completely at room temperature, about 2-3 hours.
Step 8: Chill thoroughly Once the cheesecake has cooled to room temperature, cover it gently with plastic wrap and refrigerate for at least 6 hours, but preferably overnight. This chilling time is non-negotiable for achieving that perfect Junior’s texture and flavor.
Instructions For The Blueberry Lavender Topping (Optional)
Step 1: Prepare the topping In a small saucepan, combine the blueberries, lavender buds, both sugars, sifted cornstarch, and lemon juice. Bring the mixture to a gentle boil over medium heat, stirring frequently.
Step 2: Cook until thickened Continue cooking and stirring until the berries burst and the mixture thickens, about 5-7 minutes. The sauce should coat the back of a spoon.
Step 3: Cool and store Remove from heat and let cool completely before transferring to a jar. Refrigerate until ready to use. The topping can be made up to 3 days ahead.
Step 4: Top the cheesecake When ready to serve, remove the cheesecake from the refrigerator and carefully remove the sides of the springform pan. Spoon the blueberry lavender topping over the chilled cheesecake just before serving.

Serving and Storage Tips
For the authentic Junior’s experience, let the cheesecake stand at room temperature for about 20-30 minutes before serving. This takes the chill off and allows the flavors to shine.
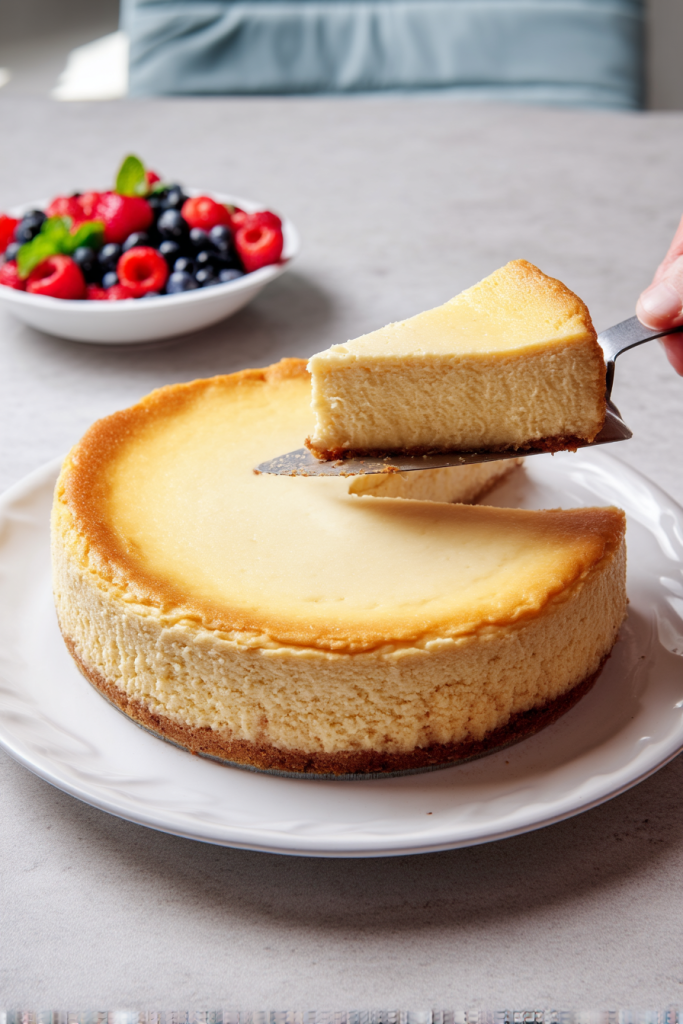
To achieve those picture-perfect slices, dip a sharp knife in hot water and wipe it clean between each cut. This gives you clean edges just like the ones you’d get at Junior’s in Brooklyn.
The classic Junior’s cheesecake is served plain to showcase its incredible flavor and texture, but feel free to top individual slices with fresh berries, chocolate sauce, or the blueberry lavender topping included in this recipe.
Store any leftover cheesecake in the refrigerator, covered tightly, for up to 5 days. For longer storage, you can freeze individual slices or the whole cheesecake (without topping) for up to 2 months. To freeze, place the completely cooled cheesecake on a cardboard round, wrap it tightly with plastic wrap, and then aluminum foil. Thaw overnight in the refrigerator before serving.
FAQ’s and Troubleshooting
Why does Junior’s use a sponge cake crust instead of graham cracker? The sponge cake crust is what makes a Junior’s cheesecake authentic! It creates a completely different eating experience, with the delicate cake complementing the creamy filling rather than providing a crunchy contrast. It’s been their signature since they opened in 1950.
Why is cornstarch used in the filling? Cornstarch is Junior’s secret weapon for creating that uniquely smooth, creamy texture. It helps stabilize the filling, preventing it from cracking while also giving it that distinctive velvety consistency that fans recognize instantly.
My cheesecake cracked – what happened? Cracks can happen for several reasons: overmixing the batter (which incorporates too much air), baking at too high a temperature, or cooling too quickly. Make sure to follow the mixing instructions precisely, verify your oven temperature with a thermometer, and always cool the cheesecake gradually.
Can I make this without a stand mixer? While a stand mixer makes the process easier, you can use a hand mixer. Just be prepared for a workout! The key is achieving the proper texture at each stage, particularly when beating the cream cheese until completely smooth.
Can I use low-fat cream cheese? For an authentic Junior’s experience, stick with full-fat cream cheese. The restaurant doesn’t compromise on richness, and neither should you! Low-fat products contain more moisture and stabilizers that can affect the texture and flavor.
The Secret to Junior’s Perfect Texture
After recreating this iconic cheesecake countless times, I’ve discovered that the magic of Junior’s texture comes down to three key factors:
First, the unique mixing method – starting with just one package of cream cheese blended with all the cornstarch and some sugar creates a silky-smooth base that prevents lumps and ensures even incorporation of the cornstarch.
Second, the addition of heavy cream – most traditional cheesecakes don’t include this ingredient, but it’s essential for achieving that signature Junior’s mouthfeel that’s somehow both rich and light at the same time.
Third, the sponge cake crust – while unconventional, this thin layer of delicate cake absorbs just the right amount of moisture from the filling, creating a perfect harmony between the two components rather than a stark contrast.
Decorating Ideas
While the most authentic Junior’s experience is a simple, unadorned slice that lets the perfect texture and flavor speak for itself, here are some ideas for special occasions:
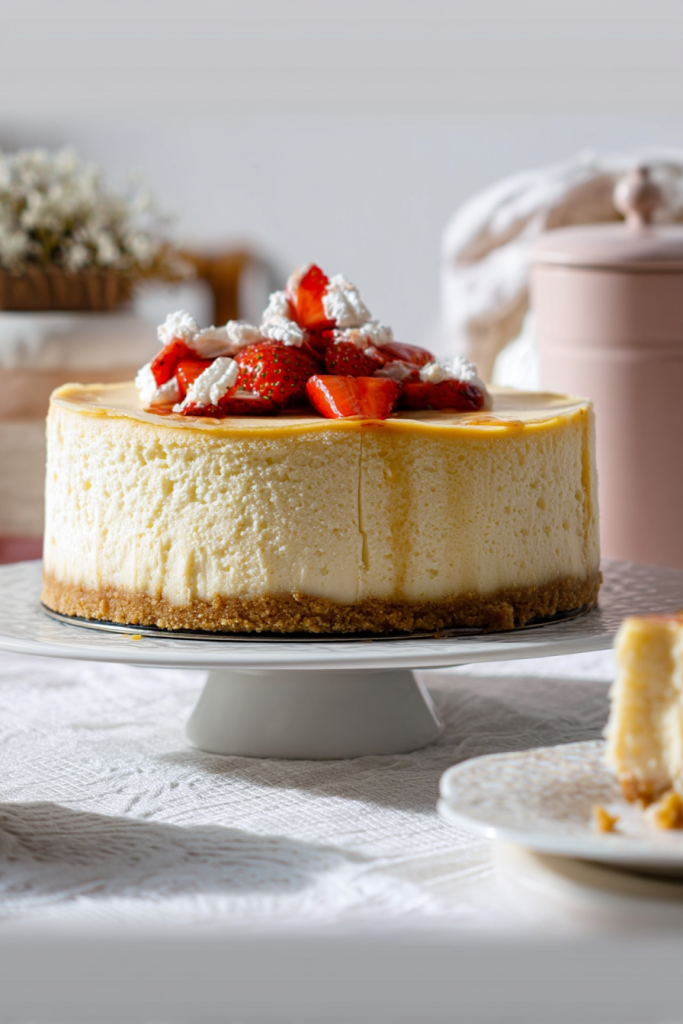
• Fresh seasonal berries arranged in a decorative pattern • Chocolate ganache poured over the top and allowed to drip down the sides • A light dusting of cocoa powder through a stencil for an elegant design • White chocolate shavings scattered over the top • A ring of piped whipped cream rosettes around the edge • The blueberry lavender topping included in this recipe • A drizzle of fruit coulis on the serving plate • Edible flowers for a special presentation • Fresh mint leaves for a pop of color
With this recipe, you can now enjoy an authentic taste of Brooklyn’s most famous cheesecake whenever the craving strikes. The techniques may be specific and the process detailed, but the result is well worth the effort – a slice of New York culinary history that continues to captivate dessert lovers around the world!