Spring has sprung, and what better way to celebrate the season of renewal than with a delectable Spring Cheesecake that captures the essence of fresh, vibrant flavors? As someone who loves baking and experimenting in the kitchen, I’m excited to share with you a cheesecake recipe that will become the star of your spring gatherings, brunch parties, and sweet moments of indulgence.
Why This Spring Cheesecake is a Must-Try
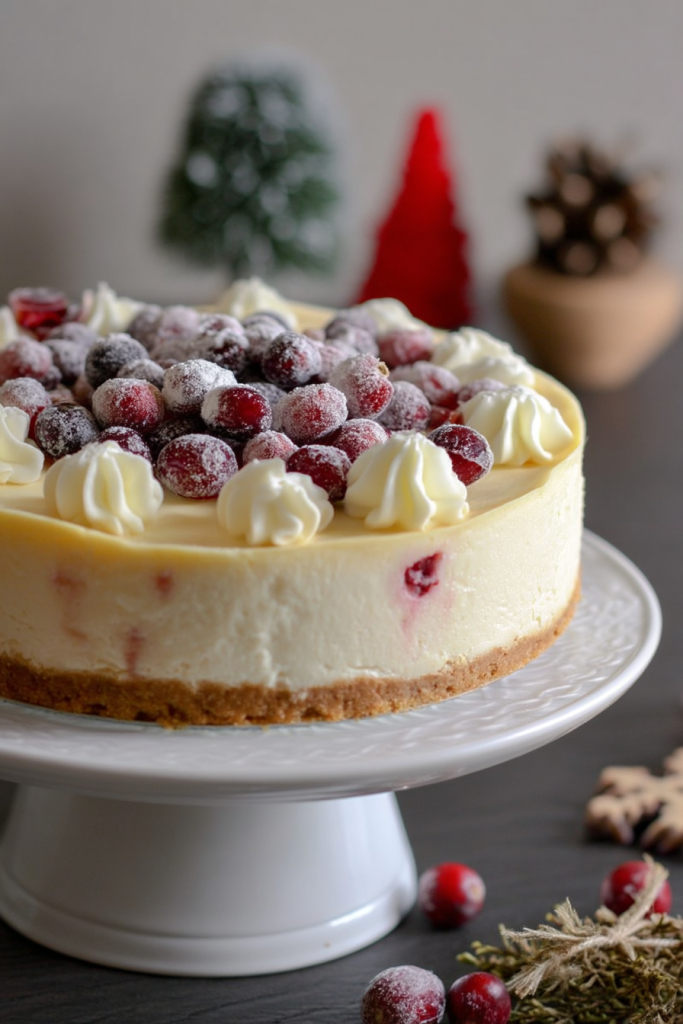
Imagine a dessert that combines the creamy richness of a classic cheesecake with the bright, fresh flavors of the spring season. This isn’t just any cheesecake – it’s a culinary celebration of spring, designed to tantalize your taste buds and bring a burst of seasonal joy to your table. From its delicate texture to its innovative flavor profile, this Spring Cheesecake is more than just a dessert – it’s an experience.
The Inspiration Behind the Recipe
As a passionate baker, I’m always looking for ways to incorporate the fresh, delicate flavors of spring into my desserts. This recipe was born from countless experiments in my kitchen, trying to capture the essence of the season in a single, sublime slice of cheesecake. The result is a dessert that’s both sophisticated and comforting, with layers of flavor that tell a story of spring’s awakening.
Key Features of This Spring Cheesecake
- Infused with delicate spring-inspired flavors
- Light and creamy texture that melts in your mouth
- Beautiful pastel color palette that captures the spirit of the season
- Easy to make, yet impressive enough for special occasions
- A perfect balance of sweetness and subtle botanical notes
Equipment You’ll Need
Preparing this Spring Cheesecake is a delightful journey that requires some specific kitchen tools. Here’s everything you’ll want to have on hand:
- 9-inch springform pan (the key to perfect cheesecake removal)
- Stand mixer or electric hand mixer
- Large mixing bowls
- Rubber spatula
- Whisk
- Measuring cups and spoons
- Parchment paper
- Cooling rack
- Offset spatula (for smooth frosting)
- Piping bag (optional, for decoration)
Ingredients for the Perfect Spring Cheesecake
For the Crust:
- 1½ cups graham cracker crumbs
- ¼ cup granulated sugar
- ⅓ cup unsalted butter, melted
- 1 tablespoon dried lavender (optional, for a spring twist)
For the Cheesecake Filling:
- 24 ounces (3 packages) cream cheese, room temperature
- 1 cup granulated sugar
- 3 large eggs, room temperature
- ½ cup sour cream
- 2 tablespoons all-purpose flour
- 1 teaspoon vanilla extract
- ½ teaspoon almond extract
- Zest of one lemon
- Pastel food coloring (optional)
For the Spring Floral Topping:
- ½ cup heavy whipping cream
- 2 tablespoons powdered sugar
- Edible flowers (such as candied violets or rose petals)
- Fresh berries (strawberries, raspberries)
Ingredient Spotlight:
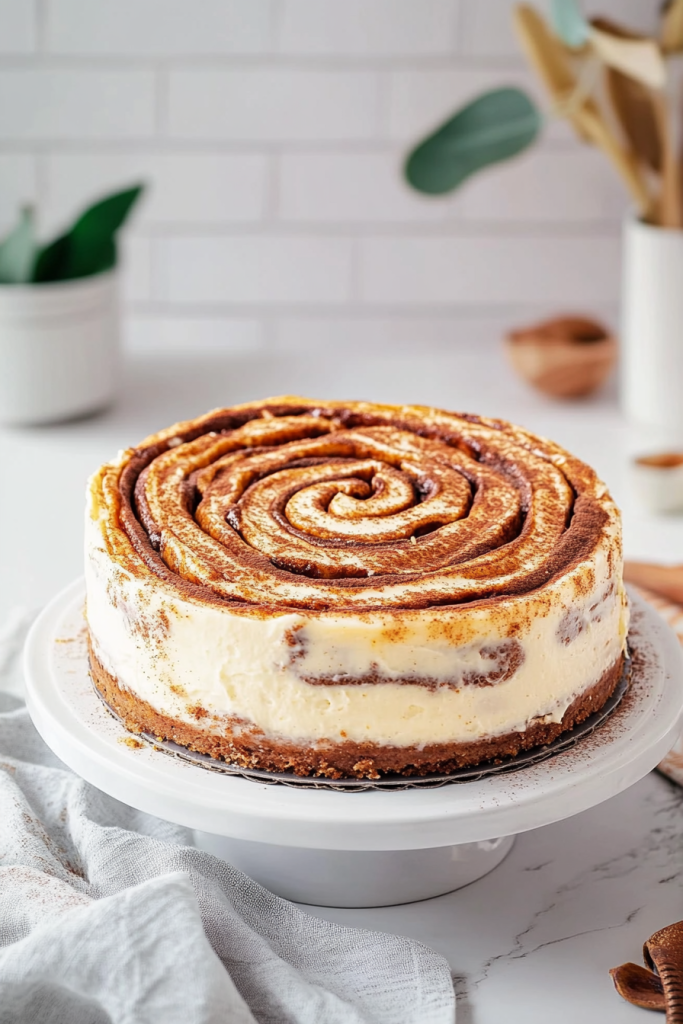
Lavender Graham Cracker Crust: The dried lavender adds a subtle, aromatic touch that screams spring. It’s completely optional, but it transforms an ordinary crust into something extraordinary.
Lemon Zest: A touch of fresh lemon zest brings brightness and a citrusy note that perfectly captures the freshness of spring.
Almond Extract: This secret ingredient adds depth and a delicate nutty undertone that complements the creamy cheesecake beautifully.
Every ingredient has been carefully selected to create a cheesecake that’s not just a dessert, but a celebration of spring’s most delightful flavors. From the lavender-infused crust to the delicate floral topping, this cheesecake is a true culinary work of art.
Step-by-Step Preparation: Bringing Spring to Life
Preparing the Lavender Graham Cracker Crust
The foundation of our Spring Cheesecake is a fragrant, buttery crust that sets the tone for the entire dessert. Here’s how to create the perfect base:
- Preheat your oven to 325°F (165°C). This lower temperature ensures a smooth, crack-free cheesecake.
- In a medium bowl, combine graham cracker crumbs, sugar, and dried lavender (if using).
- Pour in the melted butter and mix until the crumbs are evenly coated and slightly damp.
- Press the mixture firmly into the bottom of a 9-inch springform pan, creating an even layer.
- Bake the crust for 10 minutes, then remove and let cool while preparing the filling.
Creating the Creamy Cheesecake Filling
The secret to a perfect cheesecake lies in the preparation of the filling. Follow these tips for a silky-smooth result:
- Ensure all ingredients are at room temperature. This is crucial for a smooth, lump-free batter.
- In a stand mixer, beat the cream cheese on medium speed until completely smooth, about 3-4 minutes.
- Gradually add sugar, beating until well incorporated and fluffy.
- Add eggs one at a time, mixing on low speed after each addition. Be careful not to overmix.
- Fold in sour cream, flour, vanilla extract, almond extract, and lemon zest.
- Optional: Add a drop of pastel food coloring for a soft spring-inspired hue.
Baking the Cheesecake
Baking a cheesecake requires patience and a gentle touch:
- Wrap the outside of the springform pan with aluminum foil to prevent water from seeping in.
- Place the pan in a large roasting pan and fill the roasting pan with about 1 inch of hot water (creating a water bath).
- Pour the cheesecake batter over the cooled crust.
- Bake for 60-70 minutes. The cheesecake should be slightly jiggly in the center but set around the edges.
- Turn off the oven, crack the door open, and let the cheesecake cool inside for 1 hour.
- Remove from the oven and run a knife around the edge of the pan to prevent cracking.
- Refrigerate for at least 4 hours, preferably overnight.
Pro Tips for Cheesecake Success
- Always use a water bath to prevent cracks and ensure even baking.
- Don’t overmix the batter – this can incorporate too much air and cause cracking.
- A slightly jiggly center is perfect – the cheesecake will continue to set as it cools.
- Use a springform pan for easy removal and beautiful presentation.
Troubleshooting Common Cheesecake Challenges
Cracked Top: Usually caused by overmixing or sudden temperature changes. Follow the water bath method and cool slowly. Soggy Crust: Ensure your crust is packed tightly and baked before adding the filling. Lumpy Filling: Always use room temperature ingredients and beat cream cheese thoroughly.
The preparation of this Spring Cheesecake is an art form – a delicate balance of technique and passion that results in a dessert as beautiful as the season itself.
Decorating and Serving: Making Your Cheesecake Bloom
Creating the Perfect Spring Topping
After your cheesecake has chilled and set, it’s time to transform it into a true spring masterpiece. Here’s how to add the finishing touches:
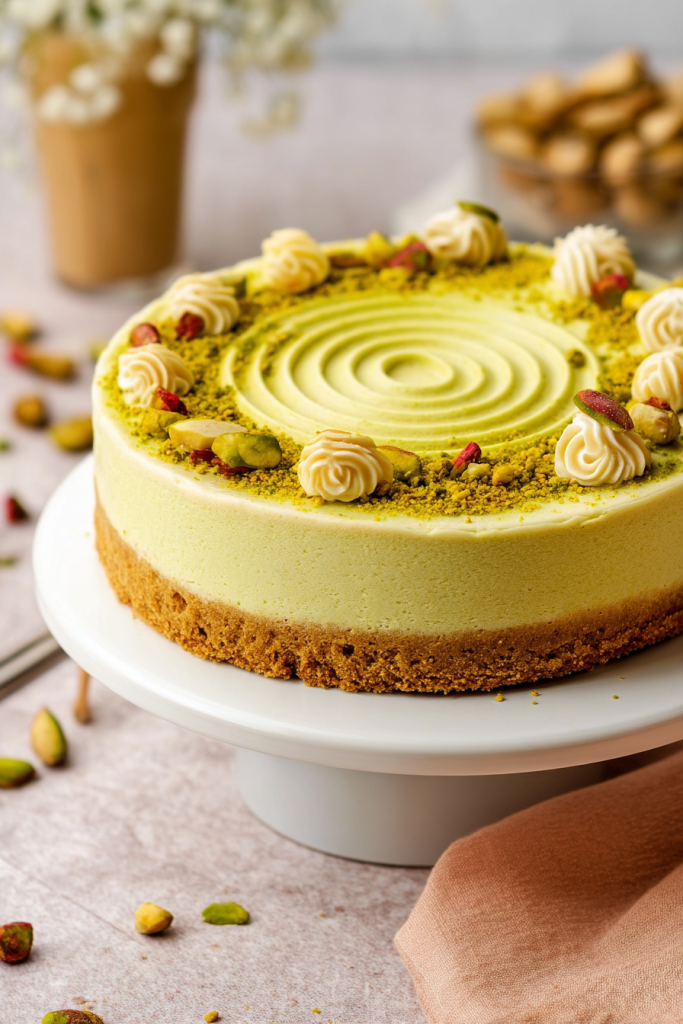
- Whip the heavy cream with powdered sugar until stiff peaks form.
- Using an offset spatula or piping bag, create elegant swirls of whipped cream on top of the cheesecake.
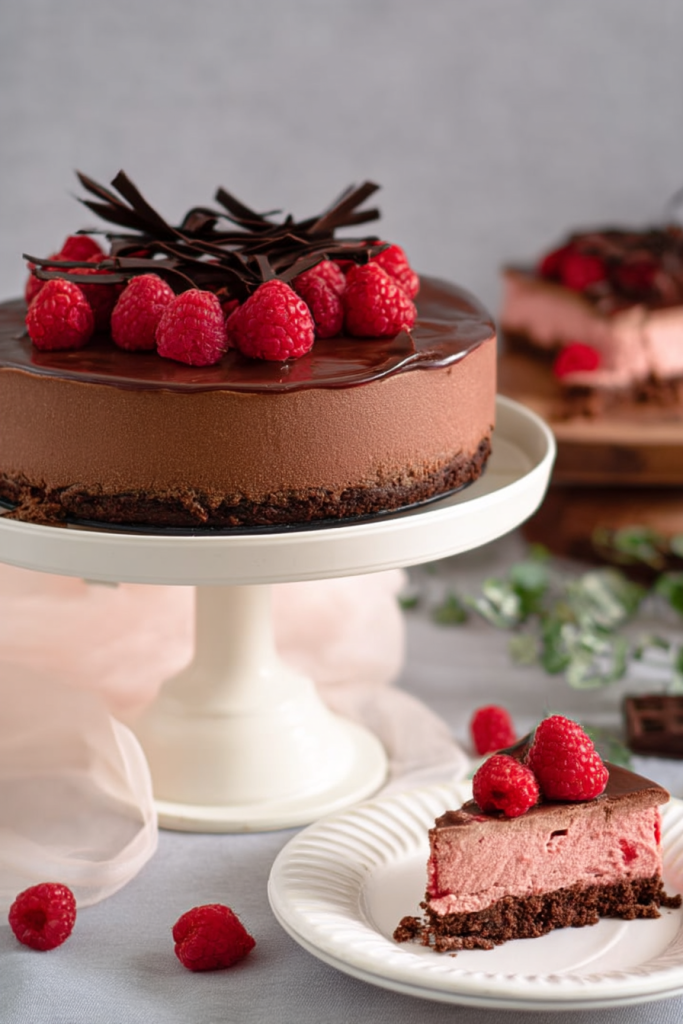
- Artfully arrange fresh berries – think vibrant strawberries, delicate raspberries, and plump blueberries.
- Sprinkle edible flowers across the top for a truly magical spring presentation.
Decorating Ideas to Elevate Your Cheesecake
- Create a pastel watercolor effect with soft food coloring in the whipped cream
- Use edible flowers like candied violets, rose petals, or lavender buds
- Add a light dusting of powdered sugar for a soft, snow-like effect
- Drizzle with a homemade berry coulis for extra spring flair
- Garnish with fresh mint leaves for a pop of green
Serving Suggestions
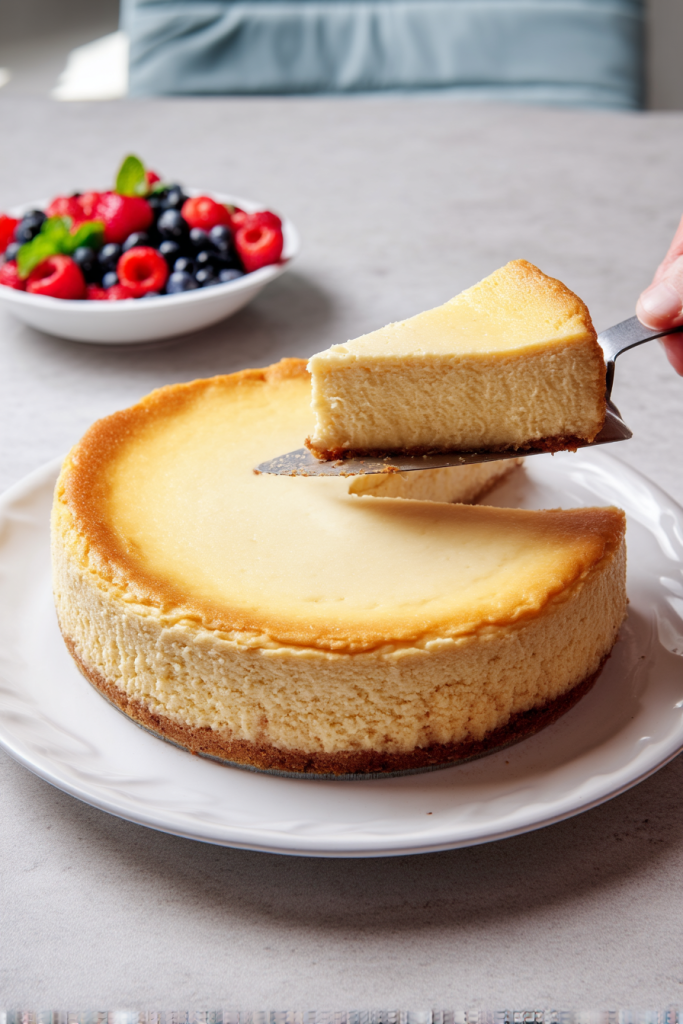
The perfect slice is an art form. Here are my top tips for serving:
- Use a hot, clean knife to cut perfect slices
- Wipe the knife clean between each cut for pristine edges
- Serve slightly chilled for the best texture and flavor
- Pair with a light spring beverage like:
- Lavender lemonade
- Elderflower spritzer
- Chilled white wine
- Mint tea
Storage and Make-Ahead Tips
Storing your Spring Cheesecake properly ensures it stays fresh and delicious:
- Refrigerate in an airtight container for up to 5 days
- For best flavor, consume within 3 days of making
- Can be frozen for up to 1 month
- Wrap tightly in plastic wrap and then in aluminum foil
- Thaw in the refrigerator overnight before serving
- Keep toppings fresh by adding them just before serving
Make-Ahead Magic
This cheesecake is perfect for planning ahead:
- Crust can be prepared 2 days in advance
- Cheesecake can be baked and stored (without toppings) 2-3 days before serving
- Whipped cream and toppings should be added the day of serving for maximum freshness
Flavor Variations to Explore:
- Swap lemon zest for orange zest for a citrusy twist
- Add a layer of strawberry or raspberry compote
- Incorporate crushed pistachios into the crust
- Experiment with different extract flavors like rosewater or elderflower
Pro Tip: Always let the cheesecake sit at room temperature for 15-20 minutes before serving. This allows the flavors to fully develop and gives you that perfect, creamy texture that melts in your mouth.
Your Spring Cheesecake is more than just a dessert – it’s a celebration of the season, a work of art that brings the freshness and renewal of spring right to your table.
Nutritional Insights and Dietary Considerations
Nutritional Breakdown
While this Spring Cheesecake is a indulgent treat, it’s worth understanding its nutritional profile:
- Serving Size: One slice (approximately 1/12 of the cake)
- Calories: Approximately 450-500 calories
- Protein: 7-9 grams
- Fat: 32-35 grams
- Carbohydrates: 35-40 grams
Dietary Modifications
For those with specific dietary needs, here are some helpful substitutions:
Gluten-Free Option:
- Replace graham cracker crust with gluten-free graham crackers or almond flour
- Ensure all other ingredients are certified gluten-free
Lighter Version:
- Use low-fat cream cheese
- Substitute some of the cream cheese with Greek yogurt
- Reduce sugar by 1/4 cup
- Use a light whipped topping instead of heavy cream
Dairy-Free Adaptation:
- Use dairy-free cream cheese alternatives
- Replace butter with coconut oil
- Use coconut cream instead of heavy cream
- Substitute eggs with a vegan egg replacement
Frequently Asked Questions
Q: Can I make this cheesecake in advance? A: Absolutely! The cheesecake can be prepared up to 3 days in advance and stored in the refrigerator. Add fresh toppings just before serving.
Q: How do I know when the cheesecake is done baking? A: The cheesecake should have a slight jiggle in the center but be set around the edges. The internal temperature should reach about 150°F (65°C).
Q: Can I freeze this cheesecake? A: Yes! Wrap it tightly in plastic wrap and then in aluminum foil. It can be frozen for up to 1 month. Thaw overnight in the refrigerator before serving.
Final Thoughts: A Slice of Spring
Creating this Spring Cheesecake is more than just following a recipe – it’s about capturing a moment, celebrating the season, and bringing a touch of joy to your table. Each bite tells a story of renewal, of fresh beginnings, and of the simple pleasures that make life sweet.
Whether you’re hosting a spring brunch, celebrating a special occasion, or simply wanting to treat yourself to something extraordinary, this cheesecake is your culinary canvas. Don’t be afraid to make it your own – add a personal touch, experiment with flavors, and most importantly, enjoy the process.
A Note of Inspiration
Baking is an art of love, patience, and creativity. This Spring Cheesecake is more than a dessert – it’s a reminder that just like the seasons change, we too can create something beautiful and unexpected.
Pro Baker’s Tip: The most important ingredient in any recipe is the love and care you put into it. Let your passion shine through, and your cheesecake will always be a masterpiece.
Connect and Share
I’d love to see your Spring Cheesecake creations! Share your photos, variations, and baking adventures. Cooking is a community experience, and every slice tells a unique story.
Happy baking, and welcome to spring!