As a passionate baker and dessert enthusiast, I’ve discovered the most heavenly cheesecake recipe that will make your taste buds dance with joy. Get ready to fall in love with the Kinder Bueno Cheesecake – a dessert that combines the creamy richness of cheesecake with the irresistible flavor of everyone’s favorite chocolate wafer.
Why This Cheesecake Will Steal Your Heart
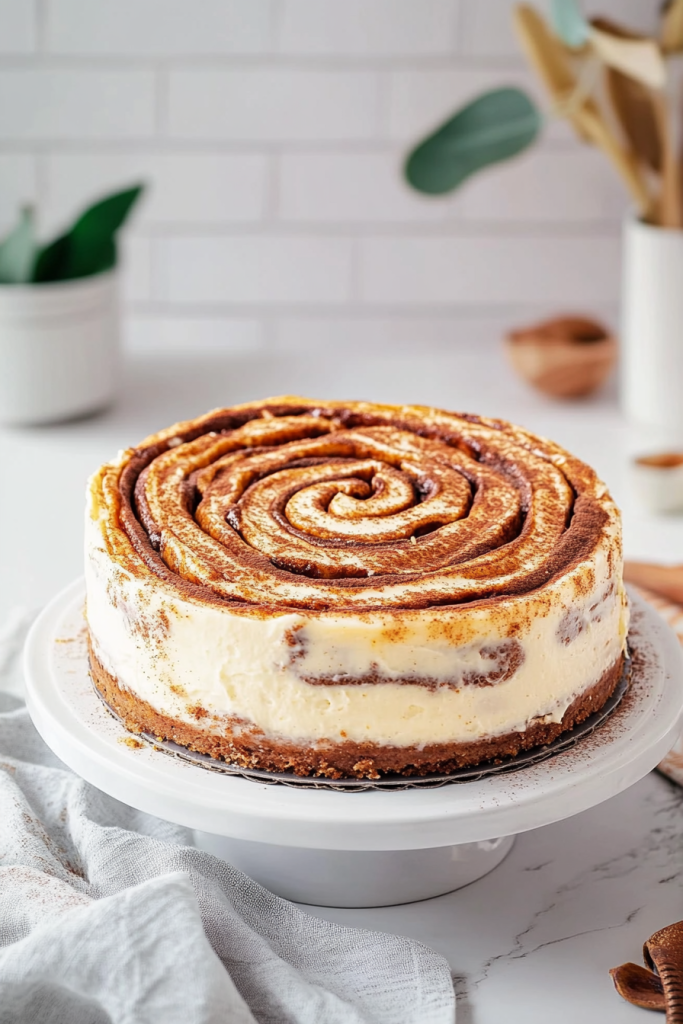
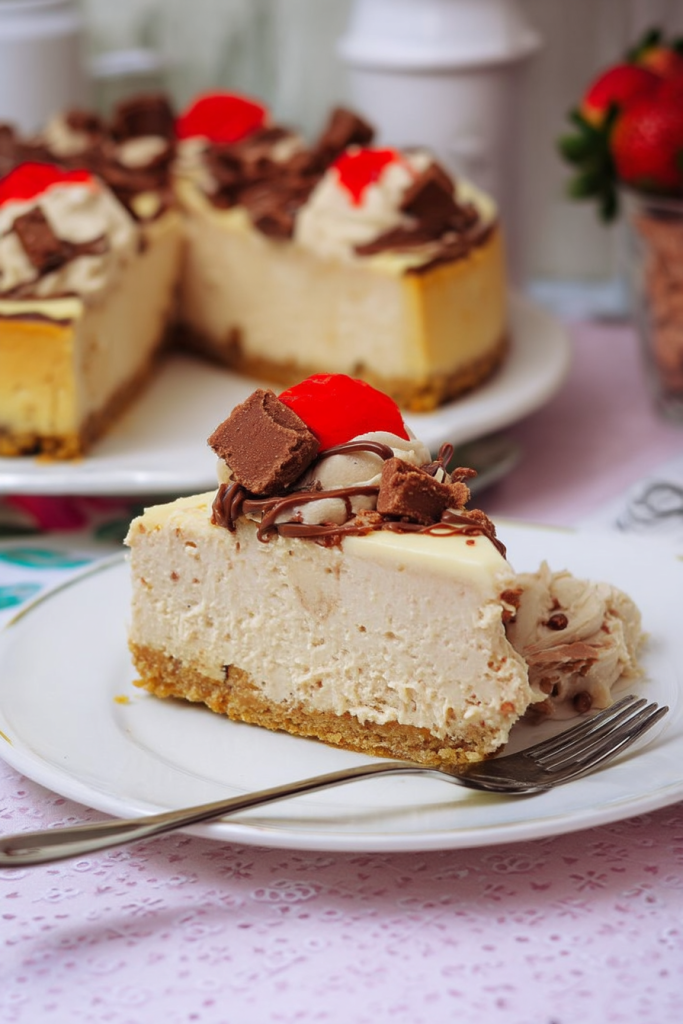
Let me tell you, this isn’t just any ordinary cheesecake. It’s a decadent masterpiece that brings together the smooth, velvety texture of cream cheese with the delightful crunch of Kinder Bueno bars. Imagine a buttery digestive biscuit base, a luxurious chocolate-infused filling, and a topping that screams indulgence – this cheesecake is nothing short of a culinary miracle.
What Makes This Cheesecake Special?
- Irresistible Kinder Chocolate Infusion
- Perfectly Balanced Creamy Texture
- No-Bake Simplicity
- Impressive Presentation
- Crowd-Pleasing Dessert
Whether you’re celebrating a special occasion or simply treating yourself to a moment of pure bliss, this Kinder Bueno Cheesecake is guaranteed to impress. Trust me, once you try this recipe, it’ll become your go-to dessert for every sweet craving.
Gathering Your Ingredients: A Chocolate Lover’s Shopping List
Before we dive into the magical world of cheesecake creation, let’s talk ingredients. You’ll need to gather a few key components that will transform simple ingredients into a dessert masterpiece. Here’s everything you’ll need:
For the Irresistible Base
- 300g (3 Cups) Digestive Biscuits or Graham Crackers
- 3 Individual Kinder Bueno Bars
- 125g (1/2 Cup) Unsalted Butter, melted
For the Heavenly Filling
- 300g (10.5 oz) Kinder Chocolate Bars
- 250ml (1 Cup) Double Cream or Heavy Cream (cold)
- 400g (1 + 3/4 Cups) Philadelphia Original Cream Cheese (room temperature)
- 100g (1/2 Cup) Golden Caster Sugar
- 4 Individual Kinder Bueno Bars
Optional Decorative Touches
- 8 Mini Meringue Nests
- 2-3 Additional Kinder Bueno Bars
- Chocolate Sauce for Drizzling
Pro Tip: The secret to a phenomenal cheesecake lies in the quality of your ingredients. Always use room temperature cream cheese for the smoothest filling, and make sure your cream is properly chilled before whipping.
Essential Equipment
Don’t worry, you won’t need any fancy gadgets. Here’s what you’ll use:
- 20cm / 8″ Springform Pan
- Food Processor
- Metal Spoon
- 3 Mixing Bowls
- Spatula
- Balloon Whisk
The Art of Crafting Your Kinder Bueno Cheesecake
Now comes the most exciting part – bringing this decadent dessert to life! I’ll walk you through each step, sharing my personal tips to ensure your cheesecake turns out absolutely perfect.
Preparing the Base: A Crunchy Foundation
First, let’s create that irresistible base. Here’s my foolproof method:
- Grease and line your springform pan carefully – this ensures easy removal later.
- Grab your food processor and blitz the digestive biscuits until they form fine crumbs.
- Add the Kinder Bueno bars and pulse again to create a mixed crumb texture.
- Pour in the melted butter and give it one final blitz until the mixture starts to clump together.
- Press the crumbs firmly into the base and sides of the pan using a metal spoon.
- Chill the base in the refrigerator while you prepare the filling.
Creating the Luxurious Filling: A Chocolate Lover’s Dream
This is where the magic happens:
- Melt the Kinder chocolate bars with 8 tablespoons of double cream in the microwave.
- Pro Tip: Use 10-second intervals, stirring well each time to prevent burning.
- Let the mixture cool slightly.
- In a separate bowl, whip the remaining cream to soft peaks.
- The key is to be gentle – you want light, airy peaks.
- In another bowl, beat the cream cheese and caster sugar until smooth and glossy.
- Patience is crucial here – take your time to ensure a silky texture.
- Gradually fold the melted chocolate mixture into the cream cheese.
- Work carefully to maintain that luxurious, streak-free consistency.
The Kinder Bueno Dilemma: To Chop or Not to Chop?
Here’s a fun decision point in your cheesecake journey:
- Option 1: Roughly chop the Kinder Bueno bars and fold them through the filling.
- Pros: Soft, chewy chocolate bits throughout
- Option 2: Save the bars for decoration.
- Pros: Crisp Kinder Bueno pieces that maintain their crunch
Final Assembly and Chilling
- Pour the filling into your prepared base.
- Smooth the top with a spatula.
- Chill in the refrigerator for at least 4 hours (overnight is even better).
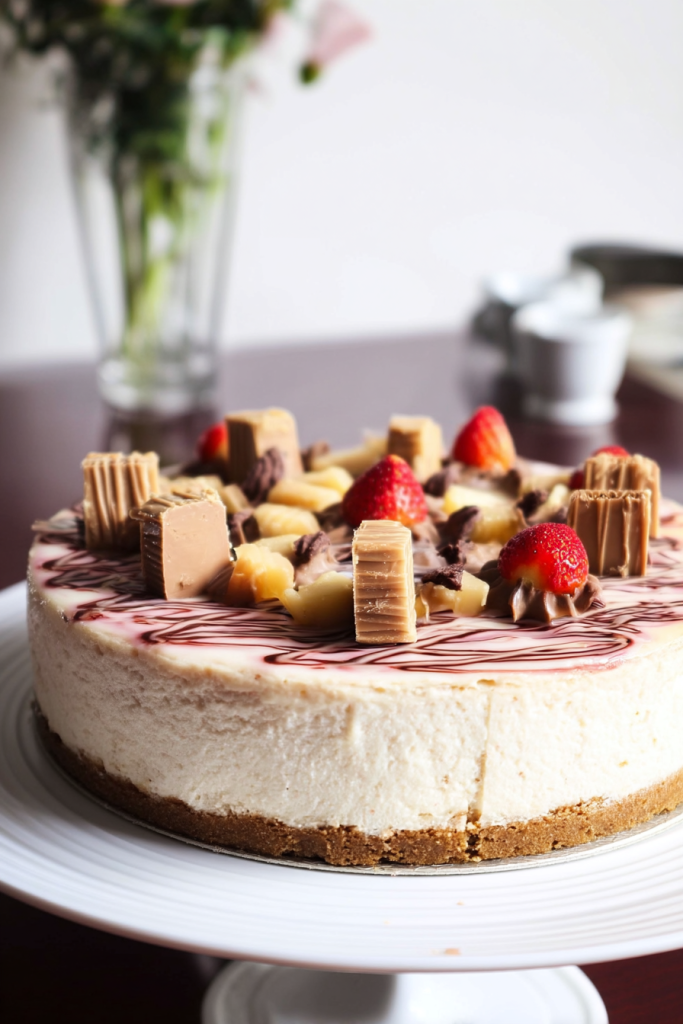
The Grand Finale: Decorating Your Masterpiece
After hours of anticipation, it’s time to transform your cheesecake from delicious to absolutely stunning. The decoration is where you can truly let your creativity shine and add that wow factor that’ll have everyone reaching for their cameras before taking a bite.
Decorating Options to Elevate Your Cheesecake
I’ve discovered that the right decoration can turn a great cheesecake into an unforgettable dessert experience. Here are my favorite ways to dress up this Kinder Bueno Cheesecake:
- Classic Kinder Bueno Topping
- Arrange whole and chopped Kinder Bueno bars across the top
- Create a beautiful pattern that looks as good as it tastes
- Meringue Magic
- Delicately place mini meringue nests around the edges
- These add a beautiful texture and a professional touch
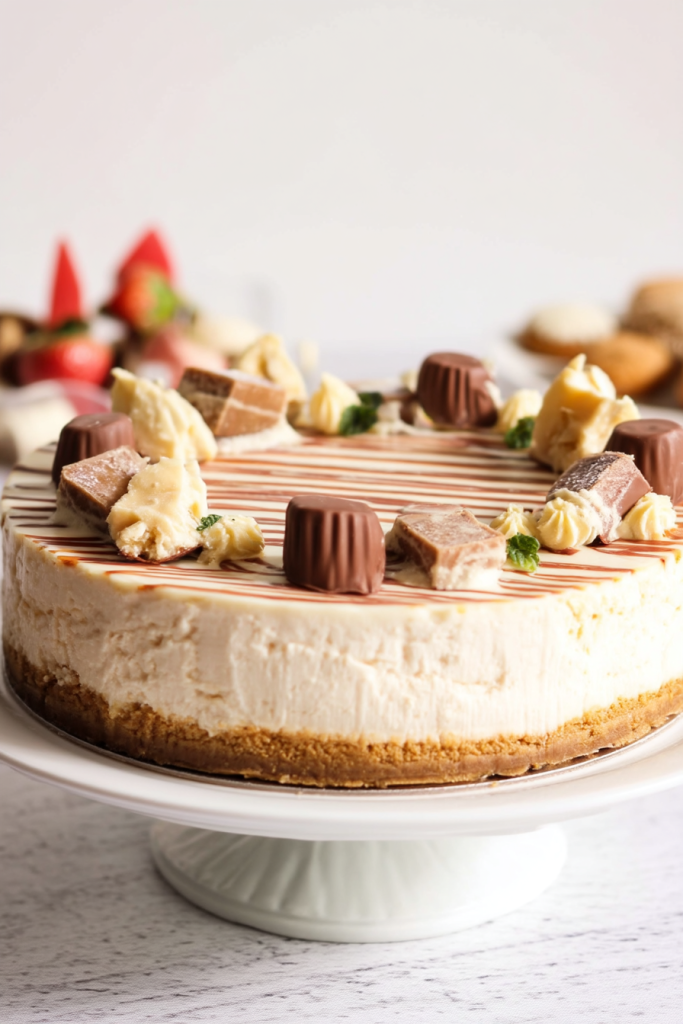
- Chocolate Drizzle Technique
- Drizzle rich chocolate sauce in elegant zigzag patterns
- Use a squeeze bottle or a spoon for precision
- Whipped Cream Swirls
- If meringues aren’t your thing, pipe beautiful whipped cream rosettes
- Adds a light, airy element to the rich cheesecake
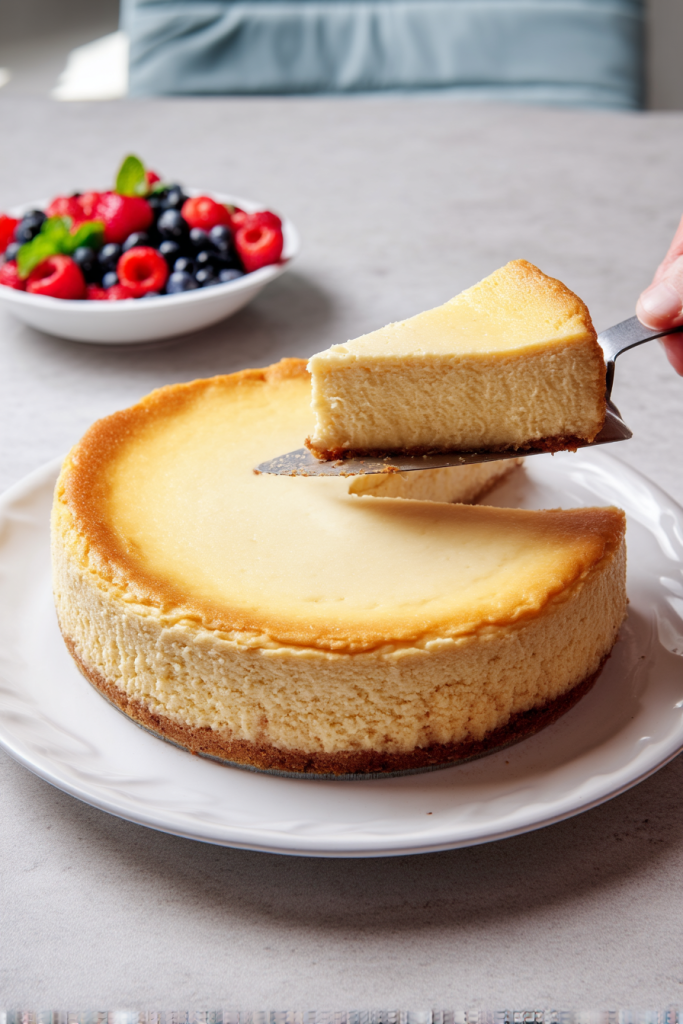
Serving and Storage Tips
Pro Tips for the Perfect Serving Experience:
- Always use a hot knife when cutting (dip in hot water and wipe dry)
- Clean the knife between each slice for perfect edges
- Serve slightly chilled for the best texture and flavor
Storage Secrets
Your Kinder Bueno Cheesecake will stay fresh:
- Refrigerated: Up to 5 days in an airtight container
- Frozen: Up to 2 months (wrap tightly in plastic wrap and foil)
Common Troubleshooting
Don’t panic if something doesn’t go perfectly:
- If the cheesecake cracks: A chocolate drizzle hides all sins
- Too soft? Give it more chilling time
- Lumpy filling? Ensure all ingredients are room temperature and mix thoroughly
A Sweet Journey: More Than Just a Dessert
As I reflect on this Kinder Bueno Cheesecake recipe, I’m reminded that cooking is about more than just following instructions. It’s about creating moments, sharing joy, and indulging in a little bit of delicious creativity.
Why This Cheesecake is More Than Just a Dessert
This isn’t just a recipe – it’s an experience. Each bite tells a story of careful preparation, love, and a celebration of chocolate. Whether you’re making it for a special occasion or simply treating yourself to a moment of pure bliss, this cheesecake is a testament to the magic that happens when simple ingredients come together.
Customization: Make It Your Own
One of the most beautiful things about this recipe is its versatility:
- Swap out Kinder Bueno for your favorite chocolate bars
- Experiment with different cookie bases
- Play with various decoration techniques
A Note to Home Bakers
To those just starting their baking journey, remember this: perfection is overrated. Every crack, every uneven swirl is a mark of homemade love. Baking is about joy, experimentation, and sharing something delicious with those you care about.
Final Thoughts
If there’s one thing I’ve learned from countless hours in the kitchen, it’s that the best recipes are those that come with a story. This Kinder Bueno Cheesecake isn’t just a dessert – it’s a memory in the making.
Quick Recipe Recap
- Prep Time: 30 minutes
- Chill Time: 4-6 hours
- Serves: 8-10 chocolate lovers
- Difficulty: Moderate
So, are you ready to embark on this delicious adventure? Grab your ingredients, channel your inner pastry chef, and let’s create something extraordinary. Happy baking!