If you’re looking for the ultimate dessert that combines the warm comfort of apples, the rich decadence of cheesecake, and the irresistible allure of caramel, you’ve just hit the jackpot. This Apple Caramel Cheesecake is more than just a dessert—it’s an experience that will transport your taste buds to a world of pure bliss.
Why This Apple Caramel Cheesecake is a Game-Changer
As someone who has spent countless hours in the kitchen perfecting dessert recipes, I can confidently say this cheesecake is something special. It’s not just another cheesecake—it’s a carefully crafted symphony of flavors and textures that will have everyone at your table begging for seconds.
The Perfect Flavor Combination
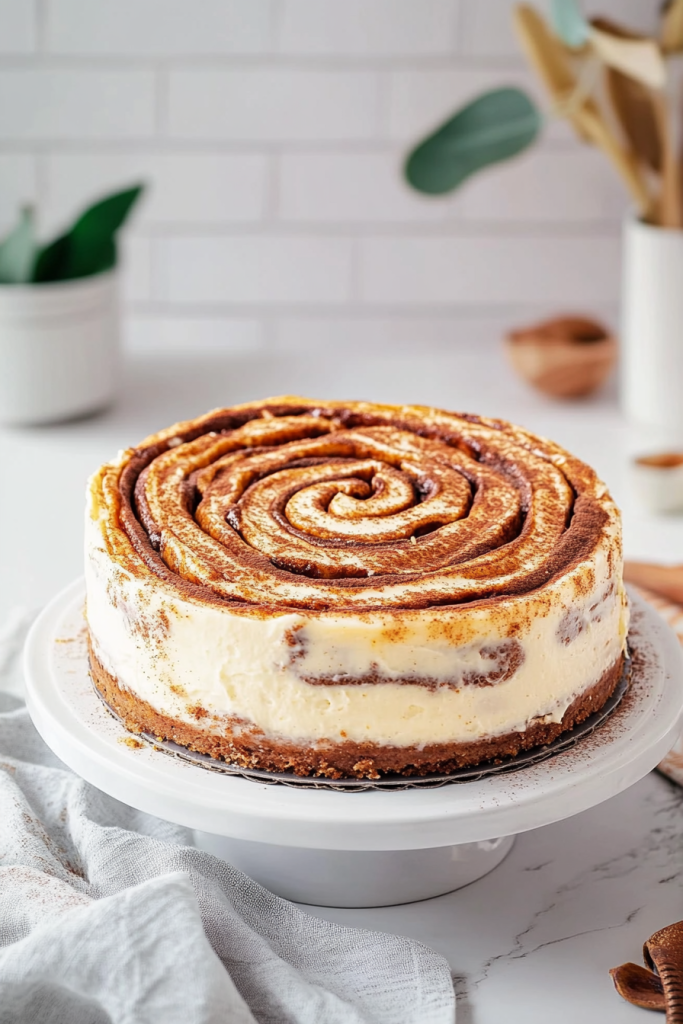
Imagine a buttery graham cracker crust, topped with a silky smooth cheesecake filling, layered with tender spiced apples, drizzled with salted caramel, and finished with a crunchy streusel topping. Each bite is a journey through different textures and flavors that complement each other perfectly.
Why You’ll Love This Recipe
- Incredible Flavor Profile: The combination of sweet apples, rich cheesecake, and decadent caramel is simply unbeatable.
- Textural Wonderland: From the crisp graham cracker crust to the creamy filling and crunchy streusel, every bite is an adventure.
- Make-Ahead Friendly: You can prepare this dessert up to two days in advance, making it perfect for gatherings and special occasions.
- Impressive Presentation: This cheesecake looks like it came straight from a professional bakery, but you’ll create it right in your own kitchen.
A Note on Ingredients
Before we dive into the recipe, let me share a pro tip: the key to an extraordinary cheesecake lies in the quality of your ingredients. Use full-fat cream cheese, room temperature eggs, and take the time to select the perfect apples. I recommend a mix of Honeycrisp and Granny Smith for the ideal balance of sweetness and tartness.
Ingredients You’ll Need
For the Graham Cracker Crust
- 1½ cups (180g) graham cracker crumbs (about 12 full sheet graham crackers)
- ¼ cup (50g) granulated sugar
- 6 tablespoons (85g) unsalted butter, melted
For the Streusel Topping
- ⅓ cup (28g) old-fashioned whole rolled oats
- 3 tablespoons (24g) all-purpose flour
- 3 tablespoons (40g) packed light or dark brown sugar
- ½ teaspoon ground cinnamon
- 2 tablespoons (28g) unsalted butter, cold and cubed
For the Apple Layer
- 2 cups (250g) peeled, thinly sliced, and chopped apples
- 1 tablespoon (13g) packed light or dark brown sugar
- 1 teaspoon lemon juice
- ½ teaspoon ground cinnamon
- 2–3 tablespoons salted caramel (plus extra for topping)
For the Cheesecake Filling
- 12 ounces (339g) full-fat brick cream cheese, softened to room temperature
- ½ cup (100g) packed light or dark brown sugar
- 3 tablespoons (45g) sour cream
- 1 teaspoon pure vanilla extract
- 1 large egg, at room temperature
Special Equipment
To make this recipe a breeze, you’ll want to have these tools on hand:
- 9-inch pie dish
- Food processor or blender (for graham cracker crumbs)
- Electric mixer (handheld or stand mixer)
- Pastry cutter or two forks
- Silicone spatula
- Small offset spatula
- Cooling rack
Pro Ingredient Tips
Apples: The secret to an amazing apple layer is using a mix of apples. I love combining Honeycrisp for sweetness and Granny Smith for a tart kick. This combination ensures a depth of flavor that will make your cheesecake truly unforgettable.
Cream Cheese: Always use full-fat brick cream cheese and ensure it’s at room temperature. This helps create a smooth, creamy filling without any lumps.
Caramel: While you can use store-bought salted caramel, making your own takes this dessert to the next level. If you’re short on time, a good quality jarred caramel works perfectly.
Step-by-Step Preparation Guide
Creating this Apple Caramel Cheesecake might seem intimidating, but I promise you, it’s easier than you think! I’ll walk you through each step, sharing my tried-and-true tips to ensure your cheesecake turns out absolutely perfect.
Preparing the Crust
- Graham Cracker Magic: If you’re starting with whole graham crackers, use a food processor or blender to transform them into fine crumbs. Pro tip: pulse carefully to avoid turning them into dust.
- Mixing the Base: In a medium bowl, combine the graham cracker crumbs and granulated sugar. Stir in the melted butter until the mixture becomes thick and sandy. The key is to break up any large chunks.
- Crust Shaping: Pour the mixture into an ungreased 9-inch pie dish. Use your hand to pat the crumbs down gently into the bottom and up the sides. The goal is a compact crust that’s not too hard-packed. Insider Tip: Use a small measuring cup to help press down the bottom crust and create a smooth surface. Run a spoon around the bottom edge to create a rounded crust that won’t crumble when served.
- Initial Baking: Bake the crust for 10 minutes at 350°F (177°C). This helps set the base and creates a beautiful golden color.
Crafting the Streusel Topping
- In a medium bowl, whisk together the oats, brown sugar, cinnamon, and flour.
- Cut in the chilled butter using a pastry cutter, two forks, or your fingers until the mixture resembles coarse crumbs.
- Pop the streusel into the refrigerator to chill while you prepare the next components. This helps maintain its texture during baking.
Preparing the Apple Layer
- In a medium bowl, gently mix the thinly sliced and chopped apples with brown sugar, lemon juice, and cinnamon.
- Set the apple mixture aside. The lemon juice will help prevent browning and add a bright note to the flavor.
Creating the Cheesecake Filling
- Using a handheld or stand mixer with a paddle attachment, beat the cream cheese and brown sugar together on medium-high speed.
- Beat until the mixture is smooth and creamy, about 3 minutes. Take time to scrape down the sides of the bowl to ensure everything is well incorporated.
- Add sour cream and vanilla extract, beating until fully combined and silky smooth.
- Add the egg and beat on medium speed just until combined. If you see any lumps, switch to a whisk and gently break them up.
The Assembly Process
- Spread the cheesecake filling into the slightly warm crust. An offset spatula makes this task a breeze.
- Carefully spoon the prepared apple mixture in an even layer over the cheesecake filling.
- Drizzle salted caramel generously over the apples.
- Sprinkle the chilled streusel topping evenly over everything.
Baking to Perfection
- Lower the oven temperature to 325°F (163°C).
- Bake for 45 minutes. The center should still be slightly wobbly—don’t worry, it will set as it cools!
- To prevent the crust edges from burning, tent the entire pie with aluminum foil during the last 10-15 minutes of baking.
Baking Wisdom: Every oven is slightly different. Start checking your cheesecake around the 40-minute mark to ensure it doesn’t overbake.
Cooling, Serving, and Storage Tips
The Waiting Game: Cooling and Chilling
Patience is crucial when it comes to this cheesecake. After baking, follow these steps for the perfect texture:
- Remove the cheesecake from the oven and place it on a wire rack.
- Allow the cheesecake to cool at room temperature for 1 full hour. This gradual cooling prevents cracking and helps set the filling.
- Transfer the cheesecake to the refrigerator and chill for at least 2 hours. Pro tip: You can chill it for up to 2 days before serving.
Serving Like a Pro
When it’s time to serve, here are my top tips for a picture-perfect slice:
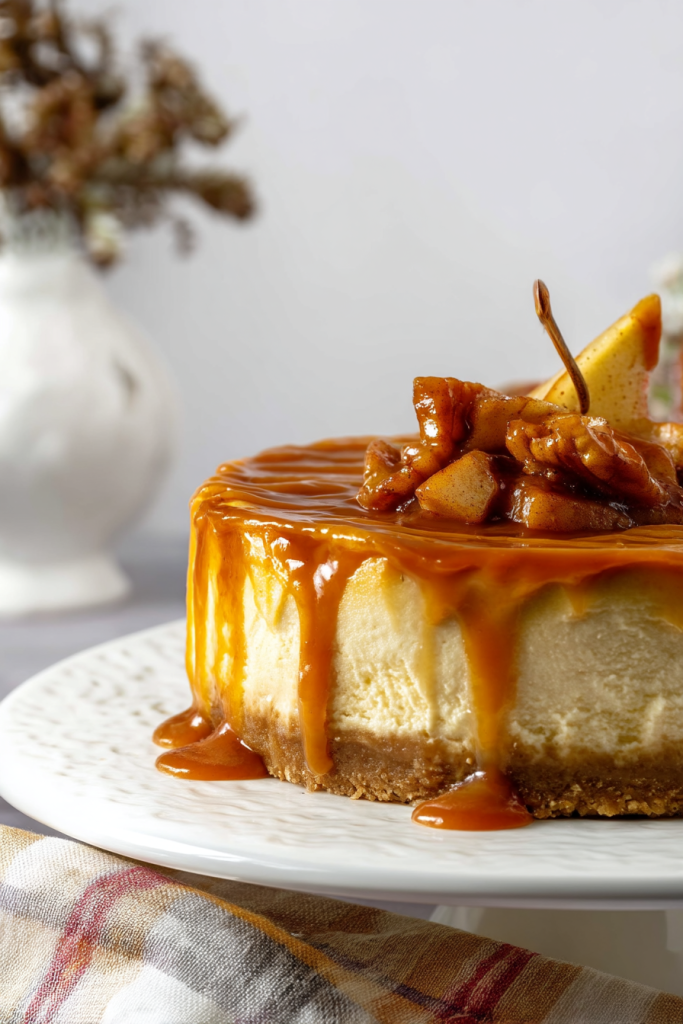
- Caramel Drizzle: Before serving, warm up some additional salted caramel to drizzle over the top. As caramel solidifies when cool, gently heating it will create that gorgeous, glossy finish.
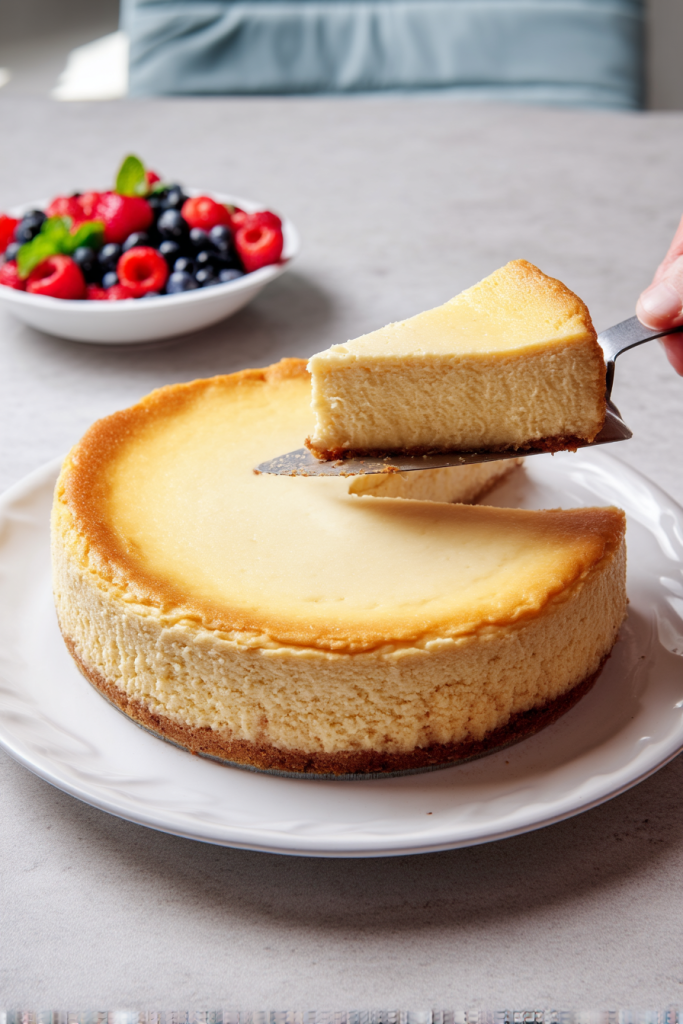
- Slicing Techniques:
- Use a clean, sharp knife
- Wipe the knife clean between each slice for neat, clean cuts
- The first slice is always the trickiest—don’t get discouraged!
- For the most Instagram-worthy presentation, serve slightly chilled with an extra drizzle of caramel and maybe a sprinkle of sea salt.

Storage Secrets
Your Apple Caramel Cheesecake can be stored in several ways:
- Refrigerator: Cover and store for up to 5 days
- Freezer: You can freeze the entire cheesecake or individual slices for up to 3 months
Freezing Tip: When freezing, wrap the cheesecake tightly in plastic wrap and then in aluminum foil. Thaw overnight in the refrigerator before serving.
Troubleshooting Common Cheesecake Challenges
Preventing Cracks
- Always use room temperature ingredients
- Don’t overmix the batter
- Bake in a lower temperature oven
- Use a water bath (though not necessary for this specific recipe)
Achieving the Perfect Texture
- Room temperature cream cheese is key to a smooth filling
- Beat ingredients just until combined
- Don’t overbake—a slightly wobbly center is perfect
Variations to Explore
Want to put your own spin on this cheesecake? Try these delicious variations:
- Nut Lovers: Replace some of the graham cracker crumbs with finely chopped pecans
- Spice It Up: Add a pinch of nutmeg or cardamom to the apple layer
- Chocolate Twist: Sprinkle some mini chocolate chips in the streusel topping
- Different Fruit: Swap apples for pears or a mix of berries
Dietary Adaptations
While this recipe is a classic indulgence, here are some potential modifications:
Gluten-Free Option:
- Replace graham cracker crumbs with gluten-free graham-style crackers or crushed gluten-free cookies
- Ensure all other ingredients are certified gluten-free
Reduced Sugar Alternatives:
- Use a sugar substitute like stevia in the cheesecake filling
- Opt for a low-sugar caramel sauce
- Reduce the amount of added sugar in the apple layer
Dairy-Free Modification:
- Use dairy-free cream cheese alternatives
- Replace butter with coconut oil or dairy-free margarine
- Use coconut cream instead of sour cream
Frequently Asked Questions
Q: Can I make this cheesecake ahead of time? A: Absolutely! This cheesecake can be prepared up to 2 days in advance and stored in the refrigerator. In fact, the flavors often improve after a day of chilling.
Q: What’s the best way to know when the cheesecake is done baking? A: The center should still have a slight wobble when you gently shake the pan. It will continue to set as it cools. Overbaking can lead to a dry, cracked cheesecake.
Q: Can I use different types of apples? A: Yes! While I recommend a mix of Honeycrisp and Granny Smith, you can experiment with other varieties. Avoid very soft apples like Red Delicious, and opt for firmer, more flavorful baking apples.
Q: How long can I store this cheesecake? A: Properly stored in an airtight container in the refrigerator, the cheesecake will last 4-5 days. You can also freeze it for up to 3 months.
Final Culinary Inspiration
Baking is an art, and this Apple Caramel Cheesecake is your canvas. Each time you make it, you’ll become more confident, adding your own special touch. Don’t be afraid to experiment, to taste, and to enjoy the process.
Cooking is about more than just following a recipe—it’s about creating memories, sharing love, and bringing joy to those around you. Whether you’re celebrating a special occasion or simply treating yourself to something extraordinary, this cheesecake is sure to bring a smile to everyone’s face.
Happy Baking!
Recipe developed with passion and precision, tested multiple times to ensure absolute deliciousness.
Connect and Share
Loved this recipe? Share your creation on social media! Tag us and use #AppleCaramelCheesecake to show off your baking skills.