Have you ever found yourself torn between two incredible desserts, wishing you could enjoy the best of both worlds? Well, get ready to have your dessert dreams answered! As a passionate baker and dessert enthusiast, I’m excited to share with you a recipe that combines the comforting warmth of a classic apple pie with the rich, creamy decadence of a New York-style cheesecake.
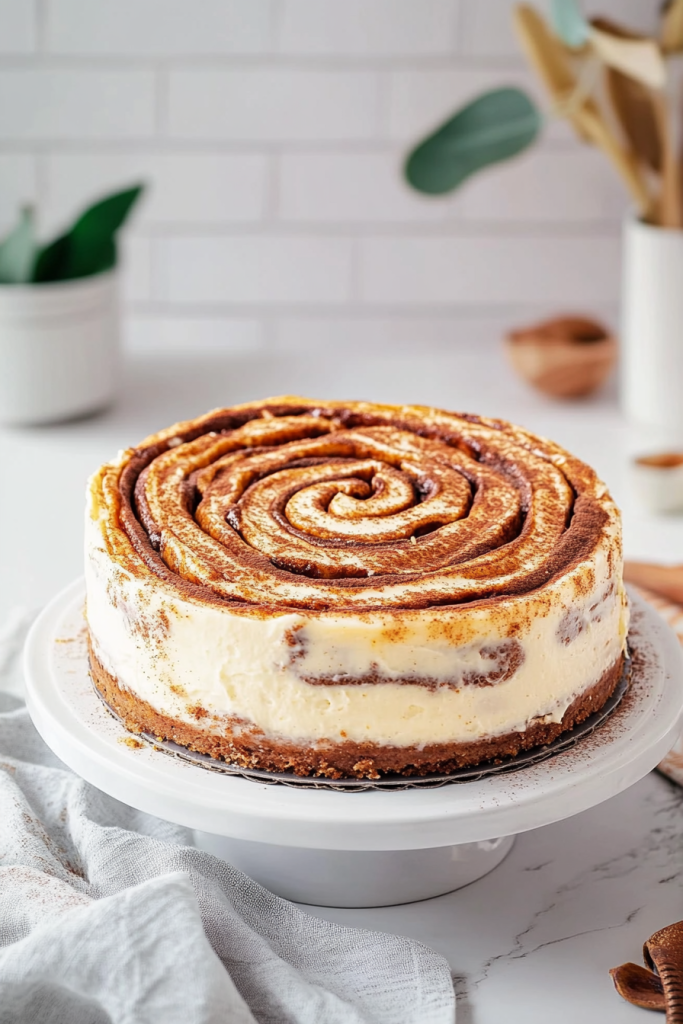
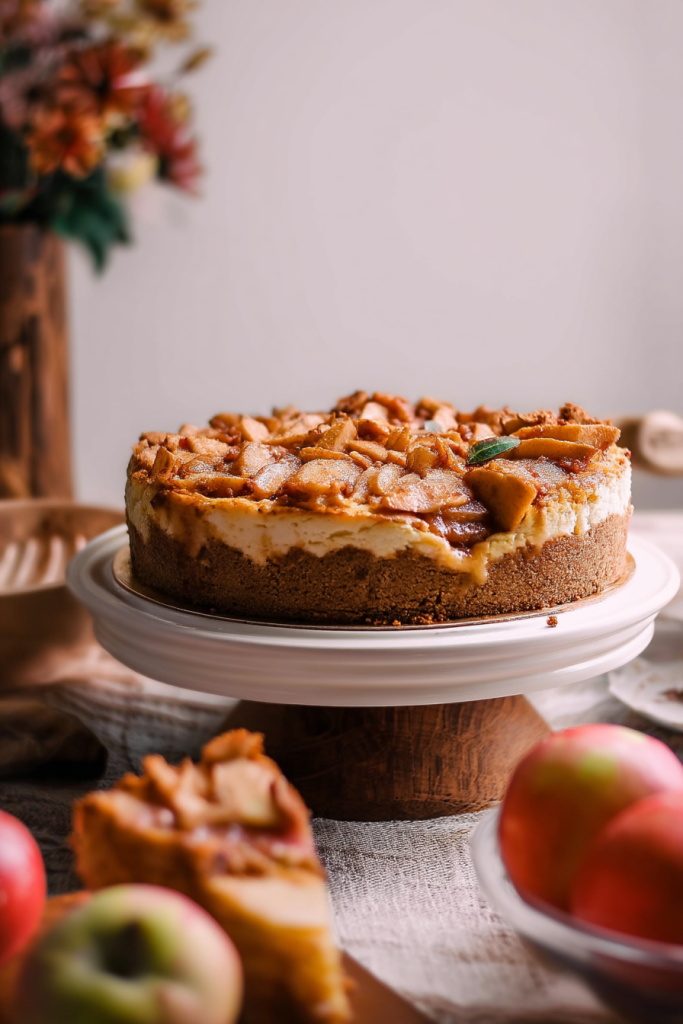
This Apple Pie Cheesecake is more than just a dessert – it’s a culinary masterpiece that brings together the most beloved elements of two iconic treats. Imagine a buttery graham cracker and walnut crust, topped with a silky smooth cheesecake base, layered with tender, cinnamon-spiced apples, and finished with a crisp, crumbly oat topping. It’s the kind of dessert that makes people close their eyes and let out a contented sigh with every single bite.
What makes this recipe truly special is how it elevates two classic desserts into something entirely new and extraordinary. The tartness of Granny Smith apples cuts through the rich cream cheese, while the warm spices and crumbly topping add texture and depth that will have your family and friends begging for the recipe.
So, grab your apron and let’s embark on a baking adventure that will transform your dessert game forever. Trust me – this Apple Pie Cheesecake is about to become your new favorite showstopper!
Gathering Your Baking Arsenal: Ingredients and Equipment
Before we dive into the magic of creating this show-stopping Apple Pie Cheesecake, let’s talk about the essential ingredients and equipment you’ll need to bring this dessert to life. I’ve carefully selected each component to ensure maximum flavor and the perfect texture.
The Essential Ingredients Breakdown
For the Apple Filling
- Apples: 2 lbs of Granny Smith apples (my top choice for their perfect balance of tartness and firmness)
- Brown Sugar: Adds depth and caramel-like sweetness
- Butter: For rich flavor and smooth texture
- Cornstarch: Helps thicken the apple mixture
- Cinnamon: The warm spice that screams “apple pie”
- Vanilla Extract: A touch of pure flavor enhancer
For the Crumble Topping
- Old-Fashioned Oats: Provides a delightful crunch
- All-Purpose Flour: Helps bind the crumble
- Brown Sugar: For sweetness and caramelization
- Baking Soda: Adds a light, crisp texture
- Butter: The magic ingredient that brings the crumble together
For the Crust
- Graham Cracker Crumbs: The classic cheesecake base
- Walnuts: Optional, but adds a nutty depth (easily omitted for nut-free versions)
- Granulated and Brown Sugar: For a hint of sweetness
- Salted Butter: Binds the crust and adds flavor
For the Cheesecake Batter
- Cream Cheese: The star of any cheesecake (full-fat, brick-style is crucial!)
- Granulated Sugar: Sweetens the cream cheese base
- Sour Cream: Adds tanginess and creamy texture
- Vanilla Extract: Enhances the overall flavor
- Eggs: Provides structure to the cheesecake
Equipment You’ll Need
- 9-inch Springform Pan: The secret to perfect cheesecake presentation
- Mixing Bowls: Various sizes for preparing different components
- Electric Mixer: Essential for creating a smooth cheesecake batter
- Saucepan: For cooking the apple filling
- Measuring Cups and Spoons: Precision is key in baking
- Spatula: For mixing and spreading
- Foil: To line the baking sheet (helps with easy cleanup)
Pro Tip: Make sure all your ingredients are at room temperature before you begin. This is especially important for the cream cheese and eggs – it ensures a smooth, lump-free batter that bakes perfectly every single time!
Crafting the Perfect Apple Pie Cheesecake: A Step-by-Step Guide
Creating this show-stopping dessert is an art form, and I’m about to walk you through each step of the process. Get ready to transform simple ingredients into a masterpiece that will have everyone asking for seconds!
Preparing the Apple Filling: The Heart of the Dessert
The journey begins with the apple filling – the soul of our cheesecake. Here’s how to nail it:
- Start by selecting the perfect apples. Granny Smith is my go-to variety for its perfect balance of tartness and firmness.
- Peel, core, and finely chop 2 pounds of apples – precision is key here.
- In a medium saucepan, combine your chopped apples with light brown sugar, butter, cornstarch, cinnamon, and a pinch of salt.
- Cook over medium-low heat, stirring frequently. Watch the magic happen as the butter melts and the apples start to soften.
- Increase the heat to medium and bring the mixture to a simmer. Let it cook for about 5 minutes, stirring often.
- The mixture should thicken slightly, and the apples should become tender but not mushy.
- Remove from heat and stir in vanilla extract. Let the mixture cool – this is crucial for the perfect texture.
Creating the Crumble Topping: A Textural Triumph
The crumble is what takes this cheesecake from great to absolutely extraordinary:
- In a mixing bowl, combine old-fashioned oats, all-purpose flour, brown sugar, baking soda, cinnamon, and salt.
- Pour in melted butter and use a fork to combine. The key is to keep it clumpy – we want texture!
- Set the mixture aside while you prepare the other components.
Crafting the Perfect Crust: The Foundation of Flavor
A great cheesecake starts with an incredible crust:
- Preheat your oven to 325°F (165°C) – this lower temperature is crucial for a creamy cheesecake.
- Mix graham cracker crumbs, finely chopped walnuts (optional), and both granulated and brown sugars.
- Add melted salted butter and stir until all crumbs are perfectly moistened.
- Press the mixture evenly into a 9-inch springform pan, covering both the bottom and sides.
Preparing the Cheesecake Batter: Smooth and Silky
The cheesecake batter requires a delicate touch:
- In a large mixing bowl, use an electric mixer to combine cream cheese and sugar.
- Beat on medium-low speed until smooth and lump-free. Patience is key here!
- Add sour cream and vanilla extract, mixing on low speed.
- Add eggs one at a time, beating on low speed after each addition.
- Be careful not to overmix – we want a smooth batter, not a fluffy one.
The Final Assembly: Bringing Your Apple Pie Cheesecake to Life
Now comes the most exciting part of our culinary journey – assembling and baking the ultimate Apple Pie Cheesecake. This is where all your careful preparation comes together in a symphony of flavors and textures.
The Layering Process: Building Your Masterpiece
- First Layer of Cheesecake Batter
- Pour approximately half of your creamy cheesecake batter over the prepared graham cracker crust.
- Use a spatula to spread it evenly, ensuring a smooth, level surface.
- Apple Layer
- Here’s a pro tip: Use a slotted spoon to drain excess juice from the cooled apple mixture.
- Carefully layer about half of the apple filling over the first cheesecake layer.
- The slotted spoon prevents excess liquid from disrupting the cheesecake’s texture.
- Final Cheesecake Layer
- Gently pour the remaining cheesecake batter over the apple layer.
- Take your time to spread it evenly, covering the apples completely.
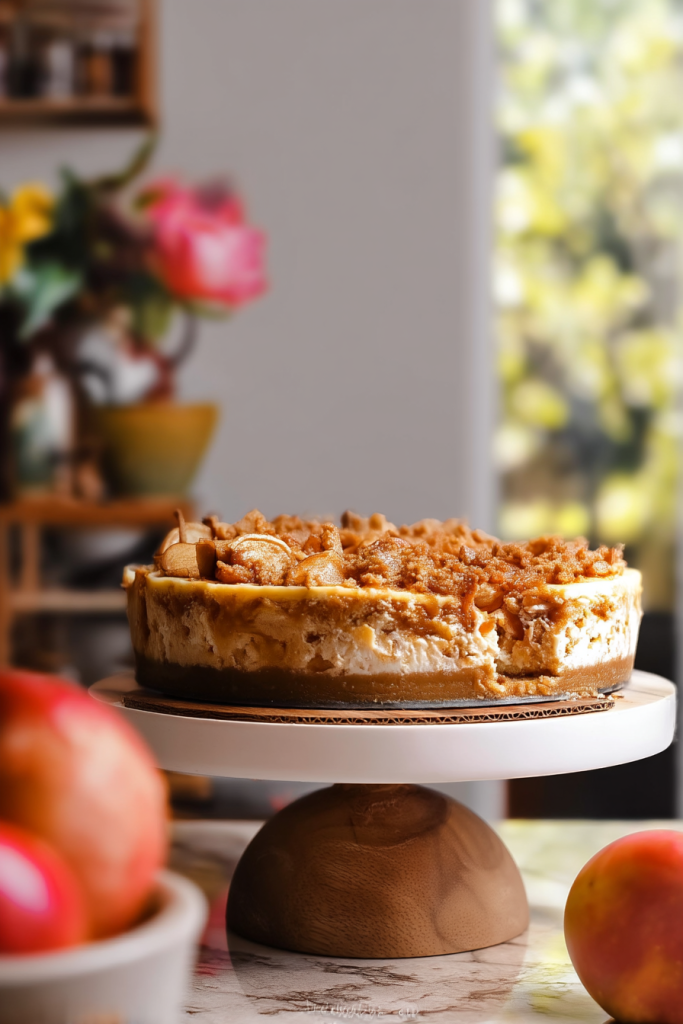
- Topping
- Layer the remaining strained apples on top of the batter.
- Scatter the crumble topping evenly across the surface.
- If the crumble has solidified, simply break it up with your hands for a rustic, artisan look.
Baking: The Moment of Truth
Baking Technique
- Place your springform pan on a foil-lined baking sheet. This catches any potential drips and makes cleanup a breeze.
- Position the pan in the center rack of your preheated 325°F (160°C) oven.
- Baking time is crucial – aim for 60-70 minutes.
How to Know It’s Perfect
- The edges should be mostly set when you gently jostle the pan.
- The center should have a gentle jiggle, similar to jello.
- Resist the temptation to open the oven door frequently – this can cause cracking.
Cooling: Patience is a Virtue
- Initial Cooling
- Once baked, turn off the oven.
- Crack the oven door open a few inches.
- Let the cheesecake sit for about an hour. This gradual cooling prevents cracking.
- Refrigeration
- Transfer the cheesecake to the refrigerator.
- Chill for at least 6 hours, but overnight is even better.
- This allows the flavors to meld and the texture to set perfectly.
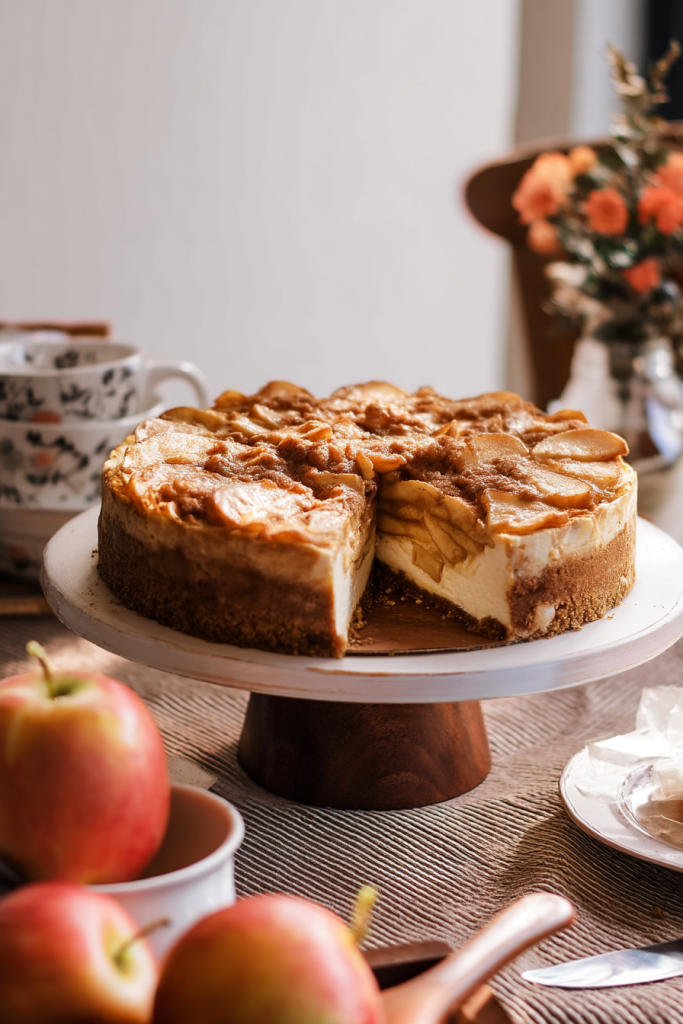
Serving and Enjoying Your Apple Pie Cheesecake Masterpiece
You’ve done it! After hours of careful preparation, your Apple Pie Cheesecake is ready to be the star of the show. Let me share some of my favorite ways to serve, customize, and truly enjoy this incredible dessert.
Serving Suggestions
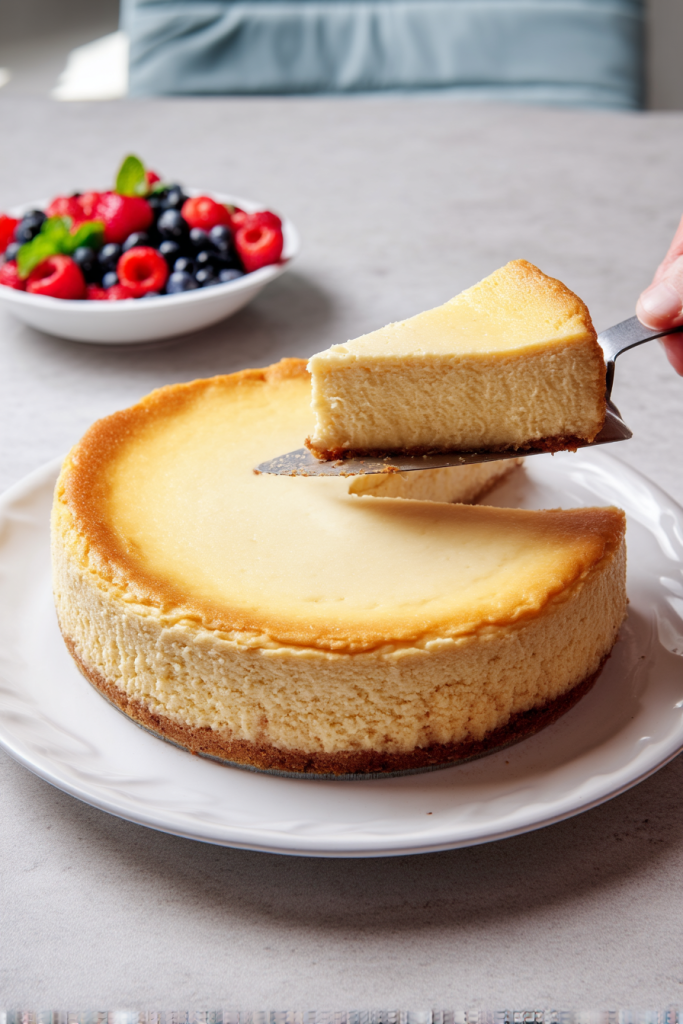
The Perfect Slice
- Use a sharp knife dipped in hot water for clean, beautiful slices.
- Wipe the knife clean between each cut to maintain those picture-perfect edges.
- Allow the cheesecake to sit at room temperature for about 15-20 minutes before serving for the best texture.
Delightful Accompaniments
- A dollop of freshly whipped cream
- A scoop of vanilla bean ice cream
- A drizzle of caramel sauce
- A sprinkle of additional cinnamon
- A handful of toasted chopped nuts
Creative Variations
Mix It Up
- Fruit Swap: Try using other seasonal fruits like pears or peaches
- Nut-Free Version: Simply omit the walnuts in the crust
- Spice It Up: Experiment with different spices like nutmeg or cardamom
- Gluten-Free Option: Use gluten-free graham crackers for the crust
Storage and Make-Ahead Tips
Refrigeration
- Store the cheesecake covered in the refrigerator
- Best consumed within 5 days
- Always keep refrigerated to maintain food safety and texture
Freezing
- Can be frozen for up to 3 months
- Wrap tightly in plastic wrap, then in aluminum foil
- Thaw overnight in the refrigerator
Troubleshooting Common Cheesecake Challenges
Preventing Cracks
- Always use room temperature ingredients
- Don’t overmix the batter
- Bake at a lower temperature
- Use the water bath method for extra insurance
Achieving the Perfect Texture
- Use full-fat cream cheese
- Beat cream cheese until smooth, but don’t overbeat
- Cool slowly to prevent cracking
Final Thoughts
This Apple Pie Cheesecake is more than just a dessert – it’s a labor of love. Each bite tells a story of careful preparation, thoughtful layering, and culinary creativity. Whether you’re celebrating a special occasion or simply treating yourself to something extraordinary, this recipe is guaranteed to impress.
Remember, the most important ingredient is always the love and care you put into your cooking. Don’t be afraid to make this recipe your own, to experiment, and to have fun in the kitchen.
Happy baking, and enjoy every single delicious moment!