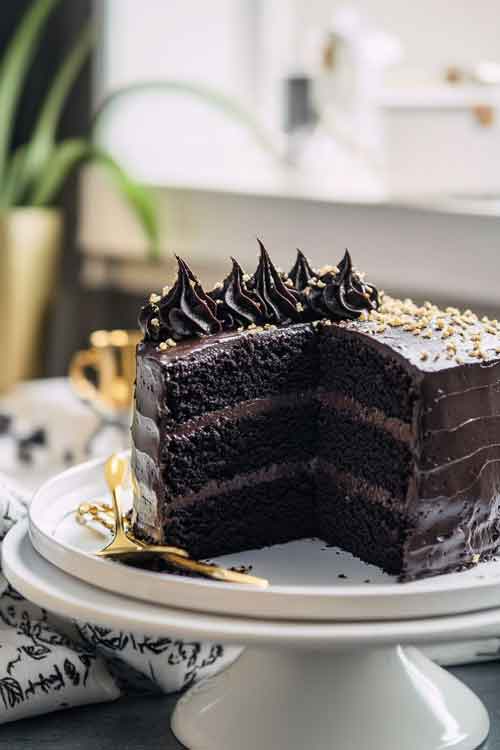
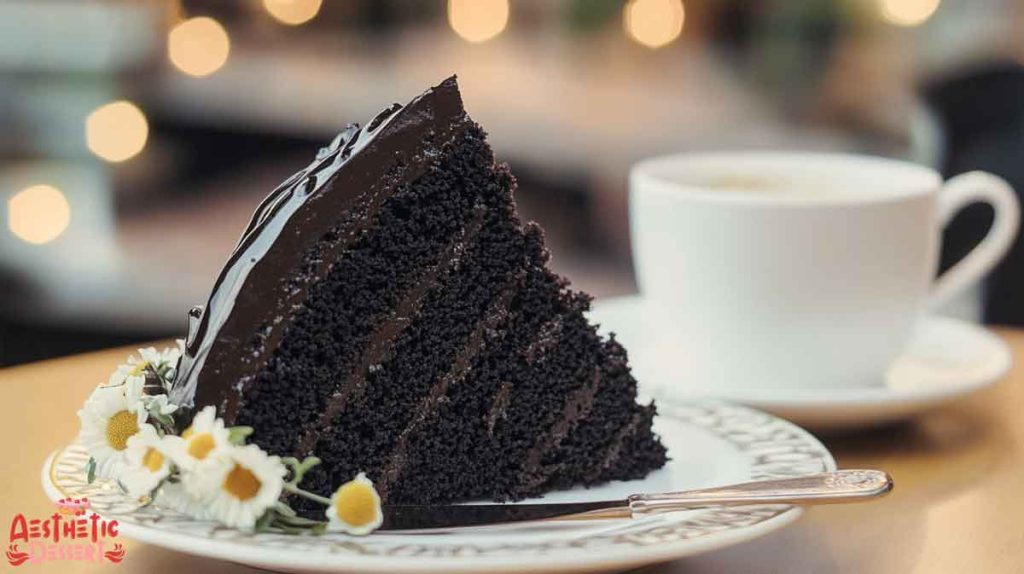
As a passionate baker, I’m thrilled to share my perfected Black Velvet Cake recipe that never fails to wow my guests. This decadent dessert combines the richness of black cocoa with a silky-smooth texture that melts in your mouth. After countless tests in my kitchen, I’ve refined this recipe to create the perfect balance of moistness and intense chocolate flavor.
Rich & Moist Black Velvet Cake: The Only Recipe You’ll Ever Need
Primary Ingredients You’ll Need:
For the Cake:
- 2 cups (260g) all-purpose flour
- 2 cups (400g) granulated sugar
- ¾ cup (75g) black cocoa powder, sifted
- 2 teaspoons (8g) baking powder
- 1½ teaspoons (9g) baking soda
- 1 teaspoon (6g) salt
- 1 cup (240g) hot water
- 2 teaspoons (5g) instant espresso powder
- 1 cup (240g) buttermilk
- ½ cup (110g) vegetable oil
- 2 large eggs, room temperature (112g)
- 2 teaspoons (8g) vanilla extract
For the Black Dark Chocolate Buttercream:
- 2 cups (452g) unsalted butter, room temperature
- 1 cup (100g) black cocoa powder, sifted
- 1 teaspoon (4g) vanilla extract
- ½ teaspoon (3g) fine table salt
- 5 cups (625g) powdered sugar
- ⅔ cup (180g) heavy cream, room temperature
- 1⅓ cups (230g) dark chocolate chips, melted and cooled
Essential Tools I Use:
- Three 8-inch cake pans
- Spinning cake stand
- 10-inch greaseproof cake board
- Large offset spatula
- Bench scraper
- Electric hand mixer or stand mixer
- Small piping bag
- Wilton 1M Open Star Piping Tip
I’ve found these specific measurements and tools crucial for achieving the perfect texture and presentation. The black cocoa powder is what sets this cake apart from regular chocolate cakes, creating that striking dark color and intense flavor that makes this recipe special.
The Art of Mixing and Baking My Black Velvet Cake
In my years of baking, I’ve learned that the magic of a perfect Black Velvet Cake lies in the mixing technique and baking precision. Here’s my foolproof method that I’ve refined over countless bakes:
Step-by-Step Mixing Process
1. Preparing the Dry Ingredients
I always start by preheating my oven to 350°F (175°C). While the oven heats up, I:
- Sift together my dry ingredients:
- All-purpose flour
- Granulated sugar
- Black cocoa powder
- Baking powder
- Baking soda
- Salt
Pro Tip: I’ve found that sifting prevents those annoying cocoa powder lumps that can ruin the cake’s texture.
2. Creating the Coffee-Liquid Base
Next, I prepare my wet ingredients:
- I combine hot water with instant espresso powder in a medium bowl
- Add buttermilk, vegetable oil, eggs, and vanilla extract
- Whisk until everything is perfectly blended
Baker’s Secret: The hot coffee mixture intensifies the chocolate flavor – it’s my secret weapon for depth!
The Perfect Baking Process
1. Pan Preparation
I’ve learned that proper pan preparation is crucial:
- Grease my three 8-inch pans thoroughly
- Line them with parchment paper circles
- Grease the parchment paper too (this ensures nothing sticks)
2. Combining and Baking
Here’s where precision matters most:
- Pour wet ingredients into dry ingredients
- Mix just until combined – don’t overmix!
- Divide batter equally between pans (I use a kitchen scale for perfect layers)
- Bake for 24-27 minutes
Critical Tip: I test doneness with a toothpick – it should come out with just a few moist crumbs.
3. Cooling Process
My perfect cooling method:
- Let cakes cool in pans for exactly 10 minutes
- Run an offset spatula around the edges
- Invert onto cooling racks
- Allow to cool completely before frosting
My Secret to Silky-Smooth Black Chocolate Buttercream
The frosting is what transforms this cake from delicious to absolutely unforgettable. Let me share my perfected buttercream technique that I’ve developed through countless batches:
Creating the Perfect Buttercream Base
1. Initial Butter Preparation
I start with the foundation:
- Cream room temperature butter until light and fluffy (about 5 minutes)
- Pro Tip: I press my finger into the butter – it should leave an indent but not sink in completely
- Add sifted black cocoa powder gradually
- Mix in vanilla extract and salt
2. The Sugar Integration Process
Here’s my foolproof method:
- Add powdered sugar one cup at a time
- Beat on low speed initially
- Increase to medium speed after each addition
- Scrape down bowl sides frequently
- This prevents those annoying unmixed butter chunks
The Secret to Silky Texture
1. Adding Liquid Elements
This is where magic happens:
- Pour in room temperature heavy cream gradually
- Room temperature is crucial – cold cream can cause curdling
- Beat until perfectly smooth
- Add melted (and cooled) dark chocolate
- I always let my chocolate cool until just barely warm to touch
2. Achieving Perfect Consistency
My texture test:
- The frosting should hold its shape but spread easily
- If too thick: Add heavy cream (1 tablespoon at a time)
- If too thin: Add more powdered sugar (¼ cup at a time)
Troubleshooting Tips
Common Issues I’ve Solved:
- Grainy texture? Beat longer at medium speed
- Buttercream too soft? Refrigerate for 15 minutes
- Air bubbles? Use paddle attachment on low speed
- Streaky appearance? Beat extra 2-3 minutes
Expert Tip: I always make extra frosting – better to have too much than too little!
My Professional Assembly and Decoration Techniques

After years of cake decorating, I’ve perfected my method for assembling and decorating this Black Velvet Cake. Here’s how I create that wow factor:
Professional Assembly Method
1. Initial Setup
- I always start with chilled (but not frozen) cake layers
- Game-changing tip: I wrap and chill layers for 2 hours minimum
- Prepare my turntable with a cake board
- Add a dollop of frosting to secure the first layer
2. Layer Building Process
My foolproof stacking technique:
- Place first layer (flat side up)
- Add exactly 1 cup of buttercream
- Spread evenly using offset spatula
- Repeat with second layer
- Top with final layer (flat side up)
My Signature Decoration Style
1. Creating the Perfect Crumb Coat
- Apply thin layer of frosting all over
- Scrape sides until barely visible
- Chill for 15-20 minutes
- This locks in all crumbs for a flawless final coat
2. Final Coating Technique
My method for smooth sides:
- Apply generous layer of frosting
- Hold bench scraper vertically
- Spin turntable slowly while smoothing
- Clean scraper between each pass
Professional Finishing Touches
Top Decoration Options
I alternate between these show-stopping finishes:
- Rosette Border:
- Use Wilton 1M tip
- Pipe consistent pressure
- Start from outside, work inward
- Chocolate Drip:
- Heat cream and pour over chocolate
- Let cool to perfect dripping consistency
- Pour around edges
Storage & Serving Tips
- Store at room temperature up to 24 hours
- Refrigerate up to 5 days
- Let slices sit 20 minutes before serving
- This brings out maximum flavor
Final Words & Pro Tips
After sharing my complete process for creating this stunning Black Velvet Cake, I can’t emphasize enough how this recipe has become my signature dessert. Through countless iterations in my kitchen, I’ve discovered that what makes this cake truly special isn’t just its striking appearance – it’s the perfect balance of rich chocolate flavor, moist texture, and that silky-smooth buttercream.
- Always keep spare buttercream
- Take photos of each step
- Clean knife between each cut
- Serve at slight room temperature
Remember: Patience is key for professional results. Don’t rush the process – each step matters for that perfect finish!


