As a passionate baker and dessert enthusiast, I’ve discovered the most incredible recipe that will make chocolate and peanut butter lovers weak in the knees. Get ready to dive into the world of the most indulgent Butterfinger Cheesecake you’ve ever tasted – a dessert that’s both a showstopper and a crowd-pleaser.
The Inspiration Behind the Cheesecake
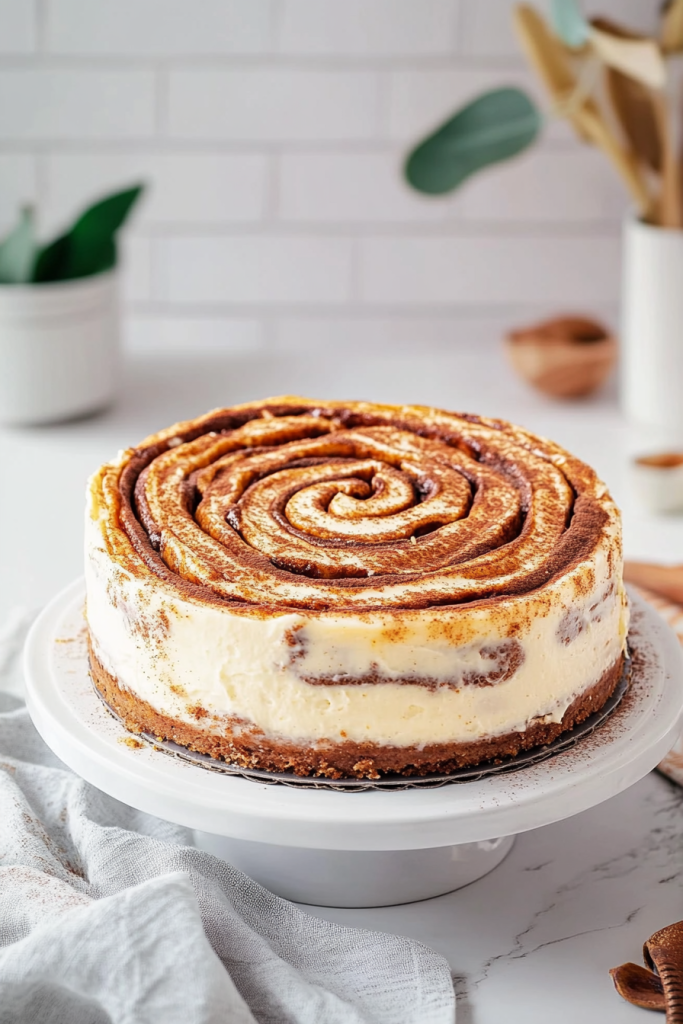
Let me take you on a journey of pure dessert decadence. This isn’t just any cheesecake – it’s a carefully crafted masterpiece that combines the rich, creamy texture of classic cheesecake with the irresistible crunch of Butterfinger candy bars. Every single bite is a perfect harmony of smooth cream cheese, peanut butter, and that iconic Butterfinger crackle.
Why This Cheesecake Is Absolutely Irresistible
Imagine a dessert that checks all the boxes:
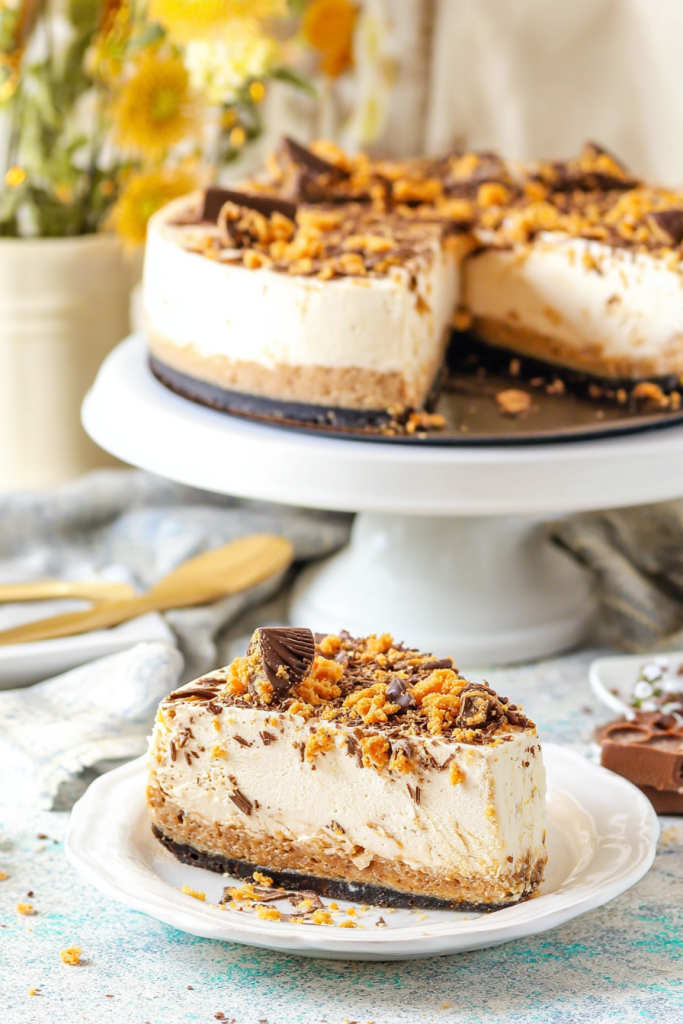
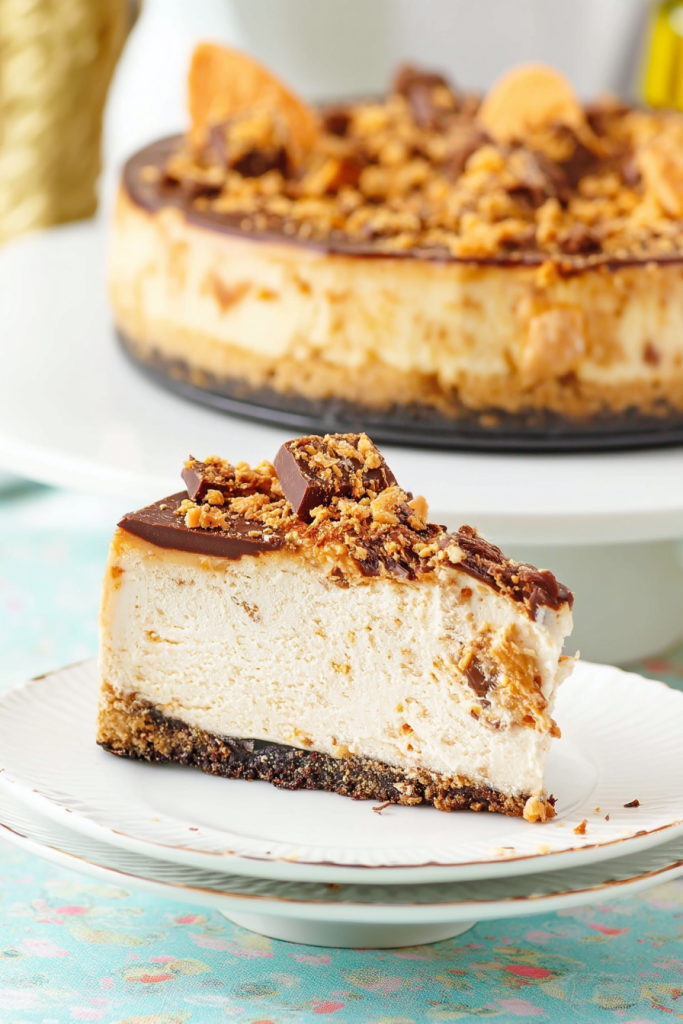
- A crunchy Oreo cookie crust that provides the perfect foundation
- A silky-smooth cheesecake filling packed with chopped Butterfinger pieces
- A luxurious chocolate ganache topping
- Dreamy peanut butter whipped cream as the final flourish
Trust me, this isn’t just a dessert – it’s an experience that will have everyone at your table begging for seconds.
A Quick Peek at What Makes This Cheesecake Special
What sets this Butterfinger Cheesecake apart is the meticulous attention to detail. From the carefully selected ingredients to the precise baking technique, every element has been thoughtfully considered to create the most decadent dessert possible.
The combination of cream cheese, peanut butter, and those beloved Butterfinger chunks creates a flavor profile that’s both familiar and extraordinary. It’s the kind of dessert that turns an ordinary meal into a celebration, and transforms a simple gathering into an unforgettable culinary moment.
Are you ready to embark on this delicious journey? Let’s dive into the ingredients and preparation that will make this Butterfinger Cheesecake your new favorite dessert.
Gathering Your Ingredients: The Building Blocks of Decadence
Let me break down the essential ingredients that will transform your kitchen into a dessert paradise. Each component plays a crucial role in creating the ultimate Butterfinger Cheesecake:
For the Oreo Crust
- 2 1/4 cups (302g) Oreo cookie crumbs
- 4 tablespoons (56g) salted butter, melted
For the Cheesecake Filling
- 24 ounces (678g) cream cheese, brought to room temperature
- 1 cup (207g) granulated sugar
- 3 tablespoons (24g) all-purpose flour
- 3/4 cup (173g) sour cream, at room temperature
- 1/2 cup (140g) creamy peanut butter
- 1 teaspoon vanilla extract
- 4 large eggs, room temperature
- 1 1/2 cups (about 12 fun-sized bars) chopped Butterfingers
For the Chocolate Ganache
- 6 ounces semi-sweet chocolate chips
- 1/2 cup heavy whipping cream
For the Peanut Butter Whipped Cream
- 3/4 cup heavy whipping cream
- 1/2 cup (58g) powdered sugar
- 2 tablespoons (35g) peanut butter
- 1/4 teaspoon vanilla extract
- Extra chopped Butterfingers for topping
Pro Tips for Ingredient Success
Let me share a few insider secrets that can make or break your cheesecake:
- Room temperature ingredients are absolutely crucial. They blend more smoothly and create a more uniform texture.
- Use high-quality cream cheese for the richest flavor.
- Don’t skimp on the Butterfingers – they’re the star of the show!
- Measure your ingredients precisely. Baking is a science, and accuracy matters.
Equipment You’ll Need
Before you start, make sure you have these essential tools:
- 9-inch springform pan
- Parchment paper
- Aluminum foil
- Electric mixer
- Large mixing bowls
- Piping bag (optional, but recommended for the whipped cream)
- Water bath setup
Preparation is key, and having everything ready before you start will make the baking process smooth and enjoyable. Are you ready to dive into the step-by-step process of creating this show-stopping dessert?

Mastering the Art of Butterfinger Cheesecake: Step-by-Step Preparation
Creating this show-stopping dessert might seem intimidating, but I’m here to guide you through every single step. Trust me, with a little patience and attention to detail, you’ll become a cheesecake master in no time!
Preparing the Perfect Oreo Crust
- Preheat and Prepare: Start by preheating your oven to 325°F (163°C). This is your first step to cheesecake perfection.
- Crust Creation:
- Crush your Oreo cookies into fine crumbs. Pro tip: A food processor works wonders, but a ziplock bag and rolling pin can work just as well.
- Mix the Oreo crumbs with melted butter until the mixture resembles wet sand.
- Press the mixture firmly into the bottom of a 9-inch springform pan lined with parchment paper.
- Bake the crust for 10 minutes, then set aside to cool completely.
Crafting the Cheesecake Filling
- Prep Work:
- Reduce the oven temperature to 300°F (148°C).
- Chop your Butterfinger bars into small pieces. Set aside.
- Mixing Magic:
- In a large bowl, beat the cream cheese, sugar, and flour on low speed. The key is to keep the speed low to avoid incorporating too much air – this prevents those dreaded cheesecake cracks.
- Add sour cream, peanut butter, and vanilla extract. Mix until smooth.
- Add eggs one at a time, mixing slowly after each addition. Scrape down the sides of the bowl to ensure everything is well combined.
- Gently fold in the chopped Butterfinger pieces.
The Water Bath Method
The water bath is your secret weapon for a crack-free, creamy cheesecake:
- Wrap the outside of your springform pan with aluminum foil to prevent water from seeping in.
- Pour the cheesecake batter into the prepared crust.
- Place the springform pan inside a larger pan.
- Fill the outer pan with warm water, about halfway up the sides of the springform pan.
Baking and Cooling
- Bake to Perfection:
- Bake for 1 hour and 25 minutes. The center should be set but still slightly jiggly.
- Turn off the oven and leave the door closed for 30 minutes. This slow cooling prevents cracking.
- Crack the oven door for another 30 minutes to continue the slow cooling process.
- Refrigeration:
- Remove the cheesecake from the oven and water bath.
- Refrigerate for 5-6 hours or overnight until firm.
Pro Baking Tips
- Always use room temperature ingredients for the smoothest texture.
- Don’t overmix the batter – this can lead to cracks and a less creamy texture.
- The water bath might seem like an extra step, but it’s crucial for that perfect, crack-free cheesecake.
Are you ready to take your cheesecake to the next level with the final touches?
The Final Flourish: Decorating Your Masterpiece
Now comes the most exciting part – transforming your perfectly baked cheesecake into a true showstopper. These final touches will elevate your dessert from delicious to absolutely irresistible.
Chocolate Ganache Layer
- Ganache Preparation:
- Place 6 ounces of semi-sweet chocolate chips in a heat-proof bowl.
- Heat the heavy whipping cream until it just begins to boil.
- Pour the hot cream over the chocolate chips.
- Let it sit for 2-3 minutes to allow the chocolate to melt.
- Whisk until smooth and glossy.
- Pour the ganache over the cooled cheesecake, spreading it into an even layer.
Peanut Butter Whipped Cream
- Whipped Cream Creation:
- In a large mixer bowl, combine heavy whipping cream, powdered sugar, peanut butter, and vanilla extract.
- Whip on high speed until stiff peaks form.
- Transfer the whipped cream to a piping bag fitted with a decorative tip (I recommend Ateco tip #844).
- Pipe elegant shells around the edge of the cheesecake.
Final Butterfinger Topping
- Chop a few additional fun-sized Butterfinger bars.
- Sprinkle the chopped candy over the top of the cheesecake for that extra crunch and visual appeal.
Serving and Storage Tips
Serving Suggestions
- Allow the cheesecake to sit at room temperature for 15-20 minutes before serving.
- Use a hot, clean knife to get the cleanest slices.
- Serve on a beautiful cake stand for maximum impact.
Storage Recommendations
- Store the cheesecake in a well-covered container in the refrigerator.
- Best enjoyed within 3-4 days of preparation.
- Pro tip: Individual slices can be wrapped and frozen for up to a month.
Troubleshooting Common Cheesecake Challenges
- Cracked Top: This usually happens due to overmixing or rapid temperature changes. Follow the water bath and slow cooling method precisely.
- Soggy Crust: Always make sure to wrap your pan carefully and use a good-quality springform pan.
- Lumpy Filling: Ensure all ingredients are at room temperature and mix on low speed.
Make It Your Own
Feel free to get creative! While this Butterfinger Cheesecake is already phenomenal, you can always:
- Experiment with different candy bar toppings
- Try a caramel drizzle
- Add a sprinkle of sea salt for extra flavor complexity
The Sweet Conclusion
Creating this Butterfinger Cheesecake is more than just baking a dessert – it’s about crafting a memorable experience. Each slice tells a story of patience, precision, and pure indulgence. Whether you’re celebrating a special occasion or simply treating yourself, this cheesecake is guaranteed to create moments of pure joy.