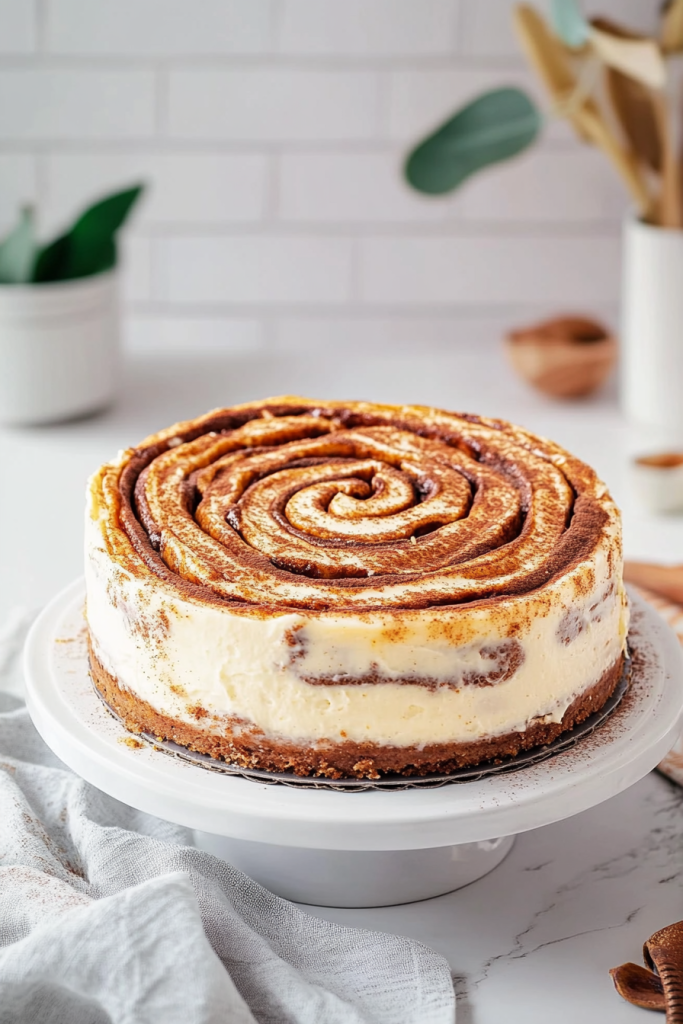
Let me take you on a delightful journey through one of the most luxurious desserts you’ll ever experience – the Chocolate Swirl Cheesecake. As a passionate baker, I’ve discovered that this isn’t just a dessert; it’s a work of art that combines the rich, velvety smoothness of cheesecake with the deep, intoxicating swirls of chocolate.
The Magic Behind the Perfect Chocolate Swirl Cheesecake
There’s something truly special about a cheesecake that promises – and delivers – pure indulgence. When I first perfected this recipe, I knew I had created something extraordinary. The key? Patience, high-quality ingredients, and a technique that transforms a simple cheesecake into a masterpiece of flavor and texture.
Why This Cheesecake Stands Out
My chocolate swirl cheesecake isn’t just another dessert. It’s a carefully crafted experience that begins with the most critical ingredient: premium cream cheese. I’ve learned through years of baking that not all cream cheese is created equal. That’s why I insist on using full-fat Philadelphia cream cheese – it’s the secret to achieving that impossibly creamy, smooth texture that makes this cheesecake truly unforgettable.
The Essential Equipment
Before we dive into the magic of creating this dessert, let’s talk about the tools you’ll need. Don’t worry – you won’t need any fancy professional equipment. Here’s what I recommend:
- A 9-inch springform pan (the unsung hero of cheesecake baking)
- Two mixing bowls
- An electric mixer
- A spatula
- A food processor or rolling pin (for the crust)
Trust me, with these simple tools, you’re about to create a dessert that will have everyone asking for your secret recipe.
Gathering the Perfect Ingredients
Let’s talk ingredients – the heart and soul of any remarkable dessert. I’ve carefully selected each component to ensure maximum flavor and that melt-in-your-mouth texture we all crave.
Crust Ingredients
- 10 sheets of graham crackers
- 5 tablespoons of butter
Cheesecake Ingredients
- 32 ounces (4 bricks) of full-fat Philadelphia cream cheese
- 1½ cups granulated white sugar
- ¼ cup corn starch
- 1 tablespoon pure vanilla extract
- 3 large eggs
- ⅔ cup heavy whipping cream
- 6 ounces semi-sweet baking chocolate
Preparing the Perfect Crust
The foundation of any great cheesecake is its crust, and I’m about to share my foolproof method. Preheat your oven to 350°F and let’s get started. I’ve found that the secret to an incredible crust is in the preparation.
First, crush those graham crackers. You can use a food processor for a fine, even crumb, or if you’re feeling nostalgic (like I often do), grab a rolling pin and crush them the old-fashioned way. There’s something therapeutic about crushing those crackers – it’s like releasing all the day’s stress!
Melt the butter and mix it thoroughly with the graham cracker crumbs. This is where the magic begins. Press the mixture into your 9-inch springform pan. Pro tip: Use the bottom of a small measuring cup to press the crust. It makes the base compact and even – a little trick I’ve learned over years of baking.
Pop the crust in the oven and bake for just 3 minutes. This quick bake helps set the crust, creating a solid foundation for our cheesecake masterpiece. It’s a small step that makes a world of difference.
Mastering the Cheesecake Batter: A Delicate Art
Creating the perfect cheesecake batter is where true baking magic happens. Let me walk you through my tried-and-true method that guarantees a smooth, creamy, and absolutely divine cheesecake every single time.
The Mixing Technique
Start by letting your cream cheese come to room temperature – this is non-negotiable! Cold cream cheese is the enemy of smooth cheesecake. Using an electric mixer on medium-low speed, begin by beating one brick of cream cheese with the corn starch and ½ cup of sugar. Take your time – mix for 3 minutes, scraping down the sides of the bowl at each minute mark.
Then, add the remaining cream cheese, one package at a time. Mix for one minute per package, always scraping down the sides. This methodical approach ensures no lumps and creates a silky-smooth base. Trust me, patience is your best friend in cheesecake making.
Creating the Chocolate Swirl Magic
Once you’ve mixed in the remaining sugar and vanilla, it’s time for the eggs. Add them one at a time, beating well after each addition and scraping down the edges of the bowl. The mixture should be smooth, creamy, and absolutely beautiful. This is where you’ll feel like a true pastry chef!
Now for the most exciting part – the chocolate swirl. Gently stir in the whipping cream on low speed. Then, separate about one-third of the batter into another bowl. Melt the semi-sweet chocolate carefully – it should be smooth and runny. Fold the melted chocolate into the smaller portion of batter.
The Swirling Technique
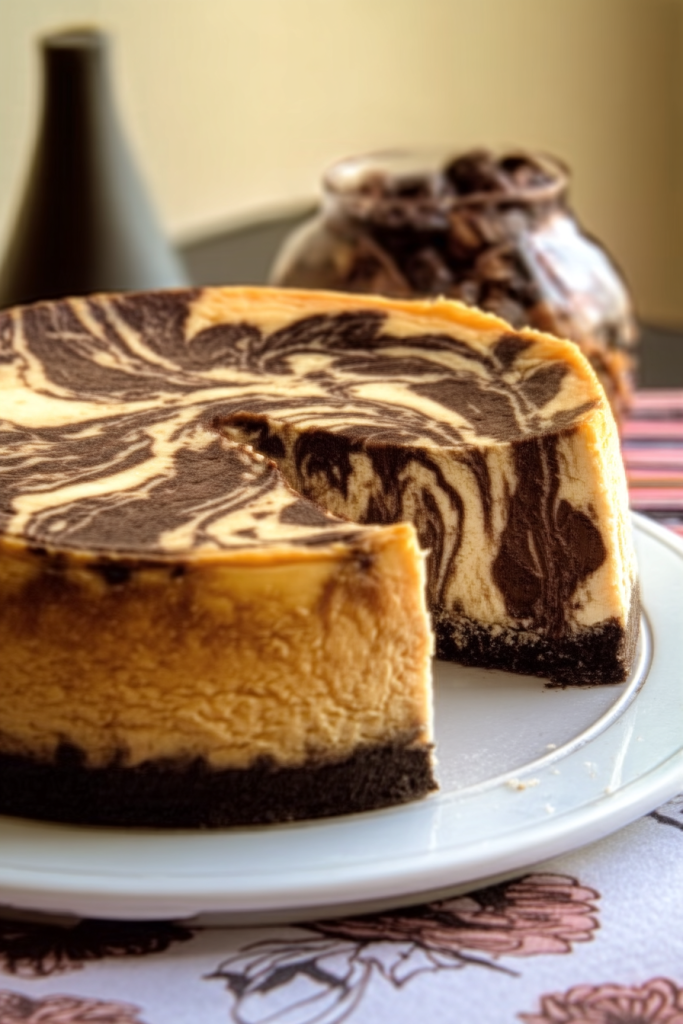
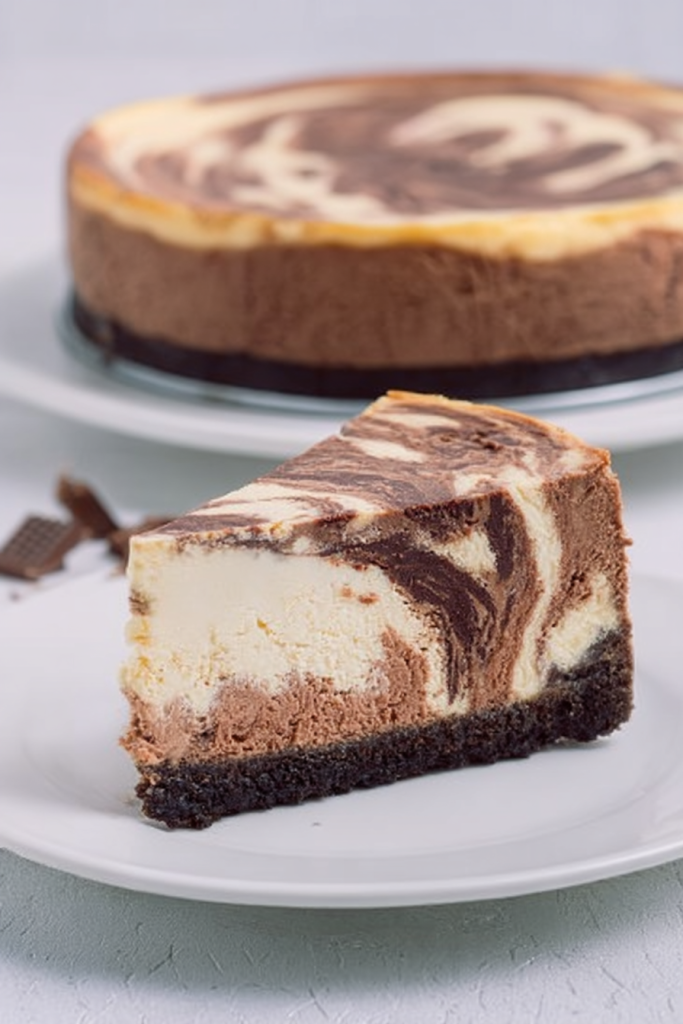
Here’s where your artistry comes into play. Pour half of the plain cheesecake batter into the springform pan. Then, drop spoonfuls of the chocolate batter on top. Use a damp finger to gently press and slightly mix the chocolate batter. The key is to create beautiful swirls without over-mixing – you want distinct chocolate ribbons, not a uniform chocolate cheesecake.
Repeat the layering process with the remaining batters, creating a mesmerizing pattern that will have everyone in awe when you slice into the cheesecake. But remember the golden rule: don’t over-swirl! Gentle touches create the most beautiful results.
The Baking and Cooling Process: Patience is Key
Now comes the most crucial part of our cheesecake journey – baking and cooling. This is where many home bakers make critical mistakes, but I’m going to guide you to cheesecake perfection.
The Water Bath Method
I cannot stress enough the importance of a water bath. This technique ensures even baking and prevents those dreaded cracks. Here’s my foolproof method: Wrap your springform pan in aluminum foil – double-wrap it to prevent any water from seeping in. Place the pan in a large roasting pan and fill the outer pan with hot water, about halfway up the sides of the springform pan.
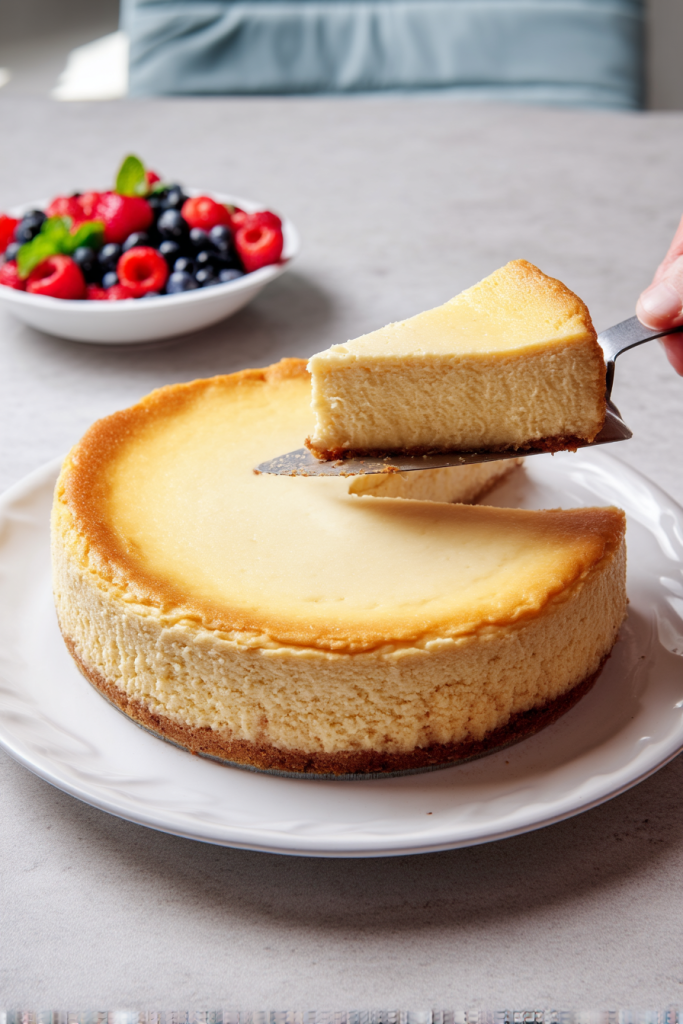
Bake at 350°F for 70-80 minutes. You’re looking for a light golden tan color and a slight wobble when you nudge the pan. The wobble is good – it means your cheesecake is perfectly creamy!
The Critical Cooling Process
Here’s a secret that separates good cheesecakes from great ones: cooling. Remove the cheesecake from the oven and let it sit undisturbed at room temperature for at least 3 hours. I know it’s tempting to rush, but patience is your friend. Cooling too quickly can cause cracks and ruin the texture you’ve worked so hard to achieve.
After the initial cooling, refrigerate for at least 4 hours or overnight. This allows the cheesecake to set completely and develop its full flavor.
Storage and Serving Tips
Storing Your Masterpiece
- Refrigerator: Up to 3 days in an airtight container
- Freezer: Up to 2 months (wrap tightly in plastic wrap and aluminum foil)
- Thawing: Refrigerate for 2 hours before serving
Common Cheesecake Mistakes to Avoid
- Low-Quality Cream Cheese: Always use full-fat Philadelphia cream cheese.
- Rushing the Cooling Process: Allow the cheesecake to cool slowly at room temperature.
- Over-Swirling: Keep those chocolate swirls distinct and beautiful.
- Skipping the Water Bath: This is crucial for that smooth, crack-free texture.
Final Thoughts
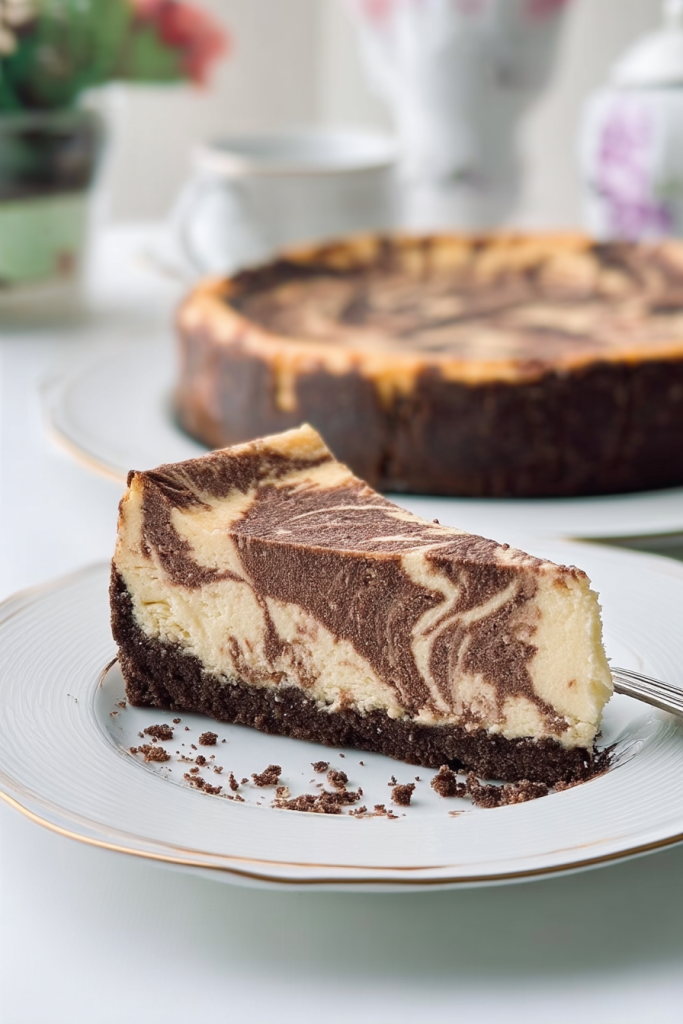
Every slice of this Chocolate Swirl Cheesecake tells a story – a story of patience, precision, and pure indulgence. Whether you’re celebrating a special occasion or simply treating yourself, this cheesecake is more than a dessert. It’s an experience, a moment of pure bliss that will have everyone asking for your recipe.
So go ahead, put on your apron, channel your inner pastry chef, and create a dessert that’s sure to become a family favorite. Happy baking!