There’s something magical about those delectable desserts you find at Costco that seem to capture pure happiness in a single bite. Among these treasures, their vanilla mousse stands out as a crowd-pleaser that has everyone coming back for more. As a passionate home baker and dessert enthusiast, I’ve spent countless hours perfecting a homemade version that captures the essence of that beloved Costco treat.
Imagine a dessert so light it practically floats off your spoon, yet so rich and creamy it feels like an indulgent embrace. This copycat Costco vanilla mousse is more than just a dessert – it’s a nostalgic journey that brings the bakery counter right into your own kitchen. Whether you’re looking to recreate a favorite memory or impress your guests with a show-stopping dessert, this recipe is your golden ticket to mousse perfection.
What makes this mousse truly special is its delicate balance of simplicity and sophistication. It’s a dessert that requires minimal ingredients but delivers maximum flavor. The secret lies in the technique – creating a mousse that is simultaneously airy and decadent, with a pure vanilla flavor that sings with every spoonful.
As someone who has tested and retested this recipe more times than I can count, I can confidently say that this homemade version not only rivals the Costco original but might just surpass it. The best part? You can now enjoy this heavenly dessert whenever the craving strikes, without making a trip to the store.
Get ready to dive into a world of creamy, vanilla-infused bliss that will have everyone asking, “How did you make this?”
Ingredients: The Magic Behind the Mousse
Crafting the perfect vanilla mousse requires a careful selection of high-quality ingredients. Each component plays a crucial role in creating that signature Costco-like texture and flavor.
Mousse Ingredients:
- 1 (3.7 oz) package instant vanilla pudding mix
- 1 cup half-and-half (full-fat for maximum creaminess)
- 1 tablespoon Dream Whip powder
- 1 teaspoon pure vanilla extract (use the good stuff!)
Optional Garnish:
- Fresh berries
- Whipped cream
- Vanilla wafer crumbs
- Mint leaves
Why These Ingredients Matter:
- Instant Pudding Mix: The secret weapon that provides instant thickness and rich vanilla flavor.
- Half-and-Half: Creates a luxurious, creamy base that’s richer than milk but lighter than heavy cream.
- Dream Whip: Adds stability and extra fluffiness to the mousse.
- Vanilla Extract: Intensifies the vanilla flavor and adds depth to the dessert.
Pro Tip: Quality ingredients make all the difference. I always recommend using a premium vanilla extract and full-fat half-and-half to achieve that authentic, bakery-style mousse that will have everyone swooning.
Preparation: Setting the Stage for Mousse Perfection
Before you begin, there are a few key preparation steps that will ensure your mousse turns out absolutely divine. It’s all about creating the perfect environment for your ingredients to shine.
Equipment You’ll Need:
- Large mixing bowl
- Hand blender or electric mixer
- Measuring cups and spoons
- Spatula
- Serving glasses or a large serving dish
Mise en Place: The Key to Smooth Sailing
- Temperature Matters: Remove your half-and-half from the refrigerator about 15 minutes before you start. You want it to be cool but not ice-cold.
- Gather Your Tools: Have all your equipment clean and ready. A spotless bowl is crucial for whipping up the perfect mousse.
- Chill Your Serving Dishes: For an extra touch of professionalism, place your serving glasses or dish in the refrigerator to chill. This helps the mousse set beautifully and maintains its texture.
Ingredient Prep Tips:
- Pudding Mix: Ensure your instant pudding mix is fresh and hasn’t expired. The quality of the mix can make or break your mousse.
- Dream Whip: If you can’t find Dream Whip, you can omit it, but it does add an extra layer of stability to the mousse.
- Vanilla Extract: Always opt for pure vanilla extract over imitation vanilla. The depth of flavor is incomparable.
Pro Preparation Techniques:
- Sift the pudding mix and Dream Whip together to prevent any lumps.
- Use a cold bowl and beaters for the best whipping results.
- Work quickly but carefully to maintain the airiness of the mousse.
Preparation is an art form, and with these tips, you’re well on your way to creating a mousse that would make even a Costco baker proud. The next step is where the magic truly happens – mixing these ingredients into a cloud-like dessert that will have everyone begging for seconds.
Step-by-Step Instructions: Crafting the Perfect Vanilla Mousse
Creating this heavenly dessert is an art form that requires precision, patience, and a touch of culinary magic. Follow these detailed steps, and you’ll transform simple ingredients into a mousse that rivals the Costco bakery’s finest.
Step 1: Mixing the Base
- In a large, clean mixing bowl, combine the instant vanilla pudding mix and Dream Whip powder.
- Sift the dry ingredients together to eliminate any potential lumps. This step is crucial for a smooth, silky texture.
- Pour in the cold half-and-half and vanilla extract.
Step 2: Whipping to Perfection
- Using a hand blender or electric mixer, begin mixing on low speed.
- Gradually increase to medium-high speed, beating the mixture for 2-3 minutes.
- Watch for the transformation: The mixture will start to thicken and become lighter in color.
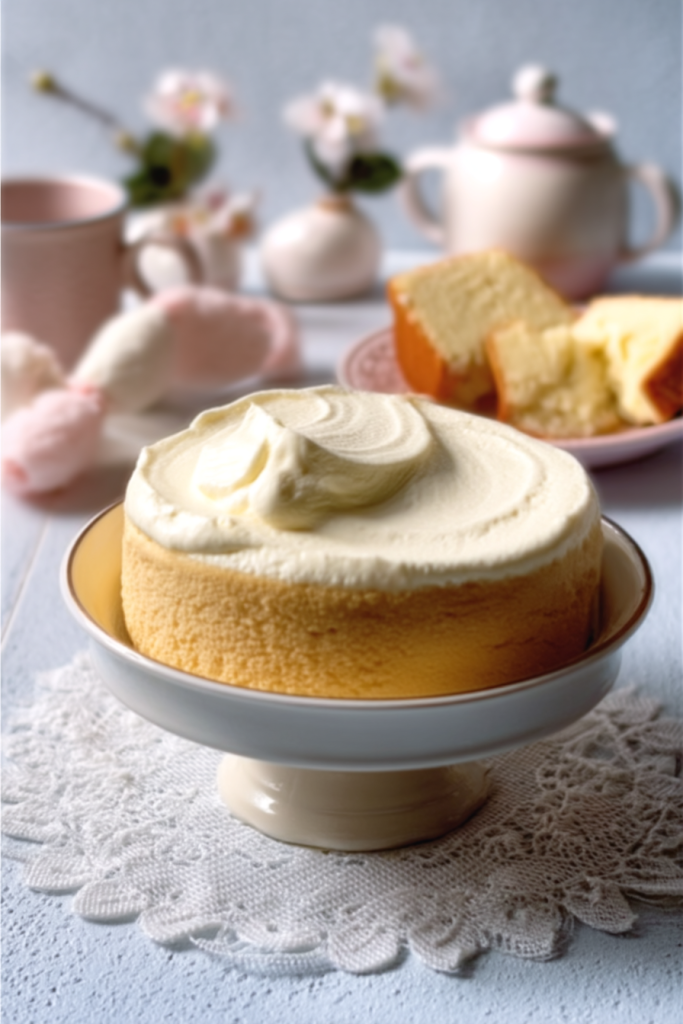
- Continue beating until the mousse forms soft, billowy peaks. Be careful not to overbeat, as this can cause the mousse to become grainy.
Pro Mixing Techniques
- Temperature Trick: For the fluffiest mousse, ensure all ingredients are cold.
- Beating Wisdom: Stop mixing the moment the mousse reaches a thick, creamy consistency.
- No Rushing: Take your time and be patient. Great mousse can’t be hurried.
Step 3: Setting the Mousse
- Once whipped to perfection, immediately transfer the mousse to your chilled serving dishes.
- Use a spatula to create beautiful, swirling peaks if desired.
- For the most authentic Costco-like experience, fill tall glasses about ¾ full.
Step 4: Chilling and Final Touches
- Refrigerate the mousse for at least 1 hour before serving.
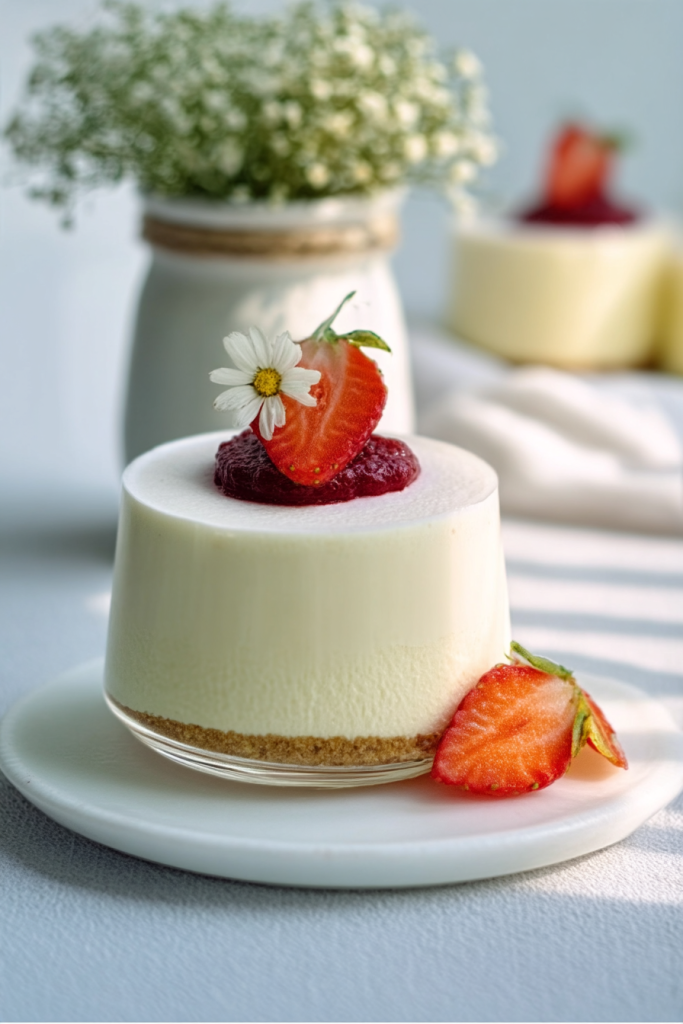
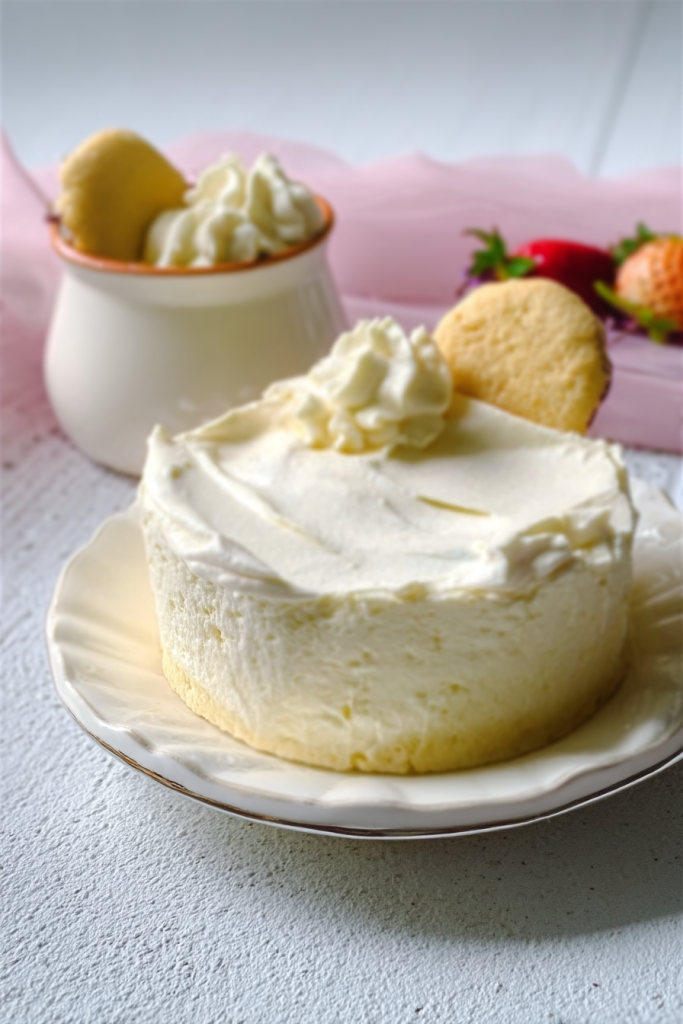
- Just before serving, add your optional garnishes:
- A dollop of fresh whipped cream
- A sprinkle of vanilla wafer crumbs
- A few fresh berries
- A mint leaf for a pop of color
Troubleshooting Tips
- Mousse Too Thin: If your mousse doesn’t set, it might be due to:
- Not beating long enough
- Using room temperature ingredients
- Incorrect measurements
- Mousse Too Thick: Add a tablespoon of cold half-and-half and gently fold in.
Timing and Yield
- Prep Time: 10 minutes
- Chill Time: 1 hour
- Total Time: 1 hour 10 minutes
- Yield: 4-6 servings, depending on glass size
Insider’s Secret
The magic of this mousse lies in the brief window of perfect consistency. Too little beating, and it’s runny. Too much, and it becomes grainy. That moment of perfection is what separates a good mousse from an extraordinary one.
Serving, Storage, and Presentation: The Final Flourish
The true magic of a great dessert lies not just in its taste, but in how it’s presented and preserved. Let me share my tried-and-true techniques for making your vanilla mousse a showstopper from first glance to last bite.
Serving Suggestions
The beauty of this mousse is its versatility. Here are my favorite ways to serve this creamy delight:
Classic Presentation
- Serve in clear glass parfait glasses to showcase the mousse’s beautiful texture
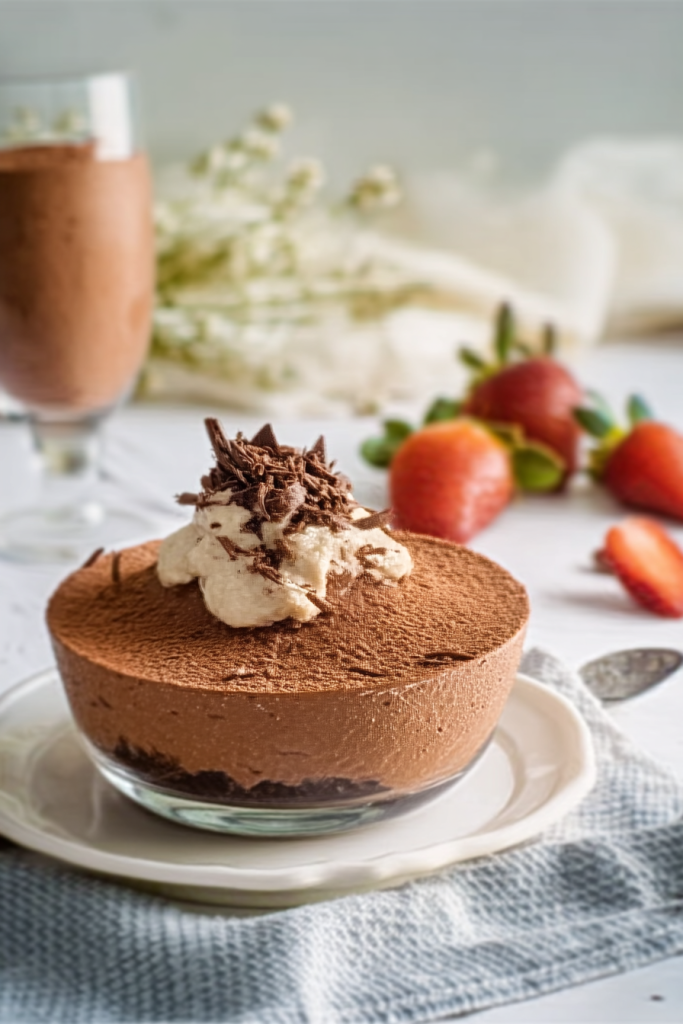
- Create elegant layers by alternating mousse with:
- Crushed vanilla wafers
- Fresh berries
- Chocolate shavings
- Caramel drizzle
Fancy Dinner Party Style
- Use martini glasses for a sophisticated look
- Garnish with:
- Edible gold leaf
- Candied orange peel
- Toasted almond slivers
- Lavender sprigs
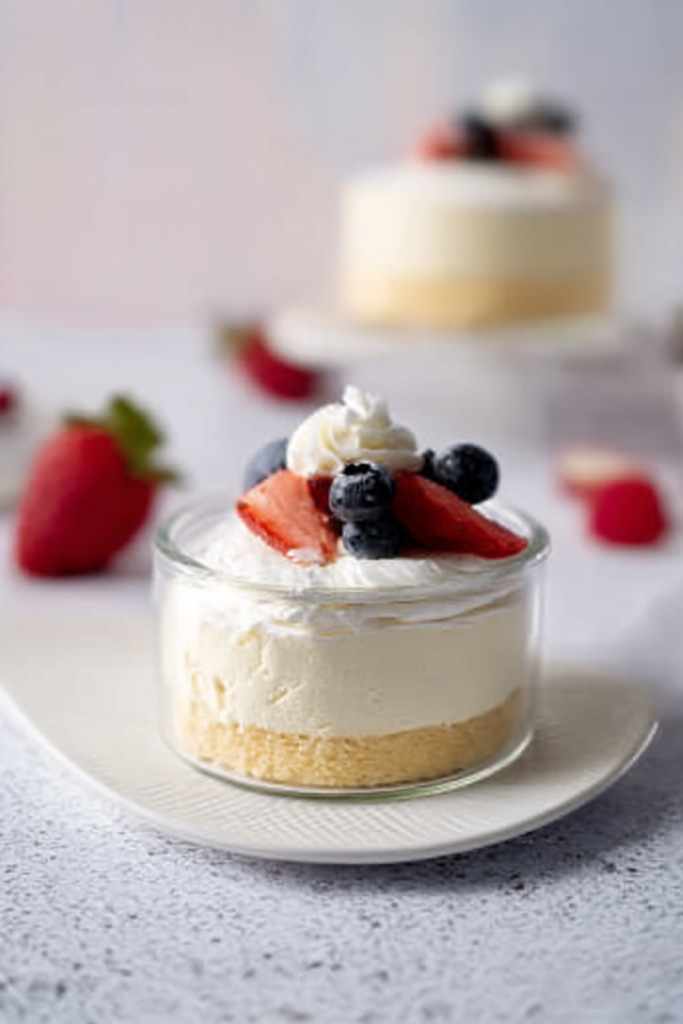
Casual Gathering Approach
- Use mason jars for a rustic, approachable presentation
- Top with:
- Whipped cream
- Colorful sprinkles
- Mini chocolate chips
- Fresh mint leaves
Storage Secrets
Proper storage is key to maintaining the mousse’s divine texture and flavor:
Refrigeration
- Store in an airtight container
- Best consumed within 2-3 days
- Keep refrigerated at 40°F (4°C) or below
- Cover with plastic wrap directly touching the mousse surface to prevent skin formation
Freezing Tips
- Can be frozen for up to 1 month
- Best to freeze without additional toppings
- Thaw in refrigerator for 2-3 hours before serving
- Gently fold to restore original texture
Make-Ahead Magic
- Prepare mousse up to 24 hours in advance
- Always add fresh garnishes just before serving
- Keep covered in the refrigerator
Presentation Pro Tips
- Chill serving glasses beforehand for a frostier look
- Use a piping bag for elegant, swooping mousse placement
- Create height and drama with varying garnish levels
- Play with color contrasts using different toppings
Pairing Recommendations
Elevate your mousse experience by pairing with:
- Hot espresso
- Sweet dessert wines
- Chamomile tea
- Sparkling moscato
Common Mistakes to Avoid
- Don’t let mousse sit at room temperature for more than 2 hours
- Avoid over-mixing, which can deflate the mousse
- Never use warm utensils when preparing or serving
- Clean all equipment thoroughly to prevent fat separation
Scaling the Recipe
- Easy to double or halve
- Maintains same texture and flavor
- Adjust garnishes proportionally
Final Thoughts
This copycat Costco vanilla mousse is more than just a dessert—it’s a canvas for your creativity. Whether you’re hosting a dinner party or enjoying a quiet moment of indulgence, this recipe promises to transport you to dessert heaven with every spoonful.