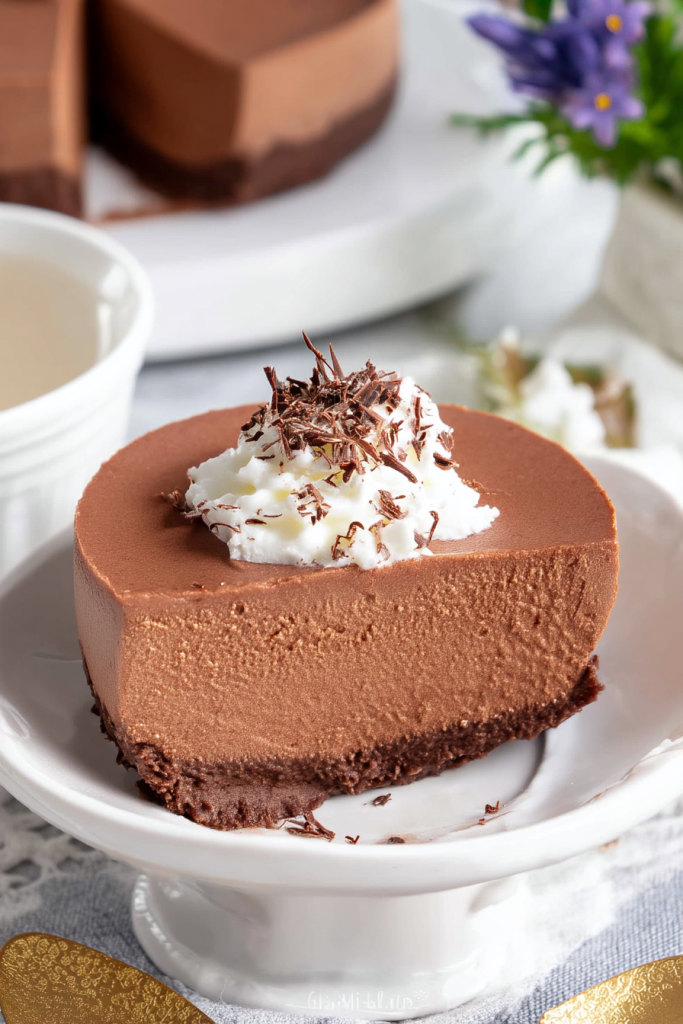
Imagine a dessert that’s so luxuriously smooth, so incredibly rich, and surprisingly simple to make – that’s exactly what this Easy Chocolate Mousse promises! As a chocolate lover, I’ve tried countless dessert recipes, but this mousse holds a special place in my heart. It’s the perfect balance of intense chocolate flavor and light, airy texture that melts in your mouth, leaving you craving just one more spoonful.
About This Chocolate Mousse Recipe
Let me take you through my journey of creating the most divine chocolate mousse you’ll ever taste. What makes this recipe truly special is its simplicity. With just a handful of high-quality ingredients and a bit of careful technique, you can transform simple ingredients into a restaurant-worthy dessert that will impress even the most discerning chocolate enthusiasts.
The secret to this mousse lies in the quality of chocolate and the careful technique of folding ingredients. It’s a delicate dance of melting, whipping, and folding that creates a dessert so smooth and decadent, you’ll hardly believe you made it yourself. Whether you’re looking to impress guests at a dinner party or simply want to treat yourself to a luxurious dessert, this chocolate mousse is your answer.
Why You’ll Fall in Love with This Chocolate Mousse
- Incredibly rich and smooth chocolate flavor
- Light and airy texture that melts in your mouth
- Requires only a few high-quality ingredients
- Perfect for chocolate lovers of all ages
- Can be prepared in advance, making it ideal for entertaining
- Looks and tastes like a gourmet dessert, but is surprisingly easy to make
Essential Equipment
Before we dive into the recipe, let’s make sure you have everything you need:
- Large mixing bowl
- Medium microwave-safe bowl
- Electric mixer or whisk
- Rubber spatula
- Small serving glasses or ramekins
- Measuring cups and spoons
Key Ingredients for Chocolate Mousse Success
Main Ingredients
- 3 large eggs (approximately 55g/2 oz each)
- 125g / 4.5 oz dark cooking chocolate (70% cocoa)
- 10g / 0.3 oz unsalted butter
- 1/2 cup full-fat cream
- 3 tablespoons caster sugar (superfine white sugar)
Ingredient Deep Dive
Dark Cooking Chocolate: The star of our mousse! I cannot stress enough how important it is to use COOKING chocolate, not eating chocolate. Look for high-quality dark chocolate with around 70% cocoa content. This ensures a rich, intense chocolate flavor that’s not too sweet.
Eggs: Fresh eggs are crucial. You’ll be using both the yolks and whites, so make sure they’re at their best. Separating eggs is easier when they’re cold, but whites whip up better at room temperature.
Cream: Full-fat cream is non-negotiable. Look for cream with 35% fat content that can be whipped. Avoid pouring cream that doesn’t whip up.
Butter: A small amount of unsalted butter helps create a smooth, glossy chocolate base.
Caster Sugar: The fine texture of caster sugar helps create smooth, stable egg whites without graininess.
Pro Tips for Chocolate Mousse Perfection
Making the perfect chocolate mousse might seem intimidating, but with these insider tips, you’ll be a chocolate mousse master in no time! Over years of experimenting, I’ve learned that precision and patience are the key to creating the most incredible dessert.
Egg Handling Secrets
The most crucial step in this recipe is managing your eggs. Here’s what you need to know:
- Separate eggs while they’re cold. Cold eggs separate more easily, with less risk of breaking the yolks.
- Allow egg whites to come to room temperature before whipping. This helps them reach maximum volume.
- Look for the perfect “firm peaks” when whipping egg whites. You want a slight “elf hat” flop at the top of the peak – not too soft, not too stiff.
Chocolate Melting Techniques
Melting chocolate can be tricky, but I’ve got you covered:
- Always use a microwave-safe bowl and melt in short 30-second bursts.
- Stir between each burst to ensure even melting.
- The ideal chocolate temperature is between 35-40°C (95-104°F). Too cool, and it won’t incorporate well; too hot, and it’ll cook your eggs.
Folding Like a Pro
The secret to a light, airy mousse is in the folding technique:
- Use a rubber spatula and be gentle but purposeful.
- Fold egg yolks into cream in just 8 strokes.
- When adding chocolate, use no more than 8 folds.
- When combining with egg whites, be extra careful – aim for 12 folds maximum.
- Always fold until no white patches remain, but don’t overmix!
Common Mistakes to Avoid
- Using the Wrong Chocolate: Never substitute cooking chocolate with eating chocolate. Cooking chocolate melts more smoothly and is crucial for a perfect mousse.
- Overbeating Egg Whites: Stop beating when you achieve firm peaks. Overbeaten whites can make your mousse grainy and less smooth.
- Impatient Cooling: Let your melted chocolate cool slightly before incorporating. This prevents cooking the eggs and ensures a smooth texture.
- Skipping the Chilling Time: Patience is key! Refrigerate for at least 6 hours, preferably overnight, to let the mousse set perfectly.
Flavor Variations
While this classic chocolate mousse is divine on its own, don’t be afraid to get creative:
- Add 1 tablespoon of your favorite liqueur to the melted chocolate (rum, brandy, or orange liqueur work wonderfully)
- Sprinkle some sea salt on top for a salted chocolate twist
- Infuse with a hint of espresso for a mocha-style mousse
- Add a dash of cinnamon or chili for a warming touch
Pro Tip: When adding extra flavors, always add them at room temperature to the melted chocolate to prevent seizing. And remember, a little goes a long way – stick to about 1 tablespoon of additional flavoring!

Step-by-Step Chocolate Mousse Making Guide
Follow these detailed instructions, and you’ll create a chocolate mousse that’s sure to impress. Remember, precision is key, so read through the entire process before you begin!
Preparation Steps
- Egg Separation
- Take your eggs out of the refrigerator.
- Carefully separate the egg whites and yolks while the eggs are still cold.
- Place whites in a large, clean bowl and yolks in a small bowl.
- Let the whites sit at room temperature while you prepare other ingredients.
- Prepare Your Workspace
- Gather all ingredients and equipment.
- Ensure your mixing bowls are completely clean and dry (any trace of oil can prevent egg whites from whipping properly).
- Have your serving glasses or ramekins ready.
Chocolate and Cream Preparation
- Melt the Chocolate
- Break the dark cooking chocolate into small pieces.
- Place chocolate pieces in a microwave-safe bowl with the butter.
- Microwave in 30-second bursts, stirring between each burst.
- Continue until the chocolate and butter are completely smooth.
- Set aside to cool slightly, but keep it warm enough to remain runny.
- Whip the Cream
- In a clean bowl, beat the full-fat cream.
- Whip until stiff peaks form.
- Be careful not to over-beat – you want firm, glossy peaks.
- Set aside.
Egg White Magic
- Whip Egg Whites
- Add caster sugar to the egg whites.
- Beat until firm peaks form.
- The peaks should have a slight “elf hat” flop when the whisk is lifted.
- The mixture should look glossy and hold its shape.
The Delicate Folding Process
- Combine Ingredients
- Whisk egg yolks until uniform.
- Gently fold egg yolks into the whipped cream using a rubber spatula.
- Use no more than 8 folds – some streaks are perfectly fine.
- Add Chocolate
- Check chocolate temperature (it should be 35-40°C / 95-104°F).
- Pour chocolate into the cream and egg yolk mixture.
- Fold gently – no more than 8 folds.
- Some streaking is okay at this stage.
- Incorporate Egg Whites
- Add 1/4 of the beaten egg whites to the chocolate mixture.
- Fold through until incorporated (about 10 folds).
- “Smear” the spatula across the surface to blend any white lumps.
- Final Folding
- Pour the chocolate mixture into the remaining egg whites.
- Fold gently until fully incorporated.
- Aim for no more than 12 folds.
- Ensure no obvious egg white patches remain.
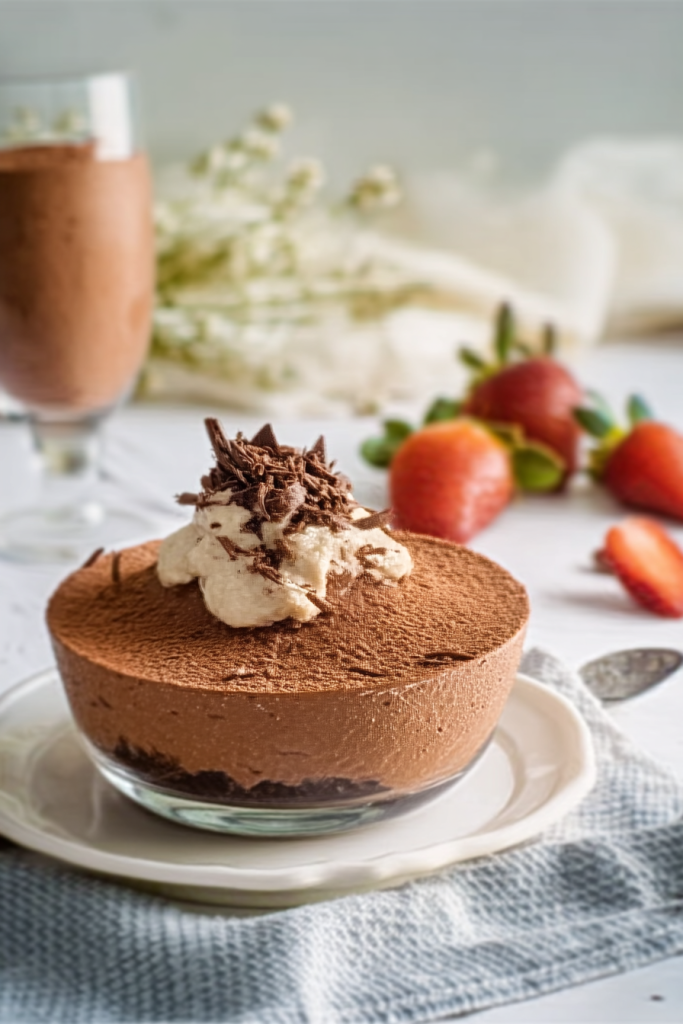
Finishing Touches
- Serve and Chill
- Divide the mousse between 4 small glasses or serving pots.
- Refrigerate for at least 6 hours, preferably overnight.
- This resting time allows the mousse to set and develop its full flavor.
Serving Suggestions
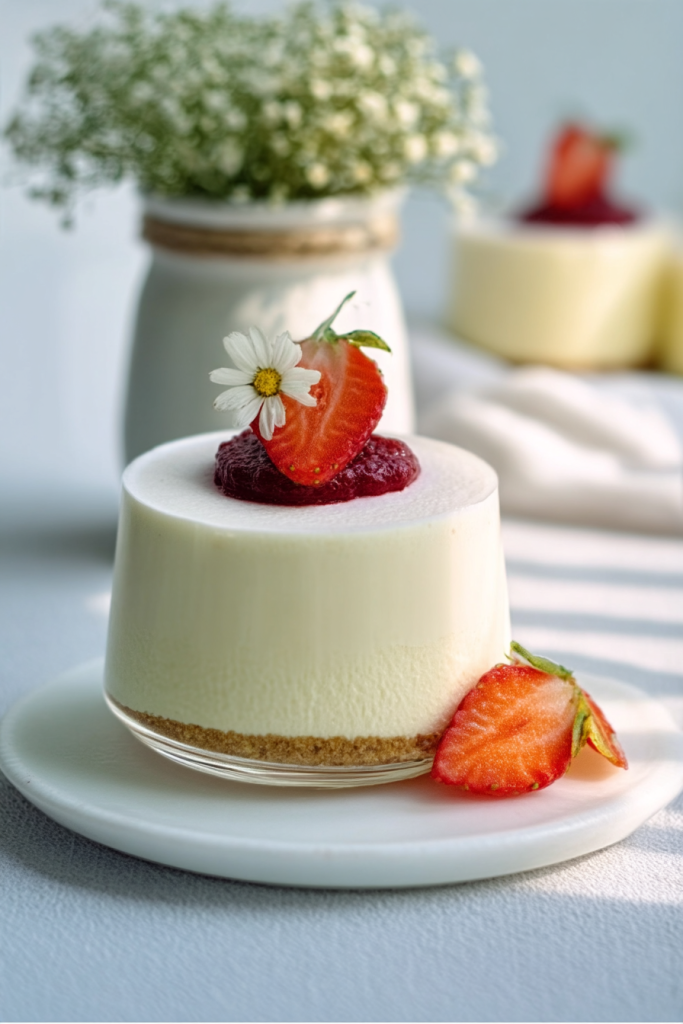
When you’re ready to serve, consider these beautiful garnishing ideas:
- Dollop of lightly whipped cream
- Chocolate shavings
- Fresh raspberries
- A tiny sprig of mint for a pop of color
- Dusting of cocoa powder
- Sprinkle of sea salt
Pro Tip: Remove the mousse from the refrigerator about 10 minutes before serving to allow it to soften slightly, bringing out the full depth of chocolate flavor.
Storage and Make-Ahead Tips
Storing this chocolate mousse is a breeze, making it perfect for advance preparation. Here’s everything you need to know about keeping your delightful dessert fresh:
Refrigeration
- Store the mousse in an airtight container in the refrigerator.
- Best consumed within 2 days of preparation.
- Can be kept for up to a week, though the texture may slightly change.
Freezing
- While possible, freezing is not recommended.
- The delicate texture of the mousse can become grainy or separate when frozen.
- If you must freeze, consume within 1 month and thaw in the refrigerator.
Frequently Asked Questions
Q: Can I make this recipe without raw eggs? A: Traditional mousse contains raw eggs. If you’re concerned about raw eggs, look for pasteurized eggs or consider an egg-free mousse recipe.
Q: Is this mousse gluten-free? A: Yes! The basic recipe is naturally gluten-free. Just ensure your chocolate is certified gluten-free.
Q: Can I make this mousse vegan? A: The traditional recipe isn’t vegan, but you can create a vegan version using:
- Coconut cream instead of dairy cream
- Silken tofu as an egg replacement
- Vegan dark chocolate
Q: How can I tell if I’ve whipped my egg whites correctly? A: Look for “firm peaks” – when you lift the whisk, the peak should have a slight curl at the top. It should hold its shape but not stand completely straight up.
Q: My mousse turned out grainy. What went wrong? A: Graininess can result from:
- Overbeating egg whites
- Chocolate that was too hot or cold when mixed
- Not folding ingredients gently enough
Final Thoughts
Creating this chocolate mousse is more than just making a dessert – it’s about crafting a moment of pure indulgence. Each spoonful is a testament to the magic that happens when simple ingredients are treated with care and precision. Whether you’re celebrating a special occasion or simply treating yourself, this chocolate mousse is sure to bring a smile to your face.
Remember, the key to a perfect mousse lies in the details – quality ingredients, careful technique, and a little bit of love. Don’t be discouraged if your first attempt isn’t perfect. Like any culinary art, making mousse takes practice.
So put on your apron, gather your ingredients, and get ready to create a dessert that’s sure to impress. Happy cooking!
Recipe Card
Easy Chocolate Mousse
Yield: 4 servings Prep Time: 20 minutes Chill Time: 6 hours Total Time: 6 hours 20 minutes
Ingredients:
- 3 large eggs
- 125g dark cooking chocolate (70% cocoa)
- 10g unsalted butter
- 1/2 cup full-fat cream
- 3 tbsp caster sugar
Garnish Options:
- Whipped cream
- Chocolate shavings
- Fresh berries
- Mint leaves
Equipement:
- Large mixing bowl
- Medium microwave-safe bowl
- Electric mixer
- Rubber spatula
- 4 serving glasses
Instructions:
- Separate egg whites and yolks
- Melt chocolate with butter
- Whip cream to stiff peaks
- Whip egg whites with sugar
- Fold ingredients carefully
- Chill for 6 hours
- Garnish and serve
Storage: Refrigerate up to 2 days Difficulty: Intermediate Cuisine: French-inspired Dessert