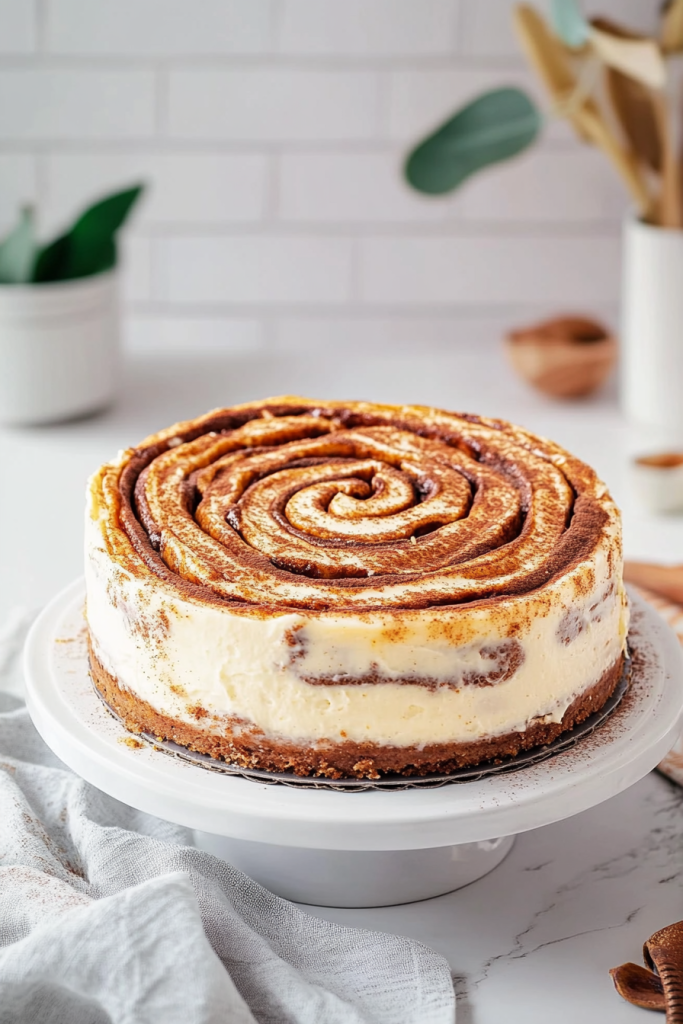
There’s something magical about a perfectly crafted layered cheesecake that can turn an ordinary day into an extraordinary celebration. As a passionate baker, I’ve spent years perfecting the art of creating the most incredible, mouth-watering layered cheesecake that will make your taste buds dance with joy.
The Story Behind the Layered Cheesecake
My journey with this layered cheesecake began on a lazy Sunday afternoon when I was experimenting in my kitchen. I wanted to create something that wasn’t just a dessert, but an experience – a showstopping treat that would leave everyone speechless. After countless attempts, multiple flavor combinations, and more than a few kitchen disasters, I finally developed the most incredible layered cheesecake recipe.
What makes this cheesecake special isn’t just its complex layers or stunning presentation. It’s the perfect balance of flavors, the delicate texture, and the love that goes into every single step of preparation.
Why You’ll Fall in Love with This Layered Cheesecake
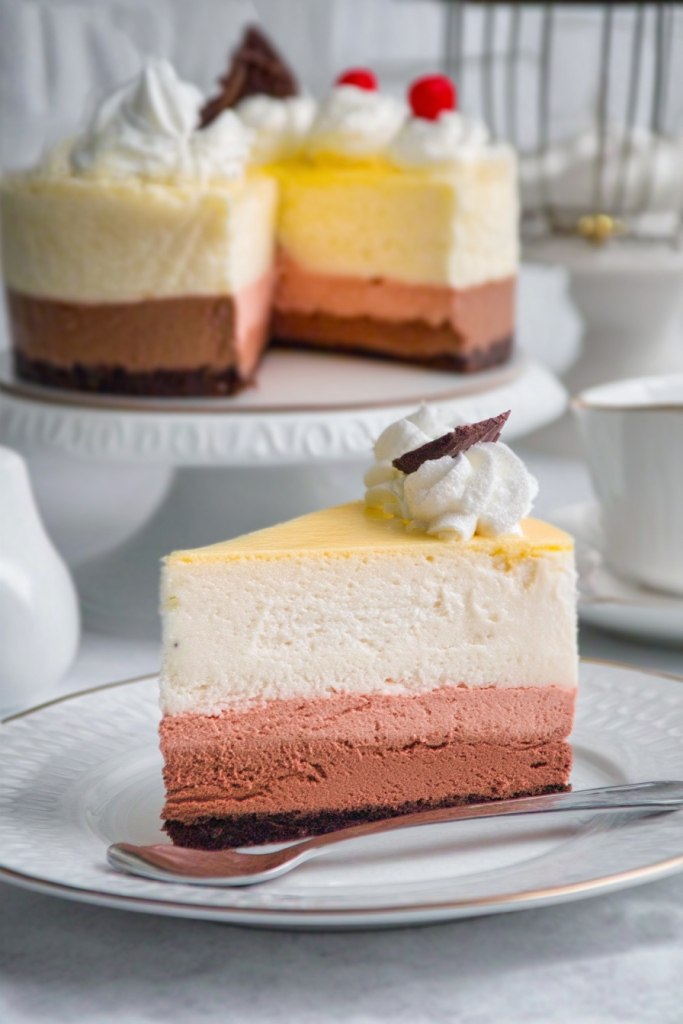
- Multiple Flavor Layers: Each bite is a journey of taste and texture
- Impressive Presentation: A true showstopper for any occasion
- Perfectly Balanced Flavors: Creamy, tangy, and absolutely delicious
- Make-Ahead Friendly: Can be prepared in advance for stress-free entertaining
- Customizable: Easily adaptable to your favorite flavors and preferences
Essential Equipment and Ingredients
Before we begin our delicious journey, let’s make sure you have everything you need to create this culinary masterpiece. Precision is key in baking, and having the right tools can make all the difference between a good dessert and an extraordinary one.
Must-Have Baking Tools
- Two 9-inch round cake pans
- Parchment paper
- Electric mixer or stand mixer
- Mixing bowls
- Spatula
- Measuring cups and spoons
- Springform pan (for assembly)
- Water bath setup
- Offset spatula
- Piping bag (optional)
Ingredient Breakdown: The Magic of Layers
For the Graham Cracker Crust
- 8 oz (1½ cups) graham cracker crumbs
- 2 oz (¼ cup) granulated sugar
- ½ teaspoon ground cinnamon
- 3 oz unsalted butter, melted
For the Cheesecake Batter
- 16 oz cream cheese, room temperature
- 8 oz (1 cup) granulated sugar
- 1 large lime (zest and juice)
- 6 oz (¾ cup) sour cream, room temperature
- 3 large eggs, room temperature
- 1 large egg yolk, room temperature
- 1 tablespoon vanilla extract
Additional Components
- 2 cups lime curd (with gelatin)
- 2 cups cream cheese frosting
- Graham cracker crumbs for decoration
Pro Baking Tip: The secret to a perfect cheesecake is all in the preparation. Make sure all your ingredients are at room temperature before you begin. This ensures a smooth, creamy batter without any lumps. Take your cream cheese, eggs, and sour cream out of the refrigerator about an hour before you start baking.
Each ingredient plays a crucial role in creating the perfect layered cheesecake:
- Cream Cheese: The star of the show, providing that classic creamy texture
- Graham Cracker Crust: Adds a delightful crunch and buttery base
- Lime: Brings a bright, tangy flavor that cuts through the richness
- Sour Cream: Adds moisture and a subtle tanginess
- Eggs: Help bind the cheesecake and provide structure
Mastering the Layered Cheesecake: A Step-by-Step Guide
Creating a layered cheesecake might seem intimidating, but I’ll walk you through each step to ensure your success. This recipe is all about precision, patience, and a little bit of baking magic.
Preparing the Graham Cracker Crust
- Mix the Dry Ingredients: In a mixing bowl, combine graham cracker crumbs, sugar, and cinnamon. The cinnamon adds a subtle warmth that elevates the entire dessert.
- Add Melted Butter: Pour the melted butter over the crumb mixture. Use a fork to mix until every crumb is perfectly coated and the mixture resembles wet sand.
- Bake the Crust: Press the mixture into one of your prepared 9-inch pans. Bake at 350°F for about 10 minutes until fragrant and just beginning to brown. This pre-baking helps create a crisp, sturdy base for your cheesecake layer.
Creating the Perfect Cheesecake Batter
The key to a smooth, crack-free cheesecake is all in the mixing technique:
- Cream the Cheese: Using a low speed on your mixer, beat the cream cheese until soft and smooth. The goal is to create a silky base, not to incorporate air.
- Add Flavor Builders: Mix in the sugar and lime zest. Scrape down the sides of the bowl to ensure everything is evenly incorporated.
- Incorporate Wet Ingredients: Add sour cream, then eggs in two batches. Mix on low speed, scraping between additions. This prevents overbeating, which can cause cracks.
- Final Touches: Stir in vanilla extract and lime juice. The lime adds a bright, tangy note that cuts through the richness of the cheesecake.
Baking Techniques
- Water Bath Method: Place your cheesecake pans in larger pans filled with about an inch of warm water. This creates a gentle, even heat that prevents cracking and ensures a smooth texture.
- Baking Times:
- Layer without crust: Bake for about 15 minutes
- Layer with crust: Bake for 20-25 minutes
- The center should be just set but still slightly jiggly
Freezing and Preparation
- Cooling Process: Allow the layers to cool to room temperature, then freeze for several hours or overnight.
- Removal Technique: Use a hot water bath or kitchen torch to easily remove the cheesecake layers from the pans.
Baking Wisdom: Patience is the secret ingredient in this recipe. Take your time with each step, and don’t rush the cooling and freezing process. These steps are crucial for creating perfectly smooth, easy-to-handle layers.
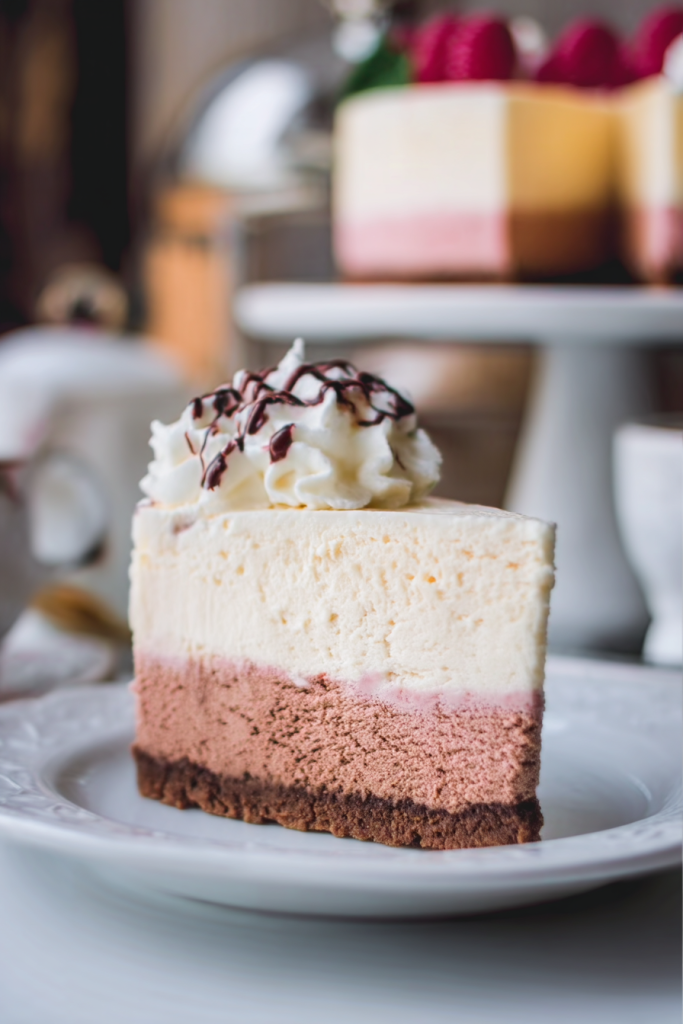
Assembly: Bringing the Layered Cheesecake to Life
The moment of truth has arrived – assembling your masterpiece! This is where all your hard work comes together to create a show-stopping dessert that will leave everyone in awe.
Preparing the Filling and Frosting
- Lime Curd Preparation:
- Warm the lime curd to room temperature
- Ensure it’s soft and pourable but not hot
- The consistency should be smooth and spreadable
- Cream Cheese Frosting:
- Fill a piping bag with the cream cheese frosting
- Create a 1-inch “dam” around the edge of the first cheesecake layer
- This dam prevents the lime curd from seeping out
Layering Technique
- First Layer Placement:
- Place the frozen cheesecake layer with the graham cracker crust on your serving platter
- Ensure it’s crust-side down for stability
- Filling the Layer:
- Pour 1¼ cups of lime curd onto the first layer
- Spread evenly within the cream cheese frosting dam
- The dam will help the curd set and prevent spreading
- Second Layer:
- Carefully place the second frozen cheesecake layer on top of the lime curd
- Ensure it’s centered and level
Finishing Touches
- Frosting the Sides:
- Use the cream cheese frosting to ice the sides of the cake
- Create a smooth, even coating
- Decorative Elements:
- Press graham cracker crumbs onto the sides of the cake
- Pipe a decorative border around the top edge
- Pour the remaining lime curd on top and spread to a smooth finish
Final Preparation
- Refrigerate the cake until the curd is completely set
- This typically takes about 1-2 hours
- Serve chilled for the best texture and flavor
Baker’s Secret: Take your time during the assembly process. Patience and a steady hand are your best tools for creating a perfectly layered cheesecake.
Make-Ahead and Storage Tips
- Cheesecake layers can be made ahead and frozen
- Lime curd can be prepared days in advance
- Cream cheese frosting can be made ahead and refrigerated
- Always bring refrigerated components to room temperature and re-whip before use
- The assembled cake can be stored in the refrigerator for up to 5 days
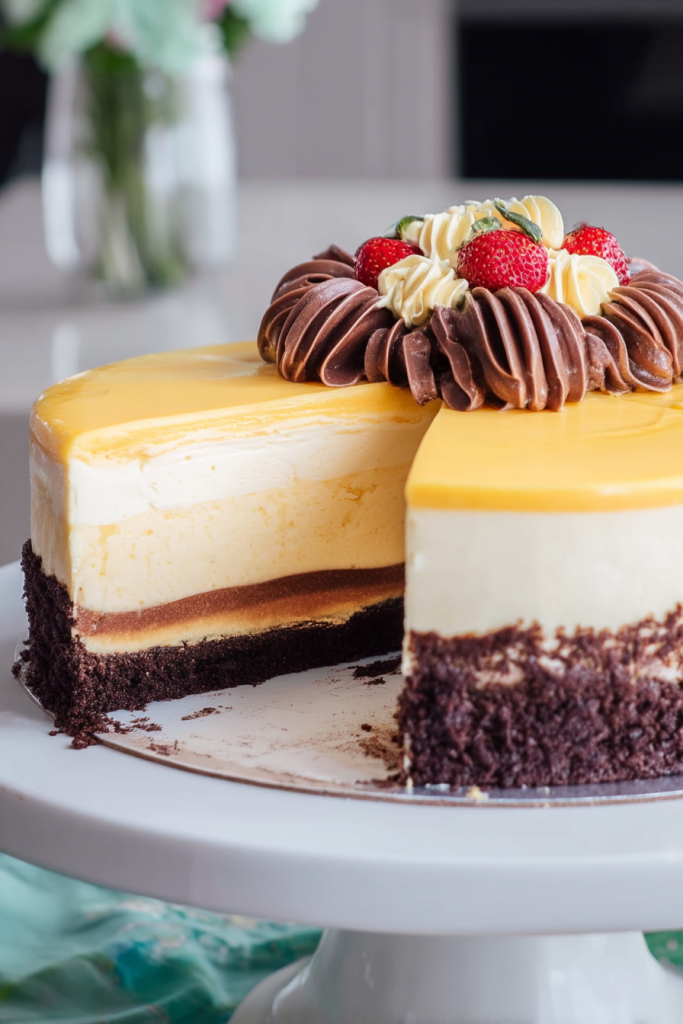
Creative Variations and Flavor Inspirations
While this lime-infused layered cheesecake is a masterpiece on its own, I love encouraging bakers to get creative and make the recipe their own. Here are some delightful variations to spark your culinary imagination:
Flavor Variations
- Berry Bliss: Replace lime curd with a mixed berry compote
- Chocolate Lover’s Dream: Add a chocolate ganache layer between cheesecake layers
- Tropical Twist: Incorporate coconut cream or passion fruit curd
- Salted Caramel: Swap lime curd for a rich salted caramel filling
- Lemon Lavender: Use lemon curd and add a hint of lavender to the crust
Dietary Adaptations
- Gluten-Free Option: Use gluten-free graham crackers for the crust
- Low-Sugar Version: Substitute sugar with a sugar-free alternative
- Dairy-Free Modification: Use dairy-free cream cheese and coconut cream
Frequently Asked Questions
Q: Can I make this cheesecake in advance? Absolutely! In fact, this cheesecake benefits from being made ahead. You can prepare the components days in advance and assemble just before serving.
Q: How do I prevent my cheesecake from cracking? The key is to:
- Use room temperature ingredients
- Avoid overmixing
- Bake in a water bath
- Cool gradually
- Avoid opening the oven during baking
Q: Can I freeze this layered cheesecake? Yes! You can freeze the entire cake or individual slices for up to 2-3 months. Wrap tightly in plastic wrap and then in aluminum foil to prevent freezer burn.
Final Thoughts
Creating this layered cheesecake is more than just following a recipe – it’s about crafting an experience. Each layer tells a story of patience, precision, and passion. From the buttery graham cracker crust to the silky smooth cheesecake layers and the bright lime curd, every component is a testament to the art of baking.
Baking is Love Made Edible
Whether you’re celebrating a special occasion or simply want to treat yourself to something extraordinary, this layered cheesecake is guaranteed to impress. Don’t be intimidated by the multiple steps – each one is an opportunity to create something truly magical.
Remember, the most important ingredient is always love. So put on your apron, gather your ingredients, and get ready to create a dessert that will become a cherished memory for years to come.
Happy baking!