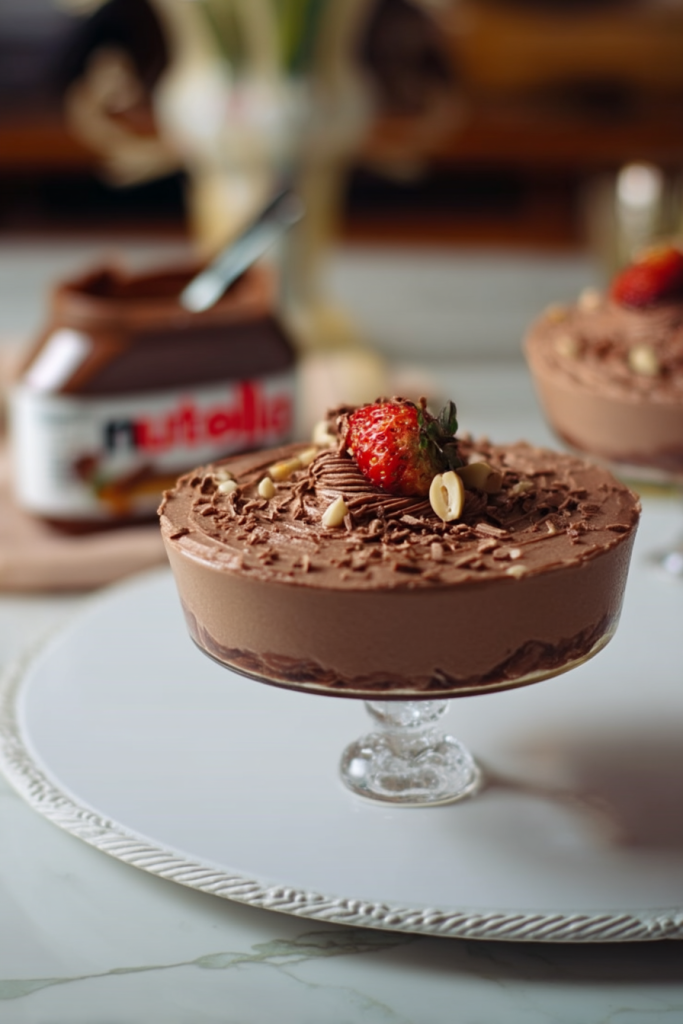
Let me take you on a delightful journey into the world of pure chocolate indulgence. If you’re a Nutella fanatic like me, this Nutella Mousse recipe is about to become your new obsession. Imagine layers of rich, velvety chocolate, starting with a fudgy Nutella brownie base, topped with a cloud-like Nutella mousse, and finished with a glossy Nutella glaze. It’s not just a dessert – it’s a chocolate experience that will make your taste buds dance with joy.
Equipment You’ll Need
Creating this show-stopping dessert requires a few key pieces of equipment. Don’t worry – nothing too complicated, but having the right tools will make your baking experience smooth and enjoyable:
- 9-inch Springform Pan
- Parchment Paper
- Aluminum Foil
- Medium Saucepan
- Stand Mixer (or Hand Mixer)
- Whisk
- Rubber Spatula
- Offset Spatula
- Measuring Cups and Spoons
The Importance of the Right Pan
The springform pan is crucial for this recipe. It allows you to remove the mousse cake easily without disturbing the beautiful layers. The parchment paper and foil lining ensure that your brownie base comes out perfectly and the layers remain intact.
Ingredients You’ll Need
Before we dive into the magic, let’s talk about the star ingredients that make this Nutella Mousse so extraordinary. You’ll need:
For the Brownie Base
- 8 ounces Nutella
- ½ cup unsalted butter
- ¾ cup granulated sugar
- 3 large eggs
- 1 tablespoon pure vanilla extract
- 1 cup all-purpose flour
- 3 tablespoons Dutch-process cocoa powder
- ½ teaspoon salt
For the Mousse Layer
- 2¼ teaspoons gelatin (1 packet)
- 4 tablespoons cold water
- 8 ounces Nutella
- 1½ cups heavy cream, divided
- ⅛ teaspoon salt
For the Topping
- 1 cup Nutella
- ½ cup heavy cream
Pro Tip
The quality of your ingredients matters. I always recommend using the best Nutella you can find and high-quality vanilla extract. These small details make a massive difference in the final result.
Preparing the Mousse Base: Step-by-Step Breakdown
Brownie Layer Preparation
The foundation of this dessert is a rich, fudgy Nutella brownie base. Here’s how I approach creating the perfect brownie layer:
- Temperature Matters: Ensure all your ingredients are at room temperature. This helps create a smooth, even batter.
- Melting Technique: Gently melt Nutella and butter together, stirring constantly to create a smooth mixture.
- Mixing Method: When adding eggs, mix them in one at a time. This helps create a more stable emulsion and prevents the batter from breaking.
- Flour Incorporation: Sift your dry ingredients and fold them gently into the wet mixture. Overmixing can lead to tough brownies.
Baking Tips for the Perfect Brownie Base
- Preheat your oven to 350°F (175°C)
- Line your pan carefully with foil and parchment paper
- Bake for 25-30 minutes
- Look for a few moist crumbs when testing with a toothpick
- Allow the brownie to cool completely before adding the mousse layer
A Note on Texture
I love a slightly underbaked brownie for maximum fudginess. If you’re like me and enjoy that extra-rich texture, take the brownie out when there are still a few moist crumbs clinging to the toothpick. This ensures a decadent, almost molten center that melts in your mouth.
Pro Glaze Tips
Here are some expert tips for creating the perfect Nutella glaze:
- Let the glaze cool slightly to prevent condensation
- Use an offset spatula for a smooth, professional finish
- Chill for at least 1 hour to set the glaze completely
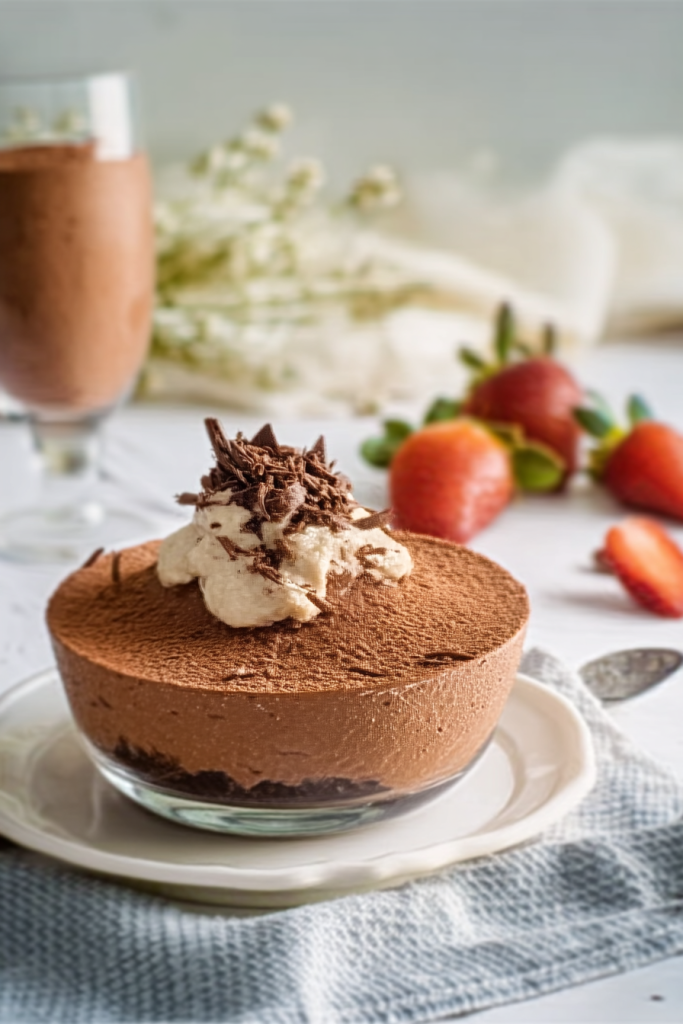
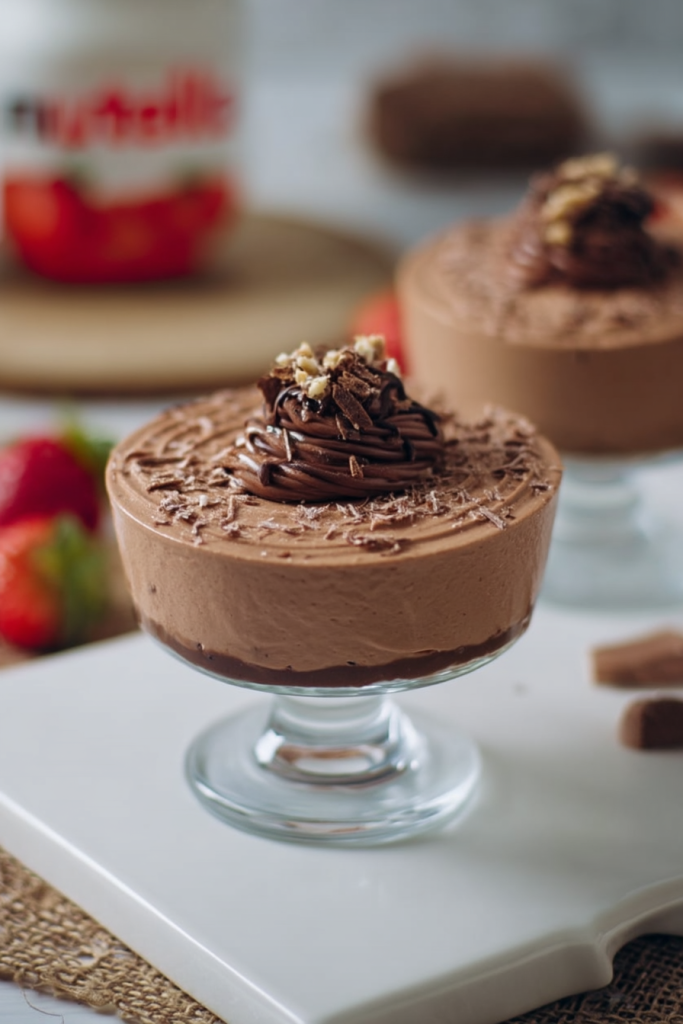
Serving and Presentation
When it comes to serving this showstopper, presentation is everything:
- Slice the cake while it’s cold for clean, precise cuts
- Let slices come to room temperature for 10-15 minutes before serving
- Garnish options:
- Fresh berries
- Whipped cream
- Chocolate shavings
- Chopped hazelnuts
Make-Ahead and Storage
One of the best things about this Nutella Mousse is its make-ahead potential:
- Refrigerator Storage: Up to 3 days in an airtight container
- Freezer Storage: Up to 3 months
- Thawing: Refrigerate overnight before serving
Freezing Tips
- Wrap tightly in plastic wrap and then in aluminum foil
- Place in a freezer-safe container
- Thaw in the refrigerator to maintain texture
Crafting the Perfect Nutella Mousse Layer
The mousse layer is where the magic truly happens. It’s a delicate process that requires patience and precision. Let me walk you through the secrets of creating a light, airy, yet intensely flavored Nutella mousse that will absolutely wow your taste buds.
Gelatin: The Secret to Mousse Perfection
Gelatin might seem intimidating, but it’s the key to achieving that perfect mousse texture. Here’s how to work with it like a pro:
- Bloom the Gelatin: Sprinkle the gelatin over cold water and let it sit for exactly 5 minutes. This process, called blooming, ensures smooth incorporation.
- Dissolving Technique: When you add the gelatin to the warm Nutella mixture, whisk thoroughly to prevent any gelatin clumps.
The Whipping Technique
Whipping cream is an art form in this recipe. Here are my top tips:
- Start whipping at medium speed
- Gradually increase to high speed
- Look for soft peaks that hold their shape but aren’t too stiff
- Fold the whipped cream into the Nutella mixture carefully to maintain the air bubbles
Common Mousse Mistakes to Avoid
Warning: These are potential pitfalls that can ruin your mousse:
- Overheating the Nutella Mixture: Always use low heat and stir constantly
- Rushing the Cooling Process: Let the Nutella and gelatin mixture cool to room temperature
- Neglecting to Stir: Stir the cooling mixture frequently to prevent gelatin from forming lumps
- Overmixing the Whipped Cream: Fold gently to keep the mousse light and airy
Pro Baker’s Tip
The most crucial moment is when you’re incorporating the whipped cream into the Nutella mixture. Use a technique called “tempering”:
- First, mix about ⅓ of the whipped cream directly into the Nutella to lighten it
- Then gently fold in the remaining cream in two to three additions
- Use a rubber spatula and a light hand to maintain the mousse’s beautiful, airy texture
Temperature is Key
- Cool the Nutella mixture to room temperature before adding whipped cream
- Chill the mousse layer for at least 2 hours to set properly
- Patience is your friend in this recipe – rushing will compromise the texture
Troubleshooting Mousse Texture
If your mousse seems too soft:
- Ensure gelatin is completely dissolved
- Check that your Nutella and cream mixture cooled properly
- Verify your refrigeration temperature
Remember, making this Nutella Mousse is as much about technique as it is about ingredients. Take your time, follow the steps carefully, and you’ll create a dessert that looks like it came straight from a professional patisserie.
Final Thoughts
Creating this Nutella Mousse is more than just making a dessert – it’s a labor of love. Each layer tells a story of chocolate decadence, from the fudgy brownie base to the silky mousse and glossy topping. It’s a dessert that requires patience, technique, and a true passion for baking.
Why This Recipe Works
- Texture Contrast: Fudgy brownie, light mousse, glossy glaze
- Intense Flavor: Nutella in every layer
- Impressive Presentation: Restaurant-quality dessert
- Make-Ahead Friendly: Perfect for planning ahead
Your Baking Adventure Begins
Don’t be intimidated by the multiple steps. Each layer is achievable with patience and attention to detail. Whether you’re a seasoned baker or a curious novice, this Nutella Mousse is your ticket to becoming a dessert hero.
Pro Baker’s Final Tip: Baking is an art, and every masterpiece takes practice. Don’t be discouraged if your first attempt isn’t perfect. Each time you make this recipe, you’ll become more confident and skilled.
Bon Appétit!