The Story Behind the Mousse
When it comes to desserts that combine simplicity with pure indulgence, my Oreo Mousse recipe is an absolute game-changer. Imagine a dessert that’s creamy, light, and packed with the irresistible flavor of everyone’s favorite cookie. This isn’t just another dessert – it’s a moment of pure bliss that will transport you to chocolate heaven with every single spoonful.
As a passionate home baker, I’ve always been on a quest to create desserts that are not just delicious, but also tell a story. The Oreo Mousse is more than just a recipe; it’s a celebration of classic flavors reimagined. Combining the beloved Oreo cookie with a luxurious white chocolate mousse base, this dessert is a testament to the magic that happens when simple ingredients come together in just the right way.
Why You’ll Fall in Love with This Oreo Mousse
Let me tell you why this dessert is about to become your new obsession:
- Incredibly easy to prepare
- No baking required
- Perfect for both casual gatherings and elegant dinner parties
- Takes less than 30 minutes of active preparation
- Can be made ahead of time
- Satisfies even the most serious sweet tooth
The beauty of this Oreo Mousse lies in its simplicity. With just a handful of ingredients and a few simple techniques, you’ll create a dessert that looks and tastes like it came straight from a high-end pastry shop. Whether you’re a novice cook or a seasoned baker, this recipe is your ticket to dessert perfection.
Crafting the Perfect Oreo Mousse: Ingredients and Preparation Secrets
Ingredient Spotlight
Let’s dive into the magic makers that transform simple ingredients into a spectacular dessert. Each component plays a crucial role in creating the ultimate Oreo Mousse experience:
For the Mousse Base
- Heavy Whipping Cream: The secret to that cloud-like texture. Pro tip: Choose a cream with at least 36% fat content for the most luxurious results.
- White Chocolate Chips: These bring a smooth, creamy sweetness that perfectly complements the Oreo cookies.
- Oreo Cookies: The star of the show! We’ll use the entire cookie – cream filling and all – to maximize that iconic flavor.
For the Whipped Cream Topping
- Heavy Whipping Cream: A second round of cream for that dreamy topping
- Powdered Sugar: Adds just the right touch of sweetness
Preparation is Key
Before you start, there’s one crucial step that can make or break your mousse: preparation. I’ve learned through years of dessert-making that the right technique is everything.
Equipment You’ll Need
- A metal or glass mixing bowl
- Electric mixer
- Beaters
- Small saucepan
- Spatula
- Individual serving glasses or bowls
Pro Preparation Technique
The most critical preparation step is chilling your equipment. Here’s why it matters:
- Place your mixing bowl and mixer beaters in the freezer for 10-15 minutes before starting.
- Cold equipment helps whipped cream form faster and hold its shape better.
- This tiny step ensures your mousse will be light, fluffy, and perfectly textured.
Crushing Oreos: The Right Way
Don’t overthink this step! You have three perfect methods to crush your Oreos:
- Chop with a knife for rustic pieces
- Lightly blend in a blender for more uniform crumbs
- Use a rolling pin for a therapeutic crushing experience
The key is to crush the entire cookie – cream filling and all – to capture the full Oreo essence in every bite.
The Art of Creating Oreo Mousse: A Step-by-Step Culinary Journey
Mastering the Mousse: Detailed Instructions
Creating the perfect Oreo Mousse is like conducting a delicious symphony. Each step is crucial, and when performed with care, results in a dessert that’s nothing short of magical.
Step 1: White Chocolate Ganache Preparation
- Begin by heating 1/3 cup of heavy cream in a small pot over low heat.
- Watch carefully until the cream just starts to boil.
- Remove from heat and pour over white chocolate chips.
- Let the mixture sit for one minute – patience is key here!
- Gently stir with a spatula until the chocolate becomes smooth and completely melted.
- Allow the mixture to cool to room temperature.
Pro Tip: The temperature of your ganache is critical. Too hot, and it will deflate your whipped cream. Too cold, and it won’t incorporate smoothly.
Step 2: Whipping the Cream
- Take out your chilled bowl and beaters (remember, they’ve been in the freezer).
- Pour 2 cups of heavy cream into the bowl.
- Beat on high speed with your electric mixer.
- Watch for the transformation: soft peaks to stiff peaks.
- This process takes 3-5 minutes – don’t rush it!
Whipping Wisdom: Stop beating as soon as stiff peaks form. Over-beating can turn your cream grainy and butter-like.
Step 3: Combining the Magic
- Add the cooled white chocolate ganache to the whipped cream.
- Sprinkle in the crushed Oreo cookies.
- Gently fold everything together.
- Mix until just combined – you want to maintain that light, airy texture.
Folding Technique: Use a spatula and a gentle hand. Think of it like you’re giving the mixture a delicate massage, not a rough workout.
Step 4: Portioning and Chilling
- Divide the mousse into individual serving containers.
- Cover with plastic wrap.
- Refrigerate for at least 3 hours.
- Overnight chilling? Even better!
Serving Suggestion: This recipe typically yields 2-3 cups of mousse. I love dividing it among six 5.3 oz bowls for the perfect individual portion.
Elevating Your Oreo Mousse: Serving, Presentation, and Styling Tips
Presentation is Everything
When it comes to desserts, we eat with our eyes first. The Oreo Mousse might be delicious, but the right presentation can transform it from a simple treat to a show-stopping dessert.
Choosing the Perfect Serving Vessels
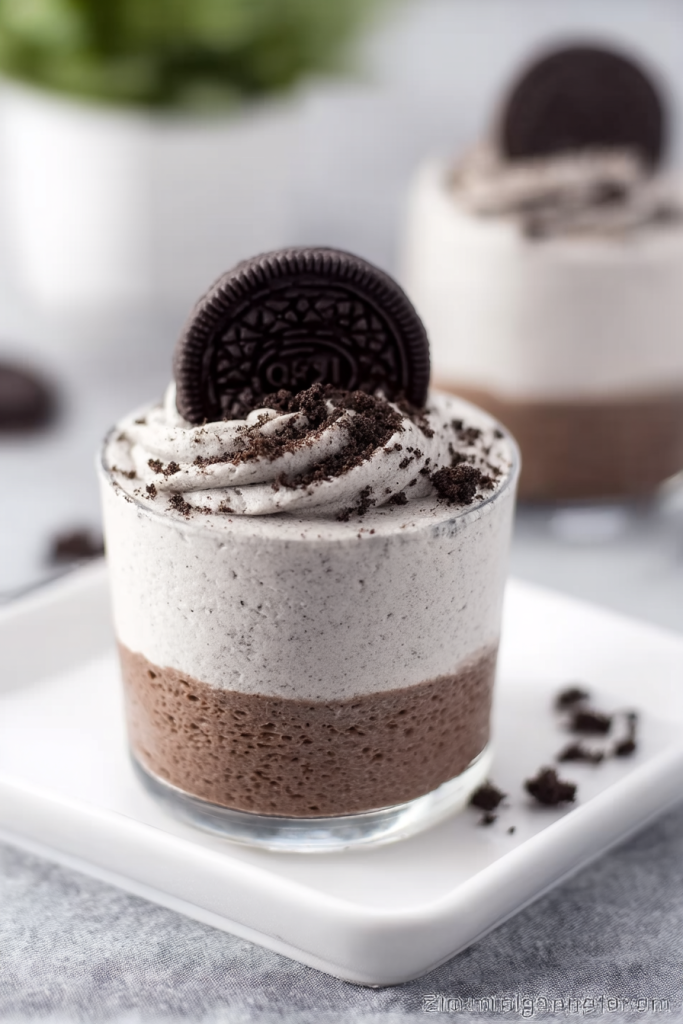
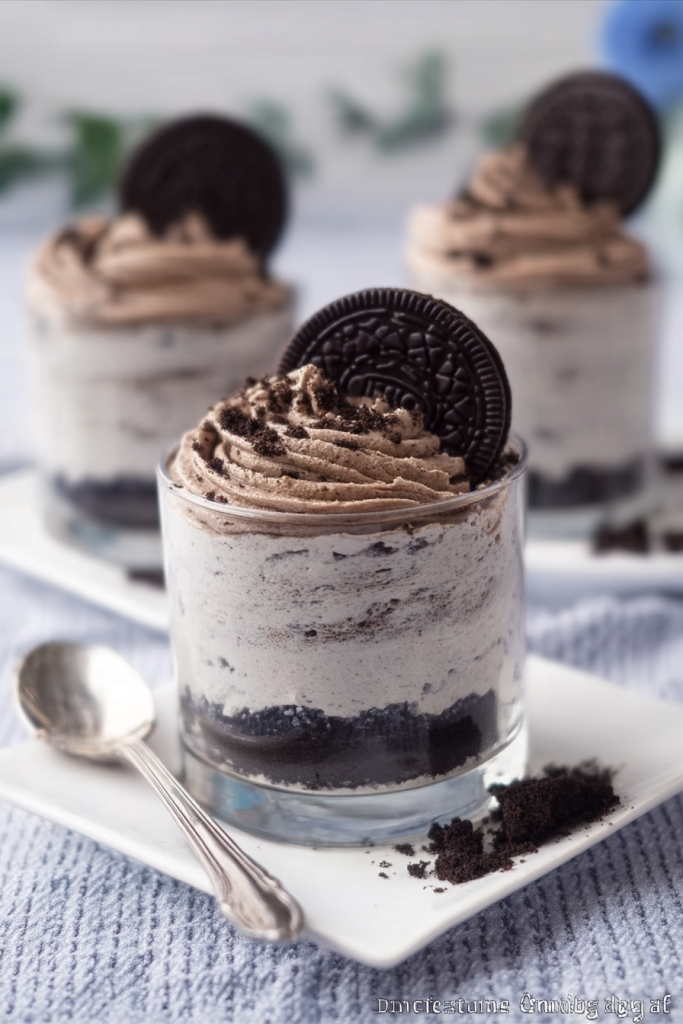
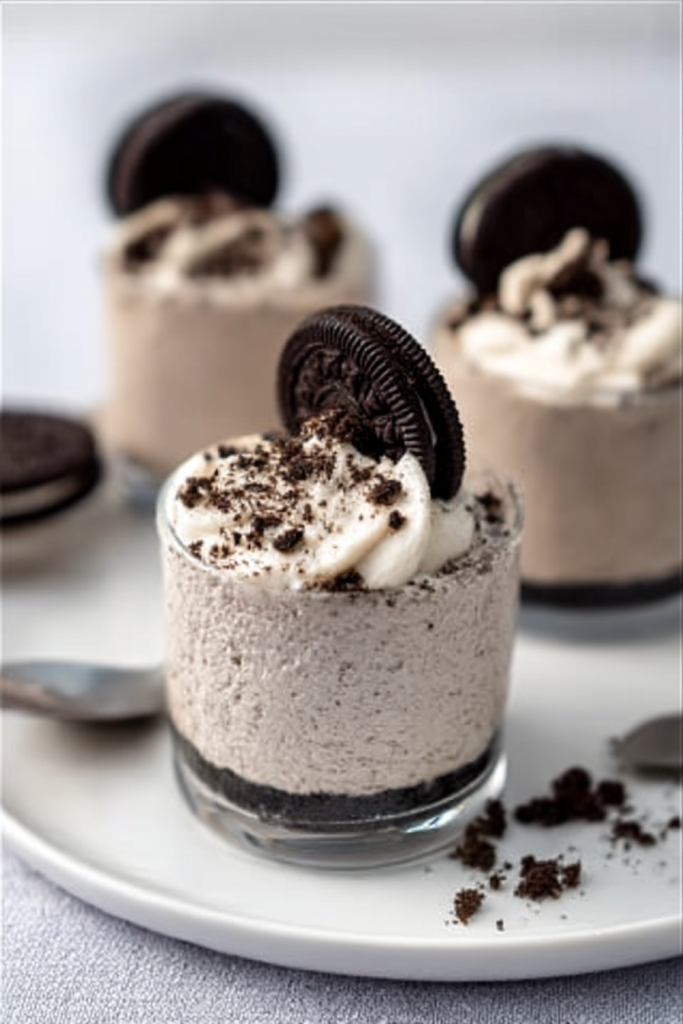
- Glass Dessert Cups: Create layers and show off the mousse’s beautiful texture
- Mason Jars: Perfect for a rustic, casual look
- Elegant Parfait Glasses: Ideal for more formal gatherings
- Mini Dessert Shooters: Great for parties and buffet-style events
Garnishing Techniques
- Classic Crumble: Sprinkle finely crushed Oreo cookies on top
- Chocolate Drizzle: A light drizzle of melted dark or white chocolate
- Whipped Cream Swirl: Pipe decorative whipped cream peaks
- Whole Oreo Garnish: Place a whole or half Oreo cookie on top
- Chocolate Shavings: Delicate chocolate curls add elegance
Storage and Serving Tips
- Store in the refrigerator for 2-3 days
- Cover with plastic wrap
- Serve chilled
- Let sit at room temperature for 5-10 minutes before serving for the best texture
Beyond the Recipe: The Joy of Homemade Desserts
A Culinary Adventure in Every Spoonful
As I reflect on this Oreo Mousse recipe, I’m reminded that cooking is more than just following instructions – it’s about creating moments, sparking joy, and connecting with those we love. This dessert is more than just a sweet treat; it’s an experience, a memory in the making.
What makes this Oreo Mousse truly special isn’t just its incredible taste, but the simplicity behind its creation. With just a few ingredients and a little patience, you can transform something ordinary into something extraordinary.
My Final Invitation
I challenge you to do more than just make this recipe. Use it as a starting point for your own culinary adventure. Let your imagination run wild. Create, explore, and most importantly, enjoy every single moment in the kitchen.
Because at the end of the day, the most important ingredient in any recipe is the love you pour into it.
Happy cooking, and may your Oreo Mousse be as sweet and wonderful as the moments you’ll share while enjoying it.