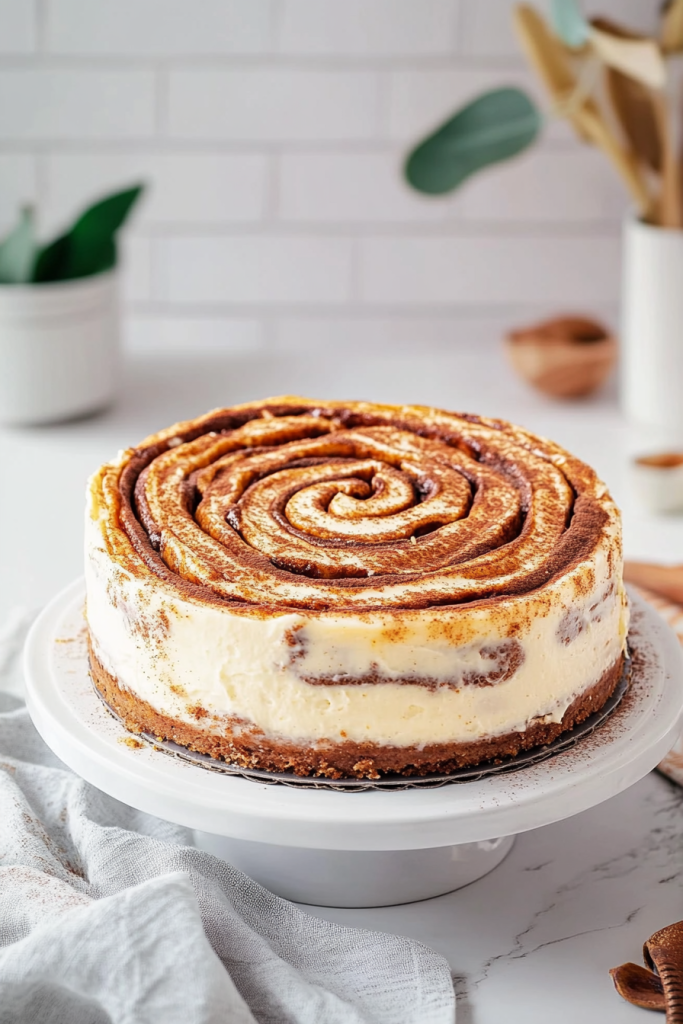
The quintessential dessert that brings pure joy to any occasion – Classic Cheesecake! It’s the creamy, dreamy dessert you’ve always loved, but now perfected to absolute bliss. A buttery graham cracker crust forms the perfect foundation for the velvety smooth cream cheese filling that’s rich yet light, tangy yet sweet. Every forkful is decadently creamy, perfectly balanced, and truly melts in your mouth! This is the perfect showstopper for holidays, celebrations, or whenever you’re craving something indulgent yet elegant. The best part? It’s much more approachable to make than you might think and guaranteed to impress everyone who takes a bite!
About The Recipe
When it comes to desserts, sometimes nothing satisfies quite like a slice of perfect cheesecake. That’s exactly why I knew I had to share my absolute favorite classic cheesecake recipe with you!
This isn’t just any cheesecake recipe, though. After years of testing and tweaking, I’ve developed what I believe is the ultimate version that balances creaminess, flavor, and texture in perfect harmony.
When developing this recipe, I was on a mission to create a cheesecake that would outshine all others – including those from fancy bakeries and restaurants. I wanted something with the perfect balance of richness without being heavy, tanginess without being sour, and sweetness without being cloying.
I’ve tested countless variations, adjusting ingredients, techniques, and baking methods until I finally landed on this version that ticks all the boxes for cheesecake perfection.
The best part? This recipe is accessible for home bakers while still delivering professional-quality results that will have everyone asking for seconds!
Reasons You Will Love This Cheesecake
- Perfectly creamy texture with no cracks
- Simple yet elegant flavor profile that pleases everyone
- Versatile base recipe that works with countless topping options
- Detailed instructions ensure first-time success
- Makes an impressive dessert for any occasion from casual gatherings to fancy celebrations
- Stores beautifully for days, so you can make it ahead of time
Equipment Needed
- 9-inch Springform Pan
- Large Mixing Bowls
- Hand Mixer or Stand Mixer
- Measuring Cups and Spoons
- Aluminum Foil
- Large Roasting Pan (for water bath)
- Rubber Spatula
- Sharp Knife
Ingredients
For The Graham Cracker Crust:
- 1½ cups graham cracker crumbs (about 12 full sheets)
- ¼ cup granulated sugar
- 5 tablespoons unsalted butter, melted
Description:
- Graham Cracker Crumbs – The classic foundation for any great cheesecake. They provide the perfect crisp, sweet contrast to the creamy filling.
- Granulated Sugar – Just enough to sweeten the crust without overpowering the graham flavor.
- Unsalted Butter – The essential binding agent that holds the crust together and adds rich flavor.
For The Cheesecake Filling:
- 32 ounces (4 blocks) full-fat cream cheese, softened to room temperature
- 1 cup granulated sugar
- 1 cup full-fat sour cream, at room temperature
- 1 teaspoon pure vanilla extract
- 2 teaspoons fresh lemon juice
- 3 large eggs, at room temperature
Description:
- Cream Cheese – The star ingredient! Always use full-fat brick-style cream cheese for the best texture and flavor.
- Granulated Sugar – Provides just the right amount of sweetness to balance the tanginess.
- Sour Cream – My secret weapon for creating that signature velvety texture and subtle tang.
- Vanilla Extract – Use high-quality pure vanilla extract for the best flavor.
- Lemon Juice – Just a touch brightens the flavor without making it taste lemony.
- Eggs – Provides structure and richness to the filling; room temperature is essential!
How To Make A Perfect Cheesecake
Instructions For Crust
Step 1: Prepare your pan and oven Adjust your oven rack to the lower-middle position and preheat to 350°F (177°C). Take a moment to ensure your springform pan is in good condition with a tight seal.
Step 2: Make the graham cracker crust If starting with whole graham crackers, pulse them in a food processor until you have fine crumbs. In a medium bowl, mix the graham cracker crumbs and sugar until combined, then stir in the melted butter. The mixture should resemble wet sand.
Step 3: Form and pre-bake the crust Pour the mixture into your ungreased 9-inch springform pan. Using your hands, press the crumbs into the bottom and about 1-inch up the sides to create a compact crust. Don’t press too firmly – a medium pressure works best to avoid an overly dense crust. You can use the flat bottom of a measuring cup to smooth everything out. Pre-bake for 10 minutes until lightly golden and fragrant.
Step 4: Prepare for water bath Remove the crust from the oven and place it on a large piece of aluminum foil. Carefully wrap the foil up the sides of the pan, ensuring there are no tears or holes where water could seep in. Set aside to cool slightly while you make the filling.
Instructions For Filling
Step 1: Beat cream cheese and sugar Using a hand mixer or stand mixer fitted with the paddle attachment, beat the softened cream cheese and sugar on medium-high speed for about 2 minutes until completely smooth and creamy. Scrape down the sides of the bowl as needed.
Step 2: Add remaining ingredients Add the sour cream, vanilla extract, and lemon juice, then beat until fully incorporated. On medium speed, add the eggs one at a time, beating briefly after each addition just until blended. The key here is to avoid over-mixing – stop as soon as the last egg is incorporated. You should have approximately 6 cups of silky, smooth batter.
Step 3: Prepare water bath Boil a pot of water for your water bath. Place your foil-wrapped springform pan in a large roasting pan, then pour the cheesecake batter over the pre-baked crust, using a spatula to smooth the top.
Step 4: Bake with water bath Carefully pour hot water into the roasting pan, creating about a 1-inch water bath around the cheesecake. This crucial step helps the cheesecake bake evenly and prevents cracking. Carefully transfer to the oven.
Step 5: Bake and cool properly Bake for 55-70 minutes. The cheesecake is done when the edges are set but the center still has a slight wobble when you gently shake the pan. Turn the oven off, crack the door open slightly, and let the cheesecake cool gradually in the oven for 1 hour. This slow cooling is essential to prevent cracks.
The Secret to Perfect Texture Every Time
The road to cheesecake perfection is paved with a few critical techniques that I’ve perfected over years of baking. Follow these essential tips and you’ll achieve that coveted silky-smooth texture that separates good cheesecakes from truly exceptional ones.
Room Temperature Ingredients Are Non-Negotiable
One of the biggest mistakes I see home bakers make is using cold ingredients. For a perfectly smooth, lump-free cheesecake, all refrigerated ingredients must be at proper room temperature. This means setting out your cream cheese, eggs, and sour cream at least 1-2 hours before you plan to bake.
Cold cream cheese will never fully incorporate, leaving you with a lumpy batter that won’t bake evenly. A good test: press your finger gently into the cream cheese – it should yield easily with minimal resistance.
The Water Bath Method Is Worth It
I know the water bath seems fussy, but it’s truly the secret weapon for professional-level results. The gentle, moist heat from the water bath ensures your cheesecake bakes evenly from edge to center, preventing the dreaded crack down the middle.
If you’re worried about water leaking into your springform pan, use my double-protection method: first wrap the pan in a slow cooker liner secured with a rubber band, then wrap with heavy-duty aluminum foil. This has never failed me!
The Cool-Down Process Matters
The way you cool your cheesecake is just as important as how you bake it. Never rush this process! The gradual temperature change from letting it cool in the turned-off oven with the door cracked prevents the dramatic temperature shift that leads to cracks and sinking.
After the oven cool-down, let it continue cooling at room temperature before chilling. Think of it as the cheesecake gently settling into its final form.
Troubleshooting and FAQ’s
Why did my cheesecake crack? Cracks typically form from drastic temperature changes or over-mixing the batter. Make sure you’re using a water bath, not over-beating after adding the eggs, and cooling gradually as directed.
Can I make this without a springform pan? While a springform pan is ideal, you can use a deep dish pie plate in a pinch. Just be aware that it will be more challenging to remove clean slices.
How do I know when my cheesecake is done? The perfect cheesecake still has a slight wobble in the center when gently shaken – about a 2-3 inch circle in the middle should jiggle slightly. The edges should be set and might be slightly puffed.
Can I use low-fat cream cheese? I strongly advise against it. Full-fat cream cheese provides the optimal texture and flavor. Low-fat versions contain more moisture and stabilizers that affect the final texture.
My crust got soggy. What happened? This usually happens when water seeps into your pan during baking. Double-check your foil wrapping for any tears before adding to the water bath.
Creative Topping Ideas
One of the things I love most about this classic cheesecake recipe is its versatility! It’s the perfect blank canvas for a variety of delicious toppings that can transform it from simple to spectacular. Here are some of my favorite ways to dress up this cheesecake:
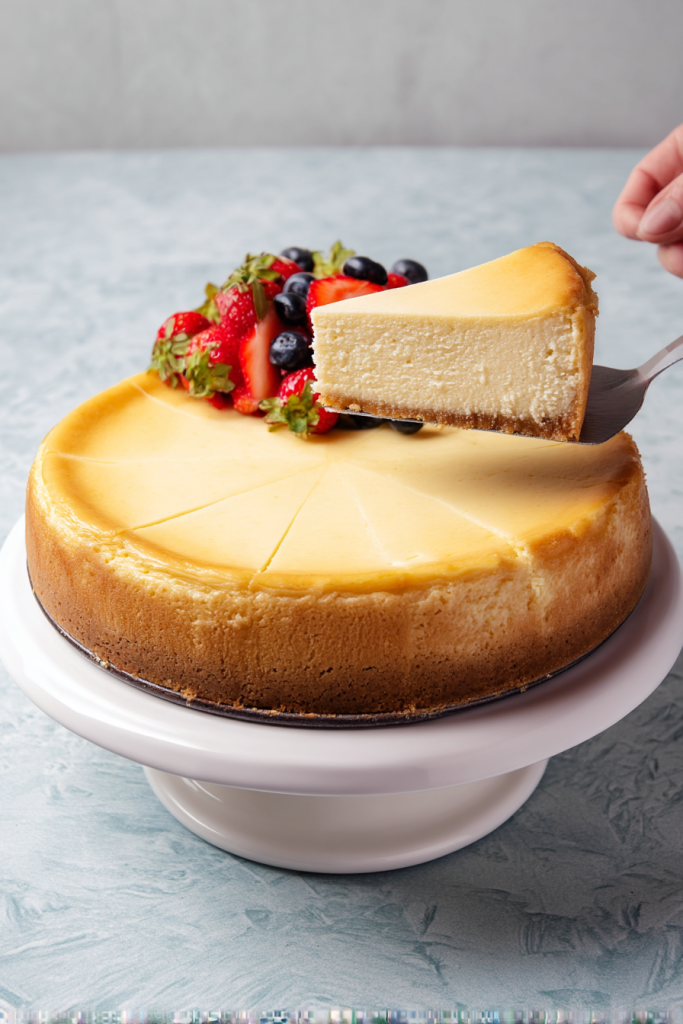
Fresh Fruit Options
- Fresh berry medley (strawberries, blueberries, raspberries)
- Sliced peaches with a honey drizzle
- Fresh figs and a light dusting of powdered sugar
- Citrus segments with mint leaves
Sauce Sensations
- Homemade salted caramel sauce
- Rich chocolate ganache
- Tart lemon curd
- Mixed berry compote
- Maple bourbon sauce
Crunchy Additions
- Toasted nuts (pecans, almonds, pistachios)
- Chocolate shavings or curls
- Toffee bits
- Crumbled cookies or graham crackers
- Crushed candy
Sweet Indulgences
- Whipped cream rosettes
- Dulce de leche swirls
- Nutella drizzle
- Peanut butter cups, chopped
- Mini chocolate chips
The beauty of this recipe is that you can mix and match toppings based on the season or occasion. For summer gatherings, I love fresh berries with a light dusting of powdered sugar. During the holidays, I might opt for a decadent caramel drizzle with toasted pecans. The possibilities are truly endless!
How To Store and Make Ahead
One of the many reasons I love this cheesecake recipe is its make-ahead friendly nature. In fact, I think cheesecake actually tastes better after it’s had time to chill thoroughly!
Refrigerator Storage
After your cheesecake has completely cooled, cover it loosely with plastic wrap or place it in a cake keeper. Store in the refrigerator for up to 5 days. I find the flavor is actually best on day 2 or 3, after the flavors have had time to meld.
Freezer Instructions
This cheesecake freezes beautifully! You can freeze it whole or in individual slices:
For the whole cheesecake:
- Allow the cheesecake to cool completely in the refrigerator (at least 4 hours or overnight).
- Remove the sides of the springform pan but leave the bottom in place.
- Wrap the cheesecake tightly in a layer of plastic wrap, then a layer of aluminum foil.
- Freeze for up to 3 months.
- To thaw, transfer to the refrigerator 24 hours before serving.
For individual slices:
- Cut the cold cheesecake into slices.
- Place slices on a baking sheet and freeze until solid (about 1 hour).
- Wrap each slice individually in plastic wrap, then place in a freezer bag.
- Freeze for up to 3 months.
- Thaw individual slices in the refrigerator for several hours or at room temperature for about 30 minutes.

Make-Ahead Tips for Special Occasions
When preparing for a special event, I often make my cheesecake 2-3 days in advance. I leave it plain in the refrigerator, then add fresh toppings shortly before serving. This takes pressure off your event day and ensures a perfectly set cheesecake!
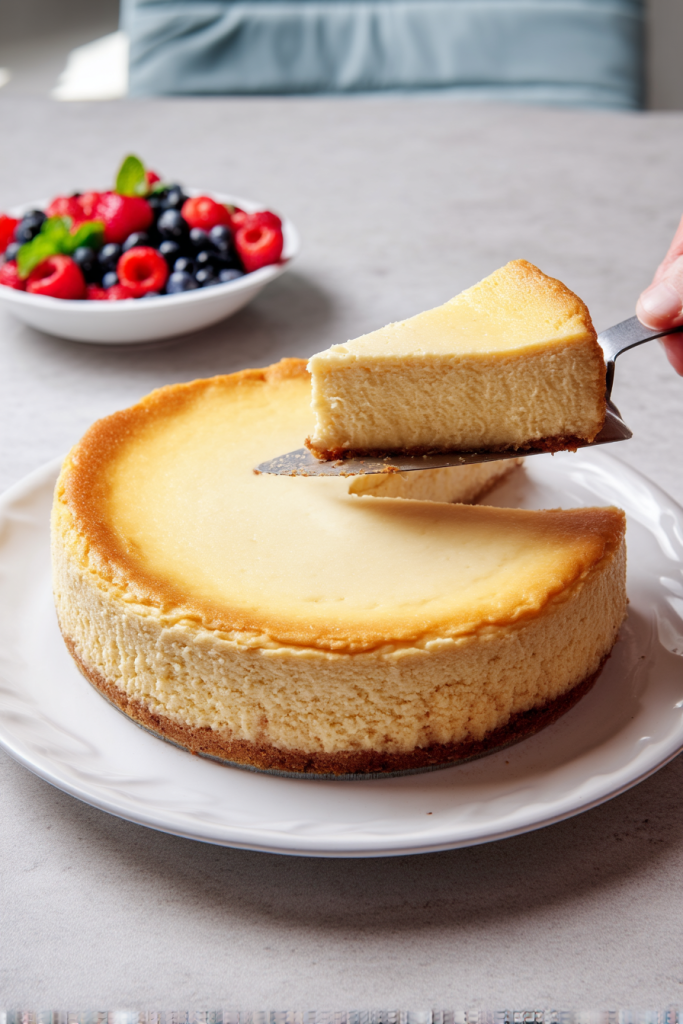
Remember that cold cheesecake slices more cleanly than room temperature cheesecake. For the neatest presentation, dip your knife in hot water and wipe it clean between each slice.
With these storage tips, you can enjoy perfect cheesecake whenever the craving strikes!