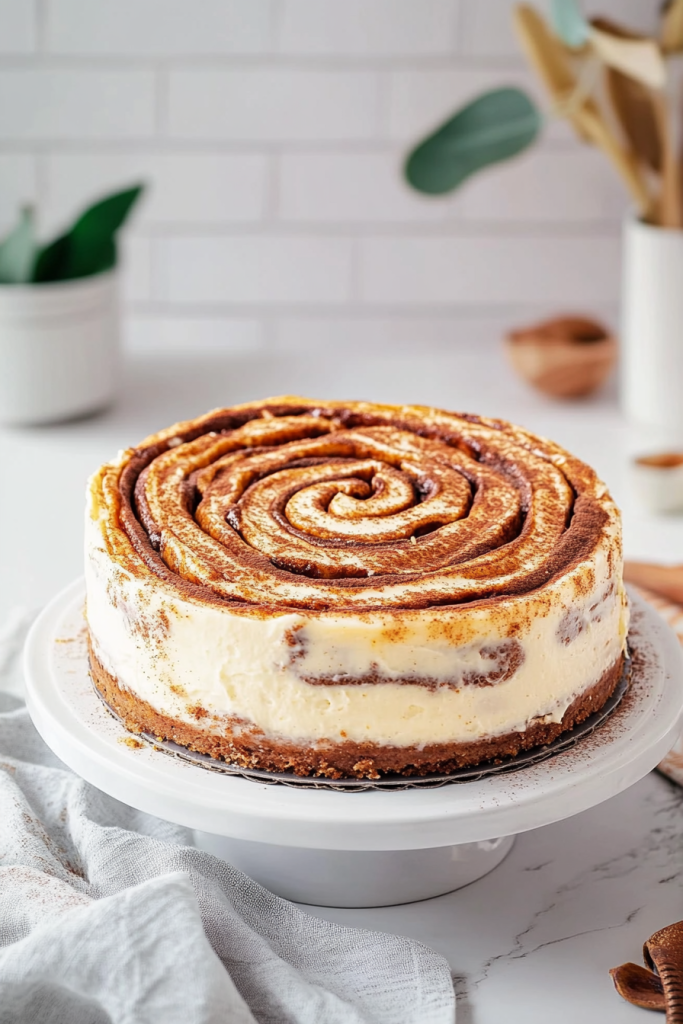
When it comes to show-stopping desserts, nothing quite compares to a beautifully crafted cheesecake. Today, I’m excited to share my absolutely divine Pink Cheesecake recipe that’s not just a dessert, but an experience that will make your taste buds dance with joy!
The Story Behind the Pink Cheesecake
Let me take you on a delicious journey of how this pink cheesecake became my signature dessert. It all started on a lazy Sunday afternoon when I was experimenting in my kitchen, craving something that was both visually stunning and incredibly delicious. The result? This magnificent pink cheesecake that has since become a crowd favorite at every gathering.
What makes this cheesecake special isn’t just its gorgeous pink hue, but the perfect balance of flavors and textures that come together in each heavenly bite. It’s a dessert that looks as amazing as it tastes – a true feast for both the eyes and the palate.
Why You’ll Fall in Love with This Pink Cheesecake
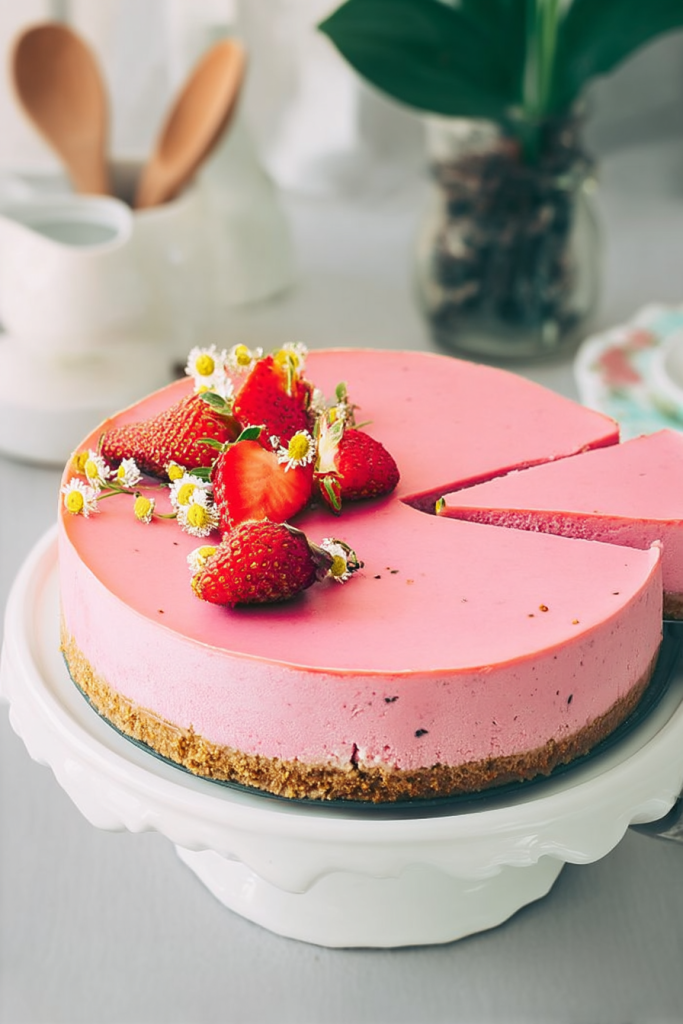
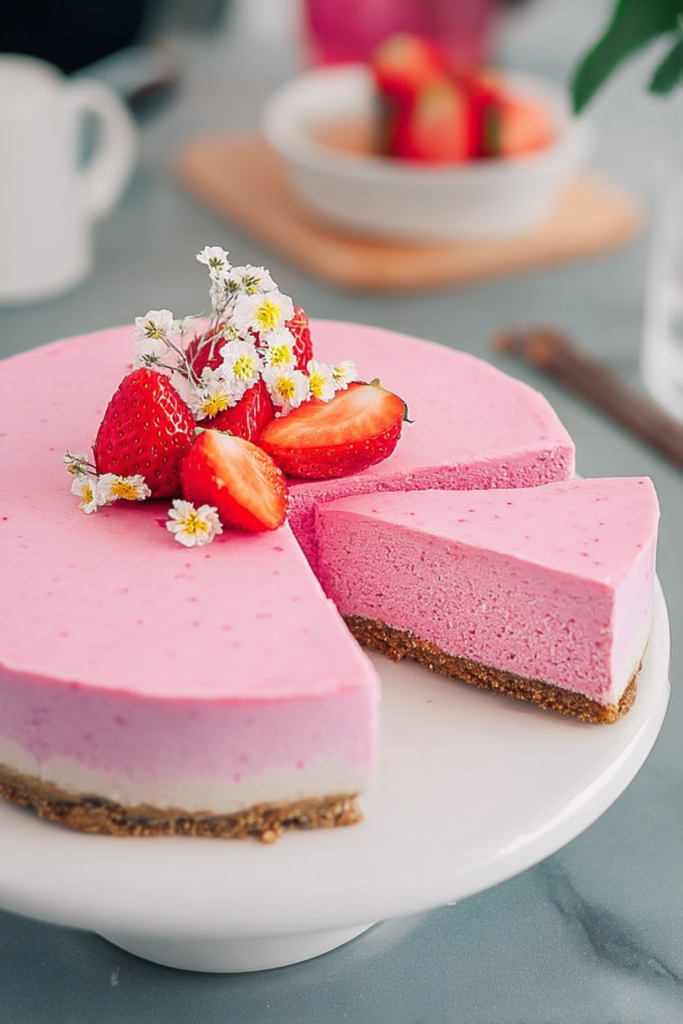
- Instagram-Worthy Appearance: The stunning pink color makes this cheesecake a total showstopper
- Perfectly Creamy Texture: Smooth, rich, and melt-in-your-mouth delicious
- Versatile Dessert: Perfect for birthdays, romantic dinners, or just because you deserve a treat
- Made from Scratch: No store-bought shortcuts – pure, homemade goodness
Are you ready to dive into the world of the most irresistible pink cheesecake you’ve ever tasted? Let’s get started!
Essential Equipment You’ll Need
Before we begin our delicious journey, let’s make sure you have all the right tools to create this masterpiece. Baking is part science, part art, and having the proper equipment can make all the difference between a good dessert and an extraordinary one.
Must-Have Baking Tools
- 9-inch Springform Pan: The secret to a perfect cheesecake presentation
- Electric Mixer: For creating that ultra-smooth cream cheese base
- Mixing Bowls: Various sizes for preparing different components
- Rubber Spatula: To ensure you don’t waste a single bit of that delicious batter
- Measuring Cups and Spoons: Precision is key in baking
- Cooling Rack: Essential for letting your cheesecake cool properly
- Parchment Paper: For easy removal and clean edges
Ingredient Breakdown: The Magic Behind the Pink Perfection
For the Graham Cracker Crust
- 1½ cups graham cracker crumbs
- 2 tablespoons granulated sugar
- 1 tablespoon light brown sugar
- 5 tablespoons unsalted butter, melted
For the Cheesecake Filling
- 24 oz full-fat cream cheese, softened
- 1 cup granulated sugar
- ½ cup sour cream
- 1 teaspoon vanilla extract
- 3 large eggs, room temperature
- Pink food coloring (optional, but recommended for that stunning look!)
For the Strawberry Topping
- 1½ pounds fresh strawberries
- ¼ cup granulated sugar
- 1½ tablespoons cornstarch
- 1 tablespoon lemon juice
- 2 tablespoons water
- 1 tablespoon butter
Step-by-Step Baking Guide: Crafting the Perfect Pink Cheesecake
Preparing the Crust
Creating the perfect foundation for our cheesecake is an art form. Here’s how I make sure my graham cracker crust is absolutely divine:
- Mix the Dry Ingredients: In a medium bowl, combine graham cracker crumbs, granulated sugar, and brown sugar. The combination of sugars adds depth to the crust’s flavor.
- Add Melted Butter: Pour in the melted butter and mix until every crumb is perfectly moistened. The butter is the binding agent that transforms loose crumbs into a solid, delicious base.
- Press into Pan: Using the bottom of a glass, press the mixture firmly and evenly into the bottom and slightly up the sides of your 9-inch springform pan. Pro tip: Make sure to create a compact layer that will hold together beautifully when you slice the cheesecake.
Creating the Creamy Cheesecake Filling
This is where the magic happens! Follow these steps for a silky-smooth cheesecake filling:
- Cream the Cheese: Using an electric mixer, blend the softened cream cheese and sugar on medium-low speed. The key is to create a smooth, lump-free mixture. Take your time and scrape down the sides of the bowl frequently.
- Add Moisture and Flavor: Gently stir in the sour cream and vanilla extract. This is where you’ll also add a few drops of pink food coloring if you want that Instagram-worthy pink hue.
- Incorporate Eggs: Add eggs one at a time, mixing just until combined. This is crucial – overmixing can lead to a cracked or dense cheesecake. We want light, creamy perfection!
Baking Tips for Cheesecake Success
- Preheat your oven to 325°F (160°C) – a slightly lower temperature ensures even baking.
- Place the springform pan on a baking sheet to catch any potential butter drips.
- Bake for 45-50 minutes. The center should still be slightly jiggly when you remove it from the oven.
- Allow the cheesecake to cool completely at room temperature before refrigerating.
The Strawberry Topping: A Burst of Fruity Perfection
No pink cheesecake is complete without a show-stopping strawberry topping. This isn’t just any topping – it’s a carefully crafted sauce that elevates the entire dessert to new heights of deliciousness.
Crafting the Perfect Strawberry Sauce
- Prepare the Strawberries: Start with fresh or frozen strawberries. If using fresh, make sure to rinse, hull, and quarter them. The key is to have about 1½ pounds of strawberries.
- Create the Base: In a small saucepan, whisk together sugar and cornstarch. This combination is the secret to a perfectly thickened sauce that clings beautifully to the cheesecake.
- Cook the Sauce: Add half the strawberries, water, and lemon juice to the pan. Cook over medium-low heat, stirring constantly. Watch as the strawberries release their juices and break down, creating a vibrant, glossy sauce.
- Final Touches: Remove from heat and stir in the remaining strawberries and a tablespoon of butter. This adds a rich depth of flavor and gives the topping a gorgeous sheen.
Topping Application Tips
- Allow the sauce to cool completely before adding to the cheesecake
- For the neatest presentation, refrigerate the topping for at least an hour before serving
- If you prefer a looser consistency, you can omit the cornstarch
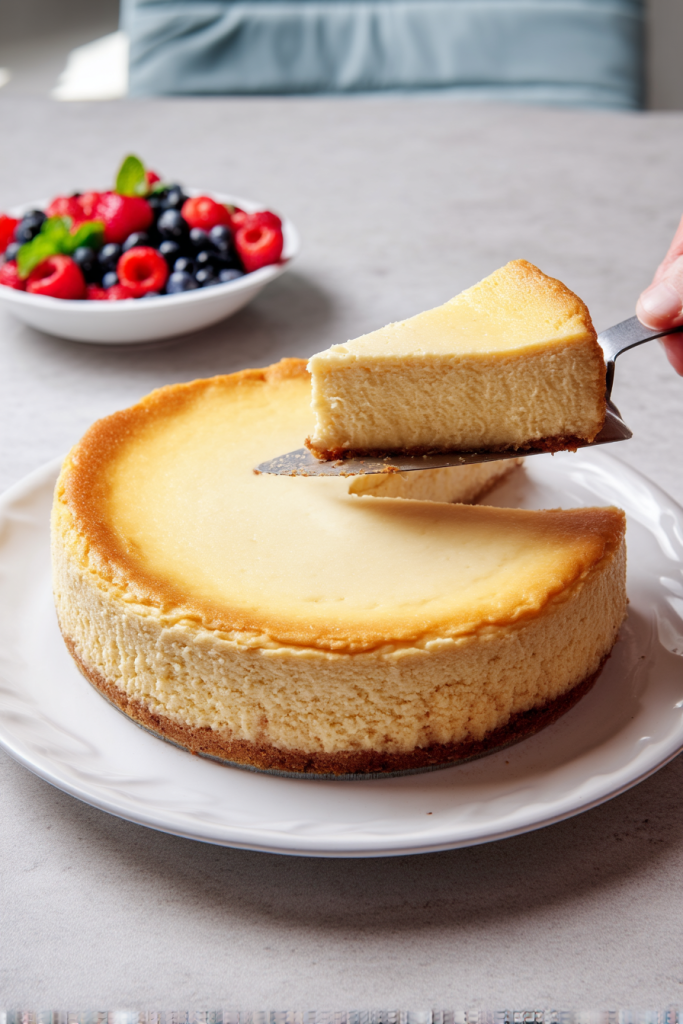
Serving and Storage Suggestions
Serving:
- Remove the cheesecake from the refrigerator about 15-20 minutes before serving
- Use a hot, clean knife to get those picture-perfect slices
- Garnish with fresh strawberry slices or a sprinkle of graham cracker crumbs for extra flair
Storage:
- Store in the refrigerator, covered, for up to 5 days
- For longer storage, you can freeze individual slices for up to 2 months
- Pro tip: Wrap tightly in plastic wrap and then in aluminum foil to prevent freezer burn
Variations and Creative Twists
While this pink cheesecake is a showstopper on its own, I love encouraging bakers to get creative! Here are some delightful variations to make this recipe uniquely yours:
Flavor Variations
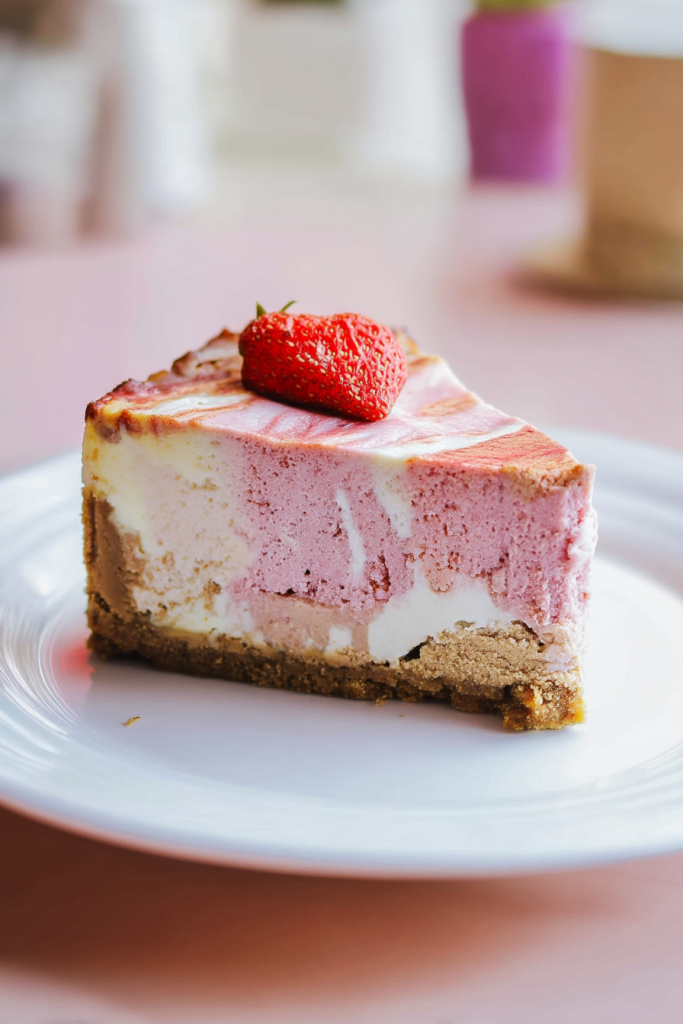
- Chocolate Lovers Twist: Swirl in some melted dark chocolate for a marbled effect
- Lemon Zest: Add lemon zest to the filling for a bright, citrusy note
- Raspberry Remix: Substitute some strawberries with fresh raspberries for an intense pink color
- Oreo Crust: Replace graham crackers with crushed Oreo cookies for a decadent base
Dietary Adaptations
- Gluten-Free: Use gluten-free graham crackers or almond flour for the crust
- Lower-Sugar Option: Substitute part of the sugar with a sugar-free sweetener
- Dairy-Free: Use dairy-free cream cheese alternatives and coconut cream
Frequently Asked Questions
Q: Can I make this cheesecake ahead of time? Absolutely! In fact, cheesecake often tastes better the next day. You can prepare it up to 3 days in advance, keeping it refrigerated and covered.
Q: How do I know when my cheesecake is perfectly baked? The edges should be set, but the center should have a slight jiggle – almost like jello. It will continue to set as it cools.
Q: Can I freeze this cheesecake? Yes! Wrap it tightly in plastic wrap and then in aluminum foil. It can be frozen for up to 2 months. Thaw overnight in the refrigerator before serving.
Final Thoughts
This pink cheesecake is more than just a dessert – it’s a celebration of flavor, texture, and pure culinary joy. Whether you’re making it for a special occasion or simply to treat yourself, I promise this recipe will become a cherished favorite.
Every slice tells a story of careful preparation, love, and a little bit of baking magic. The combination of the creamy cheesecake, buttery graham cracker crust, and vibrant strawberry topping creates a dessert that’s truly unforgettable.
Pro Baking Tip: Baking is an art, but it’s also a science. Don’t be discouraged if your first attempt isn’t perfect. Each time you make this cheesecake, you’ll become more confident and skilled.
So, put on your apron, preheat that oven, and get ready to create a dessert that will have everyone asking for seconds – and the recipe!