Let me introduce you to the ultimate dessert hack that’s been a game-changer in my kitchen – protein mousse. If you’re someone who craves something sweet but doesn’t want to derail your fitness goals, this recipe is about to become your new best friend.
Imagine a dessert that’s creamy, indulgent, and packed with protein – sounds too good to be true, right? Well, I’m here to tell you it’s not only possible but incredibly easy to make. This protein mousse is my go-to solution when those dessert cravings hit, and I want something that feels like a treat but also supports my nutritional goals.
What makes this protein mousse so special is its simplicity. With just a few ingredients and minimal preparation time, you can whip up a dessert that’s both delicious and nutritious. Whether you’re a fitness enthusiast, a busy professional, or someone who just loves a good healthy snack, this recipe is going to be your new secret weapon.
The beauty of this protein mousse lies in its versatility. Chocolate lover? We’ve got you covered. Prefer vanilla? No problem. Want to add some extra flavor? I’ll show you how to customize this base recipe to suit your taste buds perfectly. It’s like having a dessert that’s tailored exactly to what you’re craving at the moment.
In the next sections, I’ll break down everything you need to know about creating the perfect protein mousse – from choosing the right ingredients to pro tips that’ll make your mousse absolutely irresistible. Get ready to transform your approach to healthy desserts!
Ingredients: The Magic Behind the Mousse
Let’s talk about the star players in this protein mousse recipe. You’ll be amazed at how few ingredients you need to create something so delicious:
- Greek Yogurt or Skyr: The creamy base that gives our mousse its luxurious texture. I recommend using full-fat yogurt for the richest, most indulgent experience. The high protein content is just an added bonus!
- Protein Powder: This is where the magic happens. A single scoop of your favorite protein powder transforms this dessert from a simple treat to a nutritional powerhouse. Pro tip: chocolate protein powder works wonders, but don’t be afraid to experiment with other flavors.
- Sweetener: A touch of maple syrup or honey adds just the right amount of sweetness. This is completely optional – if you’re watching your sugar intake, you can easily skip this or use a zero-calorie sweetener.
Pro Ingredient Tips
Choosing the right protein powder can make or break this recipe. Look for a high-quality powder that mixes well and tastes great. If you find your protein powder is particularly thick, start with half a scoop and adjust to your liking. Whey, casein, or plant-based proteins all work beautifully in this recipe.
Want to take your protein mousse to the next level? I’ve got some killer variations up my sleeve. A tablespoon of cocoa powder can intensify the chocolate flavor. Craving something nutty? A dollop of peanut butter or almond butter adds incredible depth and healthy fats. The possibilities are endless!
Step-by-Step Preparation: Crafting Your Perfect Protein Mousse
Now, let’s get down to the fun part – actually making this delicious treat. The best part? It takes less than 5 minutes from start to finish. Here’s my foolproof method:
Mixing Technique
The key to a perfect protein mousse is all in the mixing. You’ll want to use a hand mixer or stand mixer to achieve that light, fluffy texture we’re after. Start by combining your Greek yogurt, protein powder, and optional sweetener in a large mixing bowl.
Turn your mixer to medium speed and blend for about 1-2 minutes. You’re looking for a transformation – from separate ingredients to a smooth, creamy mixture that looks almost like whipped cream. The texture should be light, airy, and completely free of any lumps.
Pro Mixing Tips
- Make sure your ingredients are at room temperature for the smoothest blend.
- If the mixture seems too thick, you can add a splash of milk to loosen it up.
- Don’t overmix – stop as soon as you achieve that perfect, fluffy consistency.
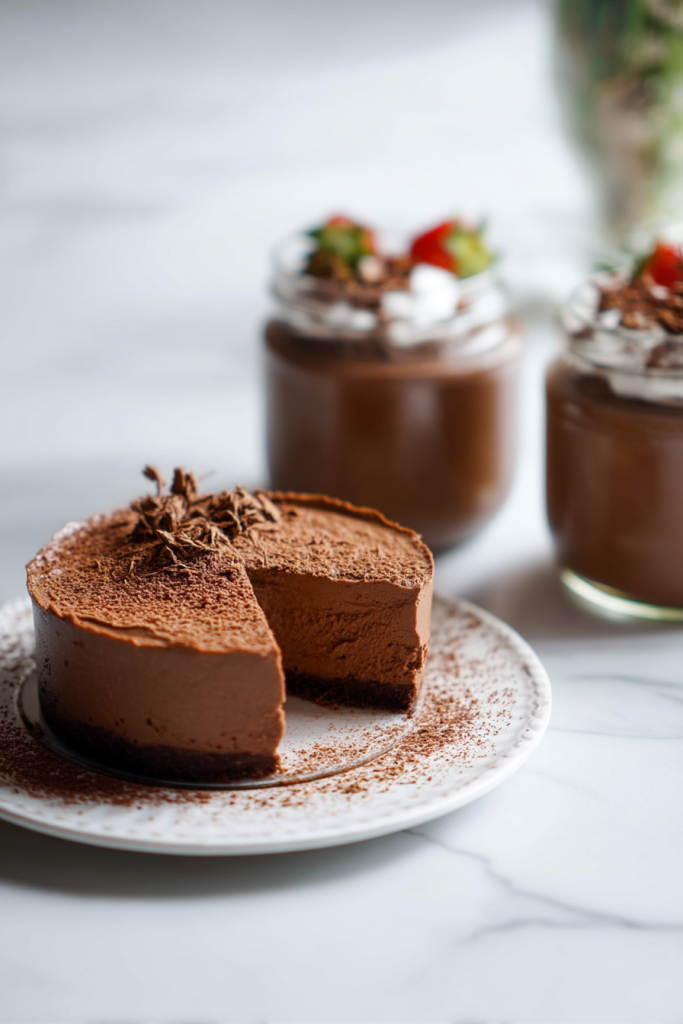
Serving and Presentation
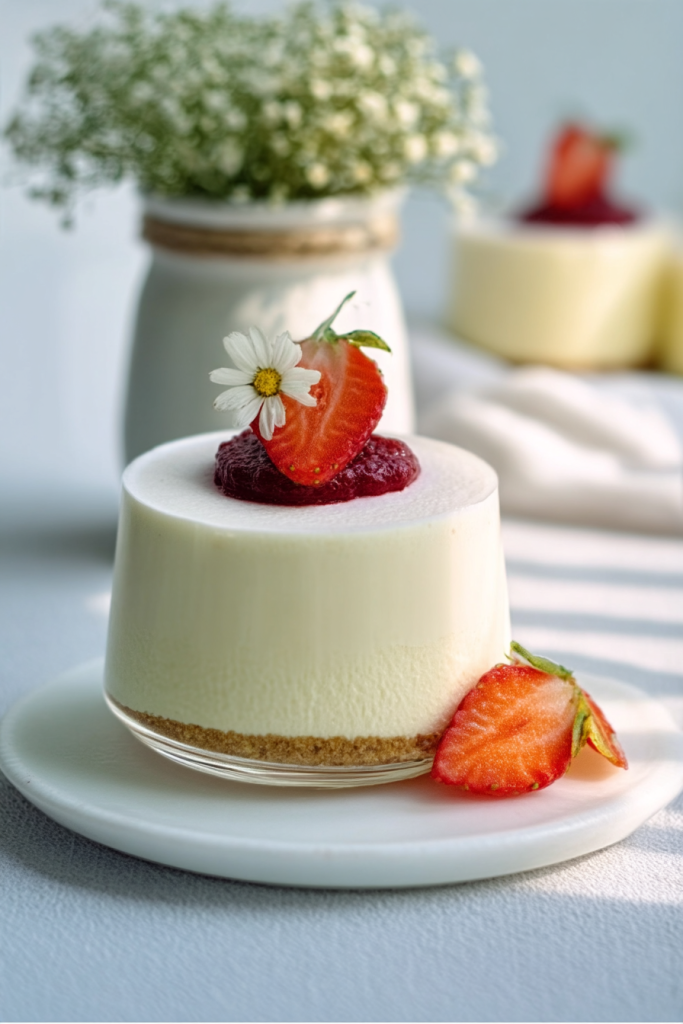
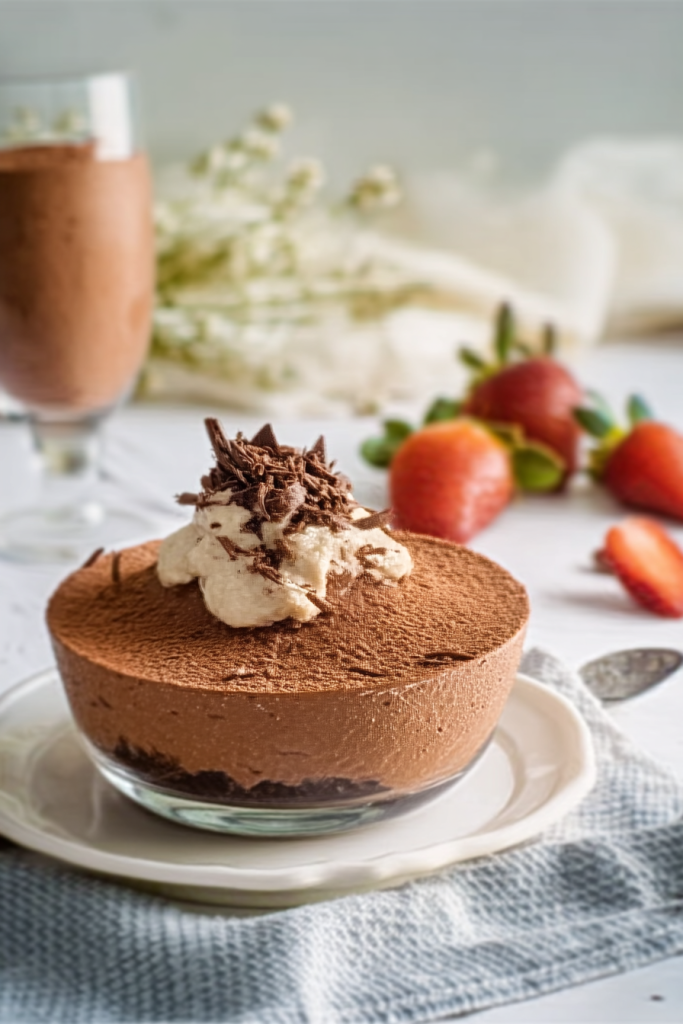
Once you’ve mixed your mousse, it’s time to get creative. Transfer it to a small bowl or elegant ramekin. Now comes the fun part – toppings! I love to garnish mine with:
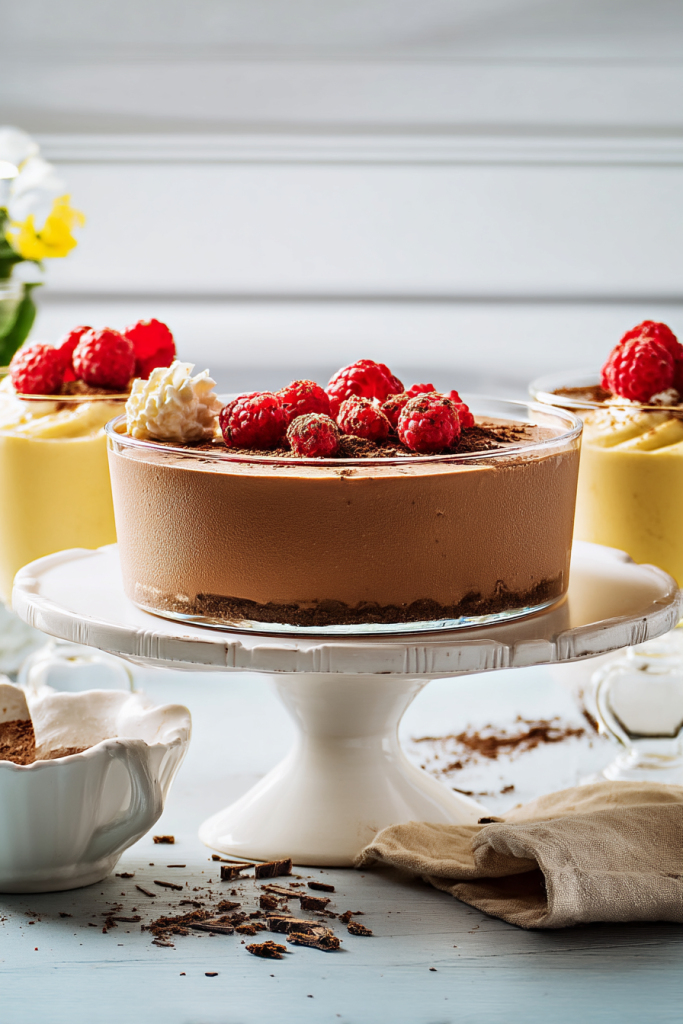
- Fresh berries
- Cacao nibs
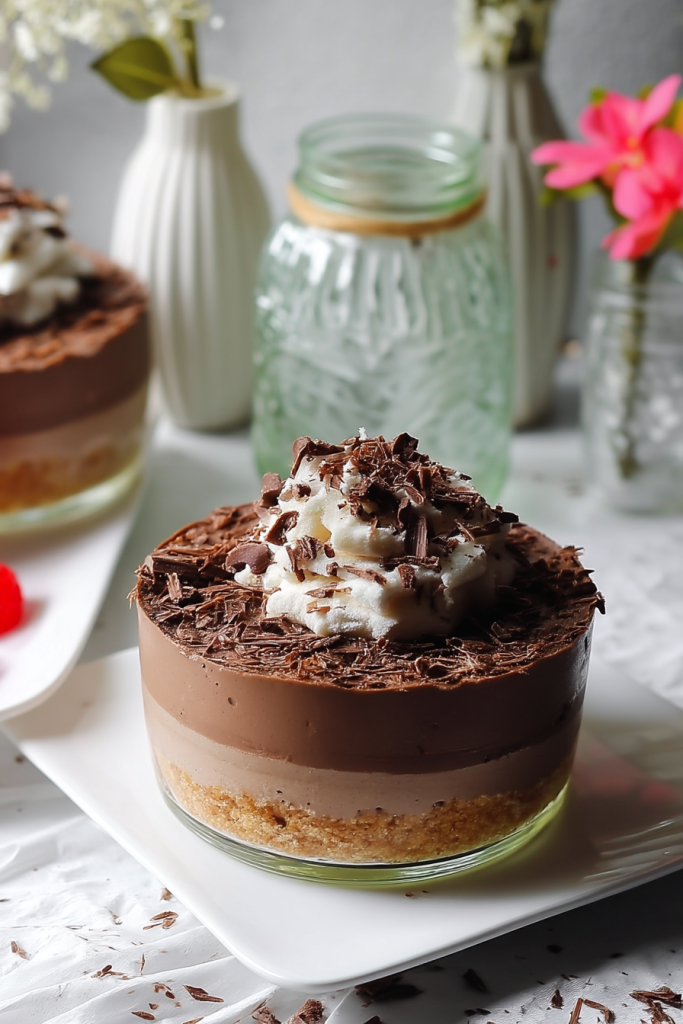
- Dark chocolate chips
- A sprinkle of chopped nuts
- A dollop of homemade whipped cream
The beauty of this protein mousse is that it’s not just a dessert – it’s a canvas for your culinary creativity. Each topping adds a new dimension of flavor and texture, making every bite an adventure.
Storage and Meal Prep: Making Protein Mousse Work for Your Lifestyle
One of the best things about this protein mousse? It’s incredibly convenient. If you’re someone who loves to meal prep or wants a quick grab-and-go dessert, you’re in luck. Here’s everything you need to know about storing your protein mousse:
Refrigeration and Shelf Life
- Store your protein mousse in an airtight container in the refrigerator.
- It stays fresh for up to 4 days, making it perfect for advanced preparation.
- Pro tip: If you’re making multiple servings, prepare them in individual containers for easy grab-and-go snacking.
Freezing Options
While the mousse is best enjoyed fresh, you can also freeze it for longer storage:
- Pour into freezer-safe containers
- Freeze for up to 2 weeks
- Thaw in the refrigerator for a few hours before enjoying
Final Thoughts: More Than Just a Dessert
Protein mousse isn’t just a treat – it’s a nutritional powerhouse that proves healthy eating doesn’t have to be boring. Whether you’re looking to support your fitness goals, satisfy a sweet tooth, or simply enjoy a delicious and nutritious dessert, this recipe has got you covered.
The best part? You can customize it endlessly. Chocolate, vanilla, peanut butter – the flavor combinations are limited only by your imagination. So go ahead, get creative, and enjoy your protein mousse journey!