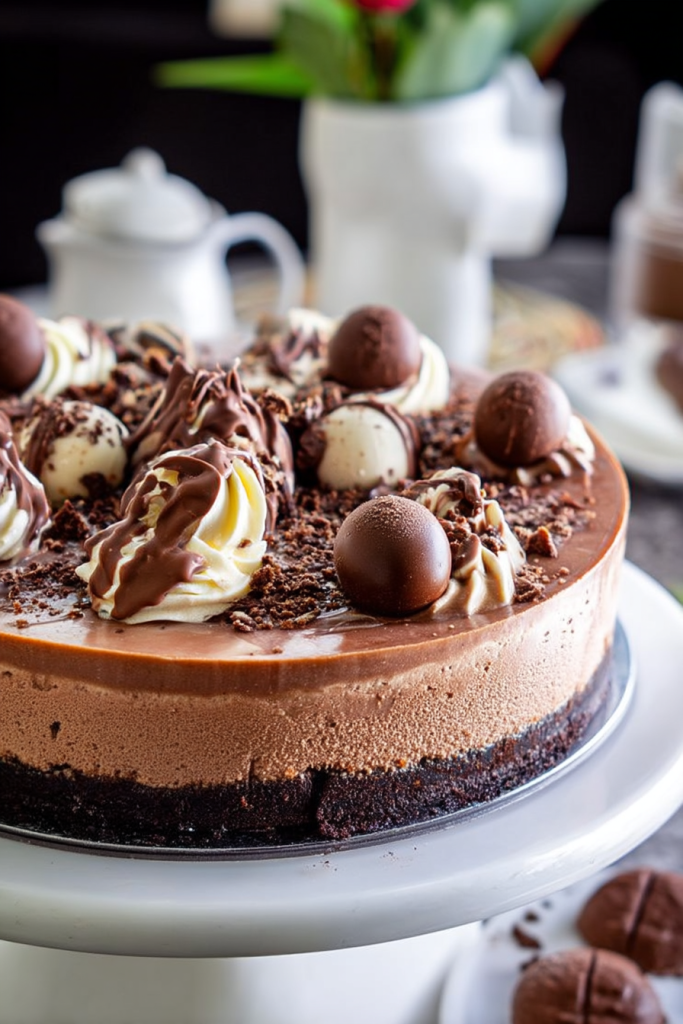
Get ready to embark on a chocolate journey that will redefine your dessert expectations! This Triple Chocolate Cheesecake is more than just a dessert – it’s a luxurious chocolate experience that combines three different types of chocolate into one mind-blowing treat. Whether you’re celebrating a special occasion or simply indulging your deepest chocolate cravings, this recipe is guaranteed to become your ultimate chocolate fantasy.
About This Chocolate Masterpiece
As a passionate baker, I’ve always believed that chocolate isn’t just a flavor – it’s an art form. This Triple Chocolate Cheesecake is the result of countless experiments, late-night baking sessions, and an unwavering love for all things chocolate. What sets this cheesecake apart is its complex, multi-layered chocolate experience that comes from carefully selected chocolates and precise baking techniques.
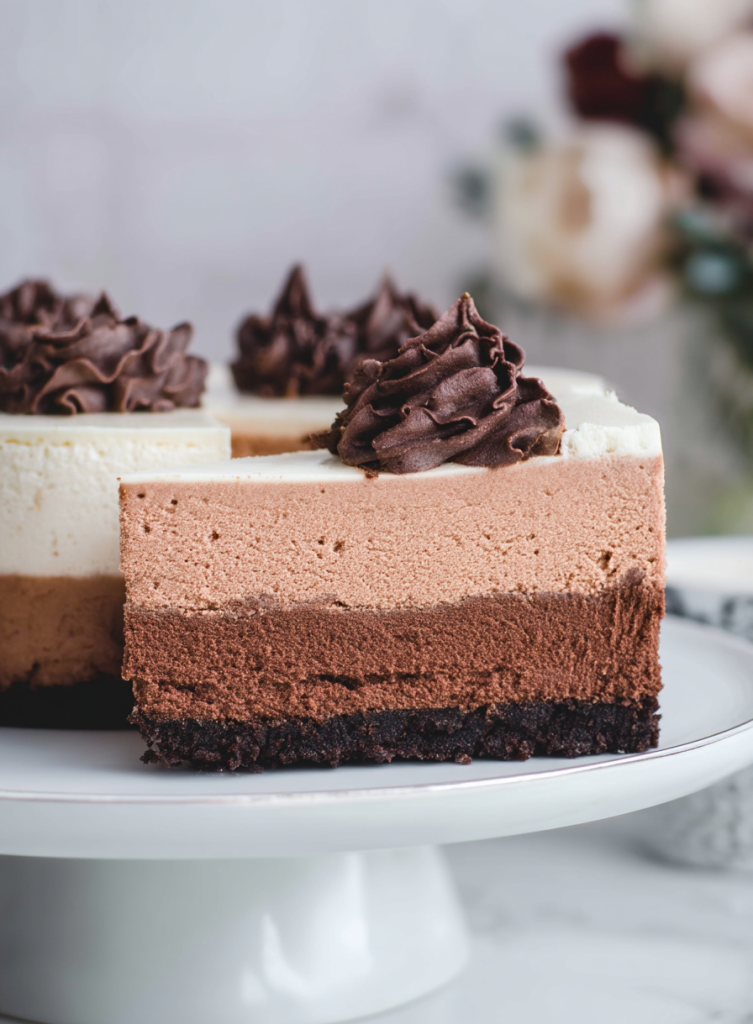
Every slice tells a story of decadence. The Oreo cookie crust provides a rich chocolate base, while the silky smooth cheesecake filling incorporates cocoa powder and espresso for an intense chocolate experience. The bittersweet chocolate ganache topping elevates this dessert from simply delicious to absolutely extraordinary.
Why You’ll Fall in Love with This Triple Chocolate Cheesecake
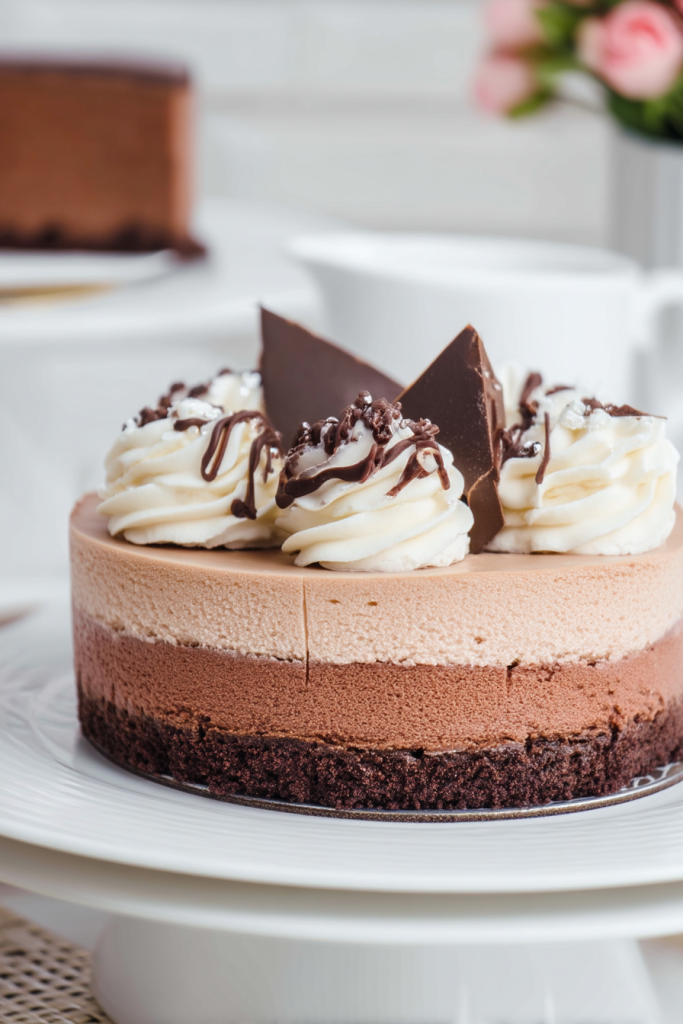
- Three layers of intense chocolate flavor
- Incredibly rich and creamy texture
- Stunning presentation that’s sure to impress
- Perfect balance of different chocolate notes
- A showstopping dessert for true chocolate enthusiasts
- Guaranteed to satisfy even the most serious chocolate cravings
Essential Equipment
Before we dive into this chocolate adventure, make sure you have these key tools ready:
- 9 or 10-inch springform pan
- Parchment paper
- 9×13 inch baking dish (for water bath)
- Stand mixer with paddle attachment
- Large mixing bowls
- Whisk
- Piping bag with star tip
- Offset spatula
- Wire cooling rack
Ingredients Breakdown
For the Oreo Cookie Crust
- 2 cups Oreo cookie crumbs (about 20 Oreo cookies)
- 1/4 cup unsalted butter, melted
- Pinch of salt
Crust Insights:
- Oreo Cookies – The ultimate chocolate cookie base that adds depth and richness to our cheesecake.
- Unsalted Butter – Helps bind the crust and create a perfect, crumbly texture.
- Salt – A tiny pinch enhances the chocolate flavor and balances the sweetness.
For the Chocolate Cheesecake Filling
- 3 packages (8 ounces each) Philadelphia Original Cream Cheese, room temperature
- 8 ounces sour cream, room temperature
- 1 1/4 cups granulated sugar
- 1/4 cup cocoa powder
- 2 teaspoons espresso powder
- 4 large eggs, room temperature
- 1 tablespoon vanilla extract
- 8 ounces bittersweet chocolate, melted
Ingredient Deep Dive:
- Cream Cheese – The foundation of our creamy cheesecake. Room temperature is crucial for a smooth, lump-free batter.
- Cocoa Powder – Provides an intense chocolate flavor that permeates the entire cheesecake.
- Espresso Powder – The secret weapon that intensifies and deepens the chocolate flavor without adding coffee taste.
- Sour Cream – Adds tanginess and helps create an incredibly smooth, rich texture.
- Bittersweet Chocolate – Chosen for its complex, intense chocolate flavor that isn’t too sweet.
- Eggs – Room temperature eggs incorporate more evenly, ensuring a perfect cheesecake texture.
For the Chocolate Ganache
- 6 ounces bittersweet chocolate, finely chopped
- 3/4 cup heavy cream
Decorative Touches:
- Chocolate sprinkles or chocolate shavings (optional)
Pro Baking Tips
- Always use room temperature ingredients for the smoothest cheesecake.
- Finely chop chocolate for the ganache to ensure smooth melting.
- Sift cocoa powder to prevent lumps in your cheesecake batter.
- The espresso powder is optional but highly recommended – it intensifies chocolate flavor without adding coffee taste.
Chocolate Selection Guide
When choosing chocolate for this recipe, quality matters:
- For the cheesecake filling: Choose a high-quality bittersweet chocolate with 60-70% cocoa content.
- For the ganache: Select a chocolate you’d enjoy eating on its own – the flavor will shine through.
- If you prefer a sweeter profile, you can substitute some of the bittersweet chocolate with semi-sweet chocolate.
Step-by-Step Baking Instructions
Preparing the Oreo Cookie Crust
Step 1: Prepare the Pan Preheat your oven to 325°F. Line a 9 or 10-inch springform pan with parchment paper on the bottom and generously grease the sides. This ensures easy removal and a beautiful presentation of your cheesecake.
Step 2: Create the Crust Crush the Oreo cookies into fine crumbs – a food processor works best, but a rolling pin and sealed plastic bag can also do the trick. Mix the cookie crumbs with melted butter and a pinch of salt until the mixture resembles wet sand. Press this mixture firmly into the bottom of the prepared pan, creating an even layer.
Crust Baking While you won’t pre-bake this crust, the butter will help it set as the cheesecake bakes. Set the crust aside while you prepare the filling.
Preparing the Chocolate Cheesecake Filling
Step 1: Prepare the Water Bath Fill a 9×13 inch pan with water and place it in the oven. This water bath is crucial – it helps prevent cracks and ensures even baking by creating a moist environment.
Step 2: Mix the Cream Cheese In a stand mixer with the paddle attachment, beat the cream cheese, sour cream, and sugar for 2 minutes. The key is to mix on low speed to avoid incorporating too much air, which can cause cracks. Take your time and scrape down the sides of the bowl to ensure everything is perfectly combined.
Step 3: Add Chocolate Flavor Incorporate the cocoa powder and espresso powder. These ingredients are the secret to the intense chocolate flavor. Mix until well combined, being careful not to overmix.
Step 4: Add Eggs Add the eggs one at a time, beating just until combined after each addition. This is a critical step – overmixing can lead to a tough cheesecake. Scrape down the sides of the bowl as needed.
Step 5: Final Chocolate Touch Melt the bittersweet chocolate and add it to the mixture, stirring until smooth and fully incorporated. The melted chocolate adds depth and richness to the cheesecake.
Baking the Cheesecake
Baking Process Pour the cheesecake batter over the prepared crust. Gently tap the pan on the counter a few times to release any air bubbles. Place the cheesecake in the preheated oven with the water bath and bake for 55 minutes.
Crucial Cooling Method This is where patience becomes your best friend. After 55 minutes, turn off the oven but do not remove the cheesecake. Crack the oven door open slightly and leave the cheesecake in the turned-off oven for one hour. This gradual cooling prevents cracking and ensures a smooth texture.
Refrigeration After the initial cooling, remove the cheesecake and run a knife along the edges to release it from the pan. Let it cool completely at room temperature for about an hour. Then, cover with foil and refrigerate overnight to set completely.
Finishing Touches: Chocolate Ganache and Decoration
Preparing the Chocolate Ganache
Ganache Preparation Creating the perfect ganache is an art form that elevates this cheesecake from delicious to extraordinary. Start by finely chopping the bittersweet chocolate – the finer the chop, the smoother your ganache will be.
The Perfect Ganache Technique Heat the heavy cream until it’s just scalding – this can be done in the microwave or on the stovetop. Pour the hot cream over the finely chopped chocolate and let it sit for 1 minute. This resting time allows the chocolate to begin melting. Then, whisk until the mixture becomes smooth, glossy, and utterly irresistible.
Decorating Like a Chocolate Professional
Ganache Coating Remove the cheesecake from the refrigerator and carefully transfer it to your serving plate. Pour the ganache over the top, allowing it to naturally drip down the sides. Use an offset spatula to create smooth, even coverage. Place the cheesecake back in the refrigerator for about 10 minutes to let the ganache set slightly.
Piping Techniques Here’s where you can get creative! Take a portion of the remaining ganache and chill it in the refrigerator. Once it’s reached a pipeable consistency, transfer it to a piping bag fitted with a star tip. Pipe elegant swirls around the edge of the cheesecake, creating a professional and stunning border.
Final Chocolate Flourish Sprinkle chocolate shavings or chocolate sprinkles over the top for an extra touch of decadence. You can create chocolate shavings by running a vegetable peeler along the edge of a chocolate bar.
Serving and Storage Tips
Serving Suggestions For the cleanest slices, use a knife dipped in hot water and wiped dry between each cut. This ensures smooth, picture-perfect servings that showcase the cheesecake’s incredible layers.
Portion Perfection This recipe typically serves 16 people. The rich, intense flavor means a little goes a long way!
Storage Recommendations Store your masterpiece in the refrigerator, well-covered. The cheesecake is at its absolute best within the first 3-4 days. However, it can be kept refrigerated for up to a week.
Freezing Method Want to prepare ahead of time? This cheesecake freezes beautifully. Wrap it tightly in plastic wrap and then in aluminum foil. It can be frozen for up to 2-3 months. When you’re ready to serve, thaw overnight in the refrigerator.
Pro Tip: Always bring the cheesecake to room temperature for about 15-20 minutes before serving. This allows the flavors to fully develop and the texture to soften slightly, creating the most luxurious eating experience.
Frequently Asked Questions
Can I substitute the bittersweet chocolate with another type of chocolate? While you can experiment, I recommend sticking with bittersweet chocolate for the best flavor profile. Milk chocolate will make the cheesecake too sweet, while dark chocolate might make it too intense. If you’re sensitive to bitter notes, look for a bittersweet chocolate with around 60% cocoa content.
How do I prevent cracks in my cheesecake? The water bath method is crucial for preventing cracks. Additionally, ensure all ingredients are at room temperature, mix on low speed, and follow the slow cooling process exactly. Sudden temperature changes are the primary cause of cheesecake cracks.
Can I make this cheesecake gluten-free? Absolutely! Simply use gluten-free chocolate sandwich cookies for the crust. Make sure to check that all other ingredients are certified gluten-free.
How long does this cheesecake need to chill before serving? For the best texture and flavor, refrigerate the cheesecake overnight. This allows it to set completely and lets the flavors develop fully.
Can I add additional chocolate decorations? Definitely! Chocolate curls, chocolate shards, or even chocolate truffles can take this cheesecake to the next level. Feel free to get creative with your chocolate decorations.
Chocolate Variations to Explore
Flavor Twists:
- Add a layer of raspberry sauce for a fruity contrast
- Sprinkle sea salt on top to enhance the chocolate flavor
- Experiment with different chocolate percentages
- Add a splash of liqueur like Baileys or Kahlúa to the batter
- Create a chocolate marble effect by swirling different types of melted chocolate
Pro Tip: This cheesecake is perfect for special occasions. It’s not an everyday dessert, but a show-stopping treat that will have everyone asking for seconds!
Troubleshooting Common Cheesecake Challenges
Potential Issues and Solutions:
- Cracked Top: Usually caused by overmixing or sudden temperature changes
- Soggy Crust: Ensure your springform pan is properly sealed for the water bath
- Lumpy Batter: Always use room temperature ingredients and mix on low speed
- Uneven Baking: Rotate the cheesecake halfway through baking
Final Chocolate Wisdom
Creating this Triple Chocolate Cheesecake is more than just following a recipe – it’s about creating a moment of pure chocolate bliss. Take your time, enjoy the process, and don’t be afraid to add your own personal touch. Baking is an art, and you are the artist.
Remember, the best recipes are the ones made with love, patience, and a passion for chocolate. The magic is in the details – from choosing the right chocolate to carefully controlling the baking temperature.
Chocolate Lovers, Rejoice!