There’s something magical about a perfectly crafted vanilla mousse. It’s the kind of dessert that whispers elegance, comfort, and pure indulgence all at once. As someone who’s spent countless hours in the kitchen perfecting desserts, I’m excited to share my ultimate vanilla mousse recipe that will transform your dining experience.
Why This Vanilla Mousse is Simply Irresistible
Imagine a dessert so light it practically floats on your spoon, yet so rich in flavor that it leaves you craving more. That’s exactly what this vanilla mousse delivers. Unlike heavy, dense desserts, this mousse is a cloud of pure vanilla bliss – smooth, creamy, and impossibly delicate.
The Secret to Perfect Vanilla Mousse
What sets this recipe apart is its ingenious use of gelatin. This secret ingredient is the key to achieving that perfect, stable mousse texture that holds its shape while remaining incredibly light. By carefully blooming the gelatin and incorporating it into whipped cream, we create a dessert that’s both technically impressive and absolutely delicious.
The Inspiration Behind the Recipe
Every great recipe has a story, and this vanilla mousse is no exception. Born from a passion for creating desserts that are both simple and spectacular, this recipe is the result of countless experiments in my kitchen. I wanted to create a mousse that could be both a standalone dessert and a versatile companion to other sweet treats.
Ingredients: The Building Blocks of Culinary Magic
Creating the perfect vanilla mousse is all about choosing the right ingredients and treating them with care. Let me walk you through each component that makes this dessert truly extraordinary:
The Gelatin Difference
- Unflavored Gelatin (1½ teaspoons): This is the unsung hero of our mousse. Gelatin provides the structure that transforms whipped cream from a simple topping to a luxurious, stable dessert. By carefully blooming the gelatin, we ensure a smooth, consistent texture that holds its shape beautifully.
Cream: The Luxurious Base
- Cold Heavy Cream (1½ cups): The foundation of our mousse. I always recommend using the highest quality heavy cream you can find. The cold temperature is crucial – it helps the cream whip up to perfect, billowy peaks that give our mousse its signature light texture.
Sweetness and Flavor
- Powdered Sugar (¼ – ⅓ cup): Just the right amount of sweetness to complement the vanilla. Powdered sugar dissolves more easily, creating a smoother mousse without any grainy texture.
- Vanilla Bean Paste (2 teaspoons): This is where the magic happens. Unlike regular vanilla extract, vanilla bean paste contains actual vanilla bean specks, providing an intense, authentic vanilla flavor that elevates the entire dessert.
The Finishing Touch
- Salt (⅛ teaspoon): A tiny pinch of salt might seem surprising, but it’s the secret weapon that balances the sweetness and enhances the overall flavor profile of the mousse.
Pro Tips for Ingredient Success
- Always ensure your heavy cream is ice-cold before whipping.
- Sift the powdered sugar to prevent any lumps in your mousse.
- Use fresh, high-quality vanilla bean paste for the most intense flavor.
Choosing and preparing these ingredients with care is the first step to creating a mousse that will have everyone asking for your recipe. Each component plays a crucial role in creating a dessert that’s not just sweet, but truly memorable.
Step-by-Step Preparation: Crafting Your Perfect Vanilla Mousse
Preparing this vanilla mousse is like conducting a delicate culinary symphony. Each step is crucial, and I’ll guide you through the process to ensure dessert perfection.
Preparation is Key
Before you begin, there’s one critical step that can make or break your mousse: chilling your equipment. About 30 minutes before you start, place your mixing bowl and whisk in the refrigerator or freezer. This might seem like an extra step, but trust me – cold equipment is the secret to achieving those perfect, billowy peaks.
The Gelatin Bloom: A Crucial Technique
- Bloom the Gelatin: Sprinkle 1½ teaspoons of unflavored gelatin over 2 tablespoons of water. This process is called “blooming” and it’s essential for creating a smooth, lump-free mousse. Pro tip: Keep the mixture liquid. If it starts to solidify, a quick 5-10 second microwave zap will bring it back to life.
Whipping Up Perfection
- Combine Initial Ingredients: In your chilled mixing bowl, combine:
- 1½ cups cold heavy cream
- ¼ – ⅓ cup powdered sugar
- 2 teaspoons vanilla bean paste
- ⅛ teaspoon salt
- First Whip: Start mixing on low speed for 1 minute, then increase to medium speed. Whip for 2-3 minutes until soft peaks form. This is where patience pays off – watch your cream transform from liquid to a cloud-like consistency.
The Gelatin Finale
- Incorporate Gelatin: Add the bloomed gelatin to your softly whipped cream. Increase the mixer speed to medium and whip for an additional 1-2 minutes. You’re looking for medium-stiff peaks that hold their shape beautifully.
Serving and Presentation
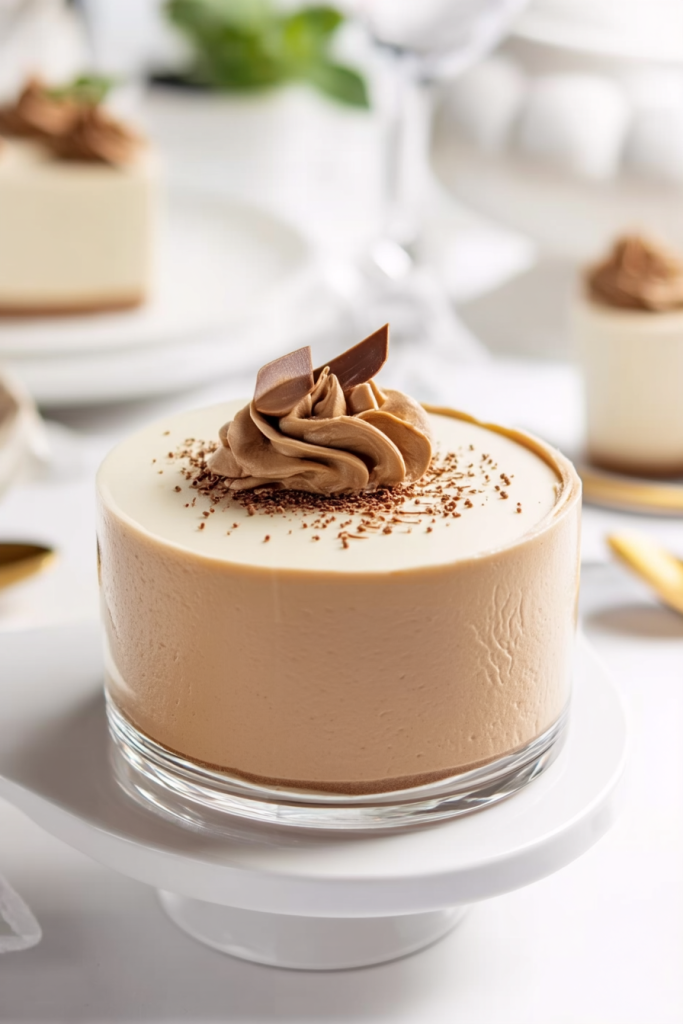
- Finishing Touches: For an elegant presentation, transfer the mousse to a piping bag with a star tip. Alternatively, simply spoon it into serving dishes. The beauty of this mousse is its versatility.
Chilling and Serving
- Set and Chill: Refrigerate your mousse for 1-2 hours (or overnight) to allow it to set completely. This waiting period is crucial – it allows the flavors to meld and the texture to become perfectly smooth.
Pro Tips for Mousse Mastery
- Always use cold cream for the best whipping results
- Don’t overwhip – stop when you reach medium-stiff peaks
- For a twist, consider topping with fresh berries or cake cubes before serving
A word of caution: This mousse is so light and delicious, you might find yourself making it again and again. Don’t say I didn’t warn you!
Serving Suggestions: Elevating Your Vanilla Mousse Experience
One of the most exciting aspects of this vanilla mousse is its incredible versatility. While it’s absolutely divine on its own, there are countless ways to transform this simple dessert into a show-stopping culinary creation.
Serving Styles
The beauty of this mousse lies in its adaptability. Here are my favorite ways to serve and enjoy this heavenly dessert:
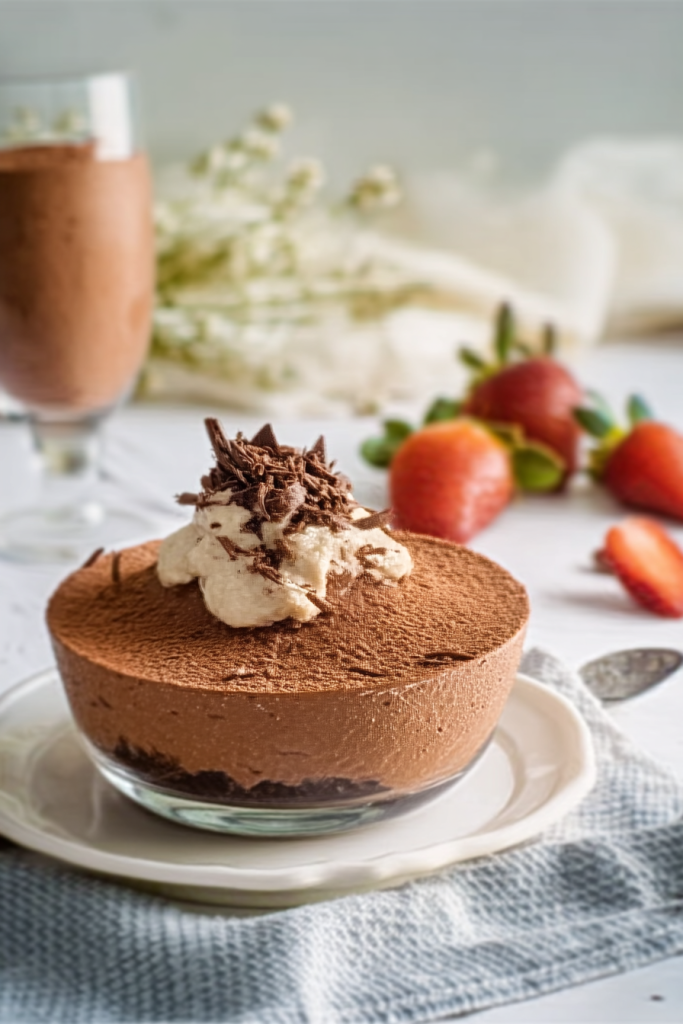
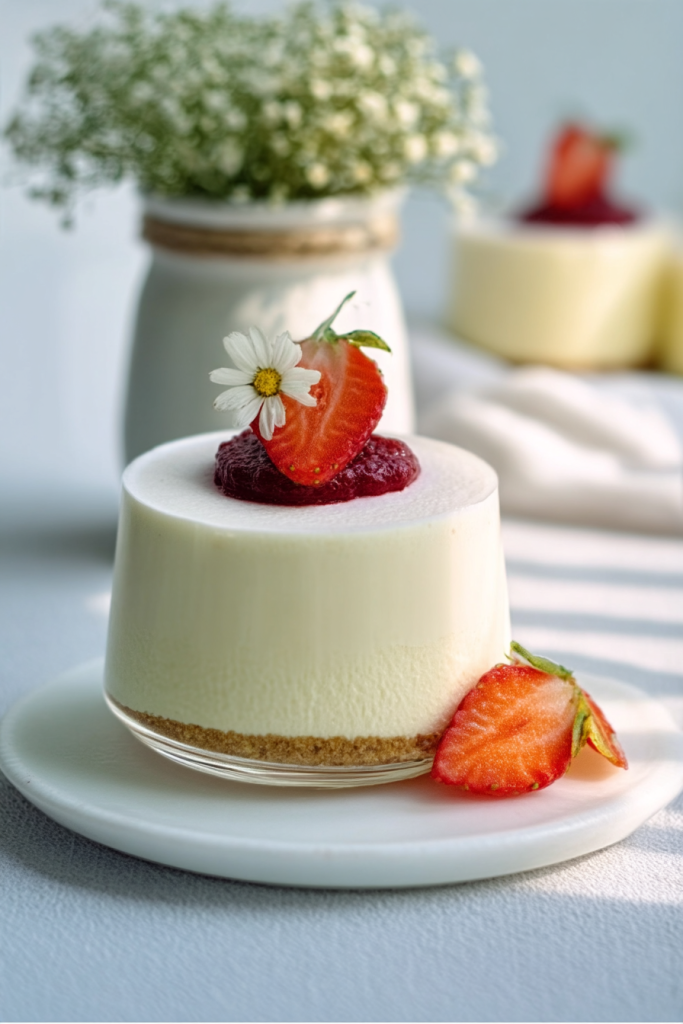
- Classic Serving: Serve chilled in elegant glass cups or dessert glasses. The transparency allows you to showcase the mousse’s beautiful, cloud-like texture.
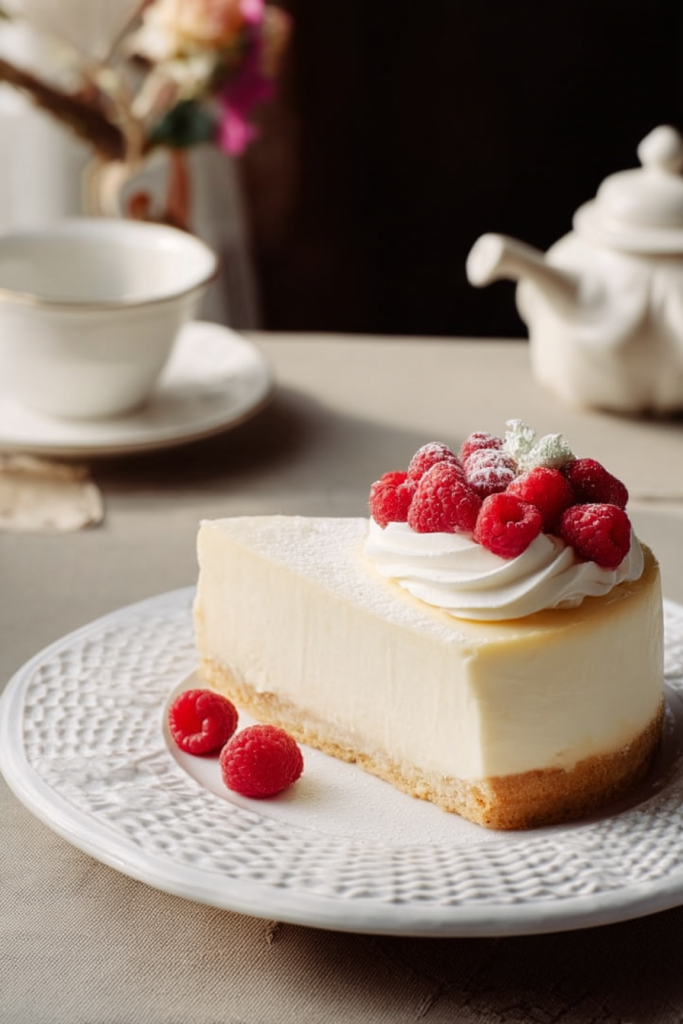
- Fruit Pairing: Top with fresh berries for a burst of color and flavor. Raspberries, strawberries, or a mix of summer berries work wonderfully.
- Cake Companion: Serve alongside cubes of pound cake or alongside brownies for a decadent dessert experience.
Creative Variations
Alternative Preparation Methods
- No Gelatin Option: If you prefer to skip gelatin, you can substitute with 4 oz of cream cheese or mascarpone. This creates a slightly denser but equally delicious mousse.
- Flavor Twists:
- Add a hint of lavender for a floral note
- Incorporate a splash of rum or bourbon for an adult version
- Mix in melted dark chocolate for a marble effect
Storage and Make-Ahead Tips
Storing this mousse is simple, but there are a few key things to keep in mind:
- Refrigeration: The mousse can be stored in an airtight container in the refrigerator for 1-2 days.
- Covering: Always cover with plastic wrap to prevent it from absorbing other flavors in the refrigerator.
- Freezing: While not ideal, you can freeze the mousse for up to a month. Thaw in the refrigerator overnight before serving.
Troubleshooting Common Mousse Challenges
Even experienced bakers can encounter a few hiccups. Here are some quick fixes:
- Mousse Too Soft: If your mousse doesn’t set properly, it might be due to under-whipping the cream or not blooming the gelatin correctly.
- Grainy Texture: Always sift your powdered sugar and ensure your cream is very cold to avoid this issue.
- Lack of Flavor: Use high-quality vanilla bean paste and don’t be afraid to add an extra pinch of salt to enhance the vanilla notes.
Health and Dietary Considerations
While this is certainly an indulgent dessert, it can be adapted:
- For a lighter version, use low-fat heavy cream
- For a vegetarian option, explore plant-based gelatin alternatives
- To make it gluten-free, simply ensure all your ingredients are certified gluten-free
Pro Tip: The key to an outstanding mousse is patience and precision. Take your time with each step, and you’ll be rewarded with a dessert that’s sure to impress.

The Final Scoop: Why This Vanilla Mousse Will Become Your Favorite Dessert
As we reach the end of our culinary journey, I want to share why this vanilla mousse is more than just a dessert – it’s an experience. From the moment you start preparing it to the last delightful spoonful, this recipe is a testament to the magic that happens when simple ingredients are treated with care and creativity.
A Dessert for Every Occasion
Whether you’re looking to impress guests at a dinner party, craving a special treat for yourself, or wanting to create a memorable dessert for a loved one, this vanilla mousse fits the bill perfectly. Its elegant simplicity makes it versatile enough for casual family dinners and sophisticated enough for formal gatherings.
The Joy of Homemade Desserts
There’s something truly special about creating a dessert from scratch. In a world of store-bought, mass-produced sweets, this vanilla mousse stands as a reminder of the joy of home cooking. Each spoonful is a celebration of your culinary skills, a moment of pure indulgence that connects you to the time-honored tradition of creating something delicious with your own hands.
A Recipe to Make Your Own
Remember, cooking is an art, and recipes are merely guidelines. Don’t be afraid to experiment, to add your own twist, to make this vanilla mousse uniquely yours. The best recipes are the ones that tell a story – your story.
Final Words of Encouragement
To those who might be intimidated by the process, take a deep breath. This recipe is more forgiving than you might think. With a little patience and attention to detail, you’ll create a dessert that looks like it came from a professional patisserie.
Your Culinary Adventure Begins
So, are you ready to embark on this delicious journey? Gather your ingredients, chill your bowl, and prepare to create a dessert that will become a cherished recipe in your collection. The world of homemade vanilla mousse awaits – and trust me, it’s a world you’ll want to explore again and again.
Happy cooking, and even happier eating!