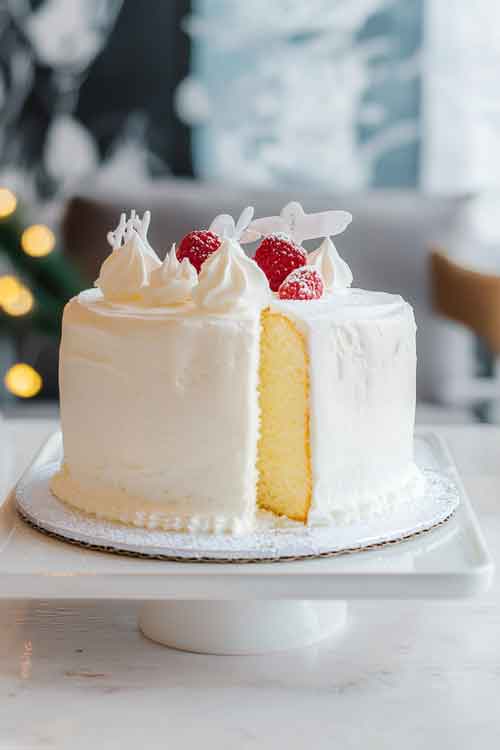
Looking for the perfect cake to wow your family and friends? This white velvet cake recipe combines a fluffy, moist texture with a buttery richness that melts in your mouth. Paired with silky ermine frosting, this cake is ideal for birthdays, weddings, or simply indulging your sweet tooth. Let’s dive into the recipe, crafted with precision and love to help you recreate this masterpiece effortlessly.
Ingredients for White Velvet Cake
Here’s a list of everything you’ll need to make the cake:
Dry Ingredients
- 14 oz cake flour
- 13 oz granulated sugar
- 1 teaspoon salt
- 1 tablespoon baking powder
- ½ teaspoon baking soda
Wet Ingredients
- 5 oz egg whites (room temperature)
- 4 oz vegetable oil
- 10 oz buttermilk (room temperature or slightly warm)
- 6 oz unsalted butter (softened)
- 2 teaspoons vanilla extract
Ermine Frosting Ingredients
- 14 oz granulated sugar
- 3 oz all-purpose flour
- 16 oz whole milk
- 16 oz unsalted butter (room temperature)
- 2 teaspoons vanilla extract
- ¼ teaspoon salt
With these carefully measured ingredients, you’re one step closer to baking perfection.
Required Kitchen Tools
Ensure you have these tools to simplify the baking process:
- Stand or Hand Mixer: Essential for mixing and whipping the batter.
- Spatula: For folding ingredients and scraping the bowl clean.
- Cake Pans (8-inch): To bake your layers evenly.
- Whisk: To aerate the flour and combine dry ingredients.
- Parchment Paper: For lining pans and ensuring a smooth release.
If everything’s ready, let’s move to the preparation stage!
Preparing and Baking the White Velvet Cake
Now that all the ingredients are ready, it’s time to transform them into a deliciously soft and moist white velvet cake. Follow these step-by-step instructions to create your masterpiece.
Step 1: Preheat and Prepare
- Preheat your oven to 335°F (170°C).
- Line three 8-inch cake pans with parchment paper and lightly grease the sides to ensure the cake layers release easily after baking.
Step 2: Mix the Dry Ingredients
In a large mixing bowl, combine the cake flour, granulated sugar, salt, baking powder, and baking soda. Use a whisk to blend these ingredients thoroughly. This step ensures even distribution of the leavening agents and sugar for a uniform cake texture.
Step 3: Cream the Butter and Dry Mix
- Add the softened butter to the dry mixture.
- Use a stand or hand mixer on medium speed to blend until the mixture resembles fine crumbs. The butter should coat the dry ingredients, creating a sandy texture.
Step 4: Combine the Wet Ingredients
- In a separate bowl, whisk together the egg whites, buttermilk, vegetable oil, and vanilla extract.
- Slowly pour the wet ingredients into the dry mixture in two additions. Mix on low speed after each addition until just combined. Be careful not to overmix, as this can lead to a dense cake.
Step 5: Divide and Bake
- Divide the batter evenly among the prepared cake pans, smoothing the tops with a spatula.
- Bake in the preheated oven for 30-35 minutes or until a toothpick inserted in the center of each layer comes out clean.
Step 6: Cool the Cake
- Let the cake layers cool in the pans for 10 minutes.
- Carefully remove the layers from the pans and transfer them to a wire rack to cool completely before frosting.
With your cake layers baked to golden perfection, you’re now ready to move on to the frosting!
Making the Silky Ermine Frosting
The ermine frosting, also known as “boiled milk frosting,” is a creamy and luscious topping that perfectly complements the delicate texture of the white velvet cake. Let’s whip up this silky frosting step by step.
Step 1: Cook the Base
- In a medium saucepan, whisk together the granulated sugar and all-purpose flour until well combined.
- Gradually add the whole milk, whisking constantly to avoid lumps.
- Cook the mixture over medium heat, stirring continuously, until it thickens to a pudding-like consistency. This step typically takes about 5–7 minutes.
Step 2: Cool the Base
- Remove the mixture from the heat and transfer it to a bowl.
- Cover it with plastic wrap, pressing the wrap directly onto the surface to prevent a skin from forming.
- Allow the mixture to cool completely to room temperature. Cooling is essential to ensure the frosting doesn’t split when combined with the butter.
Step 3: Whip the Butter
- In a stand mixer fitted with the paddle attachment (or using a hand mixer), beat the softened unsalted butter on medium speed until it becomes light and fluffy. This should take about 3–5 minutes.
Step 4: Combine and Flavor
- Gradually add the cooled flour mixture to the whipped butter, one spoonful at a time, beating well after each addition.
- Once fully combined, add the vanilla extract and salt. Continue to whip on medium-high speed until the frosting is silky, smooth, and fluffy.
Now your ermine frosting is ready to spread onto your cake! Its subtle sweetness and creamy texture make it a standout addition to this delightful dessert.
Assembling and Decorating the White Velvet Cake

With the cake layers baked and the frosting ready, it’s time to bring everything together! Follow these simple steps to assemble and decorate your white velvet cake like a pro.
Step 1: Level the Cake Layers
- If the cake layers have domed tops, use a serrated knife to level them off for a flat surface. This ensures stability when stacking the layers.
- Save the scraps as a snack or crumble them for decorative toppings!
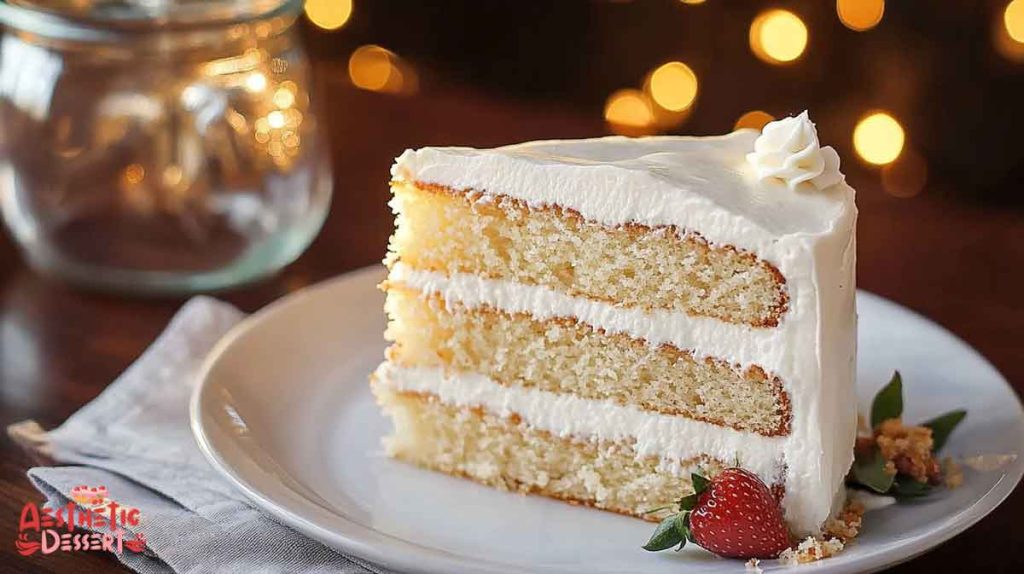
Step 2: Layer the Cake
- Place the first cake layer on a serving plate or cake stand.
- Spread a generous amount of ermine frosting evenly over the top using an offset spatula.
- Repeat with the second and third layers, spreading frosting between each layer.
Step 3: Frost the Outside
- Apply a thin crumb coat of frosting around the cake to seal in any loose crumbs. Chill the cake in the refrigerator for about 20 minutes to set the crumb coat.
- Once chilled, apply a thicker, smooth layer of frosting over the entire cake, using a spatula to create a polished finish.
Step 4: Decorate Your Cake
- Classic Look: Keep it simple with a smooth frosting finish.
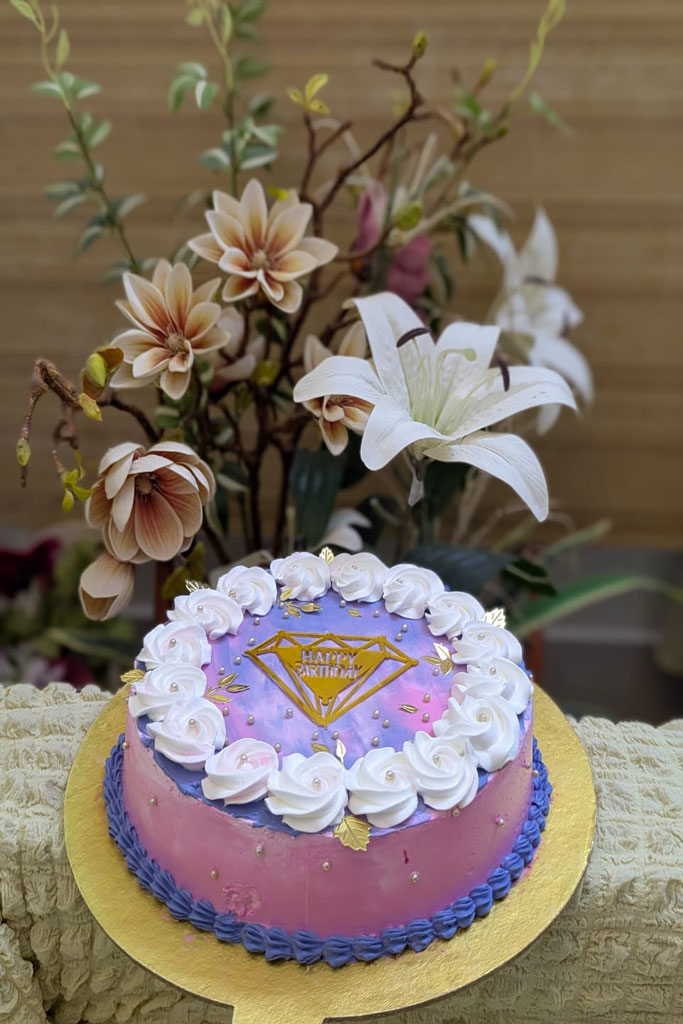
- Elegant Touch: Pipe decorative swirls or rosettes on top with a piping bag.
- Extra Flair: Add sprinkles, edible pearls, or crumbled cake scraps to the sides or top.
- Seasonal Vibes: Garnish with fresh berries, flowers, or a dusting of powdered sugar for a seasonal touch.
Step 5: Slice and Serve
Let the cake sit at room temperature for about 15 minutes before slicing. Use a sharp knife for clean, even slices. Serve your white velvet cake as a centerpiece dessert, and watch it disappear slice by slice!
Conclusion
This white velvet cake is a showstopper for any occasion, from birthdays to weddings or a simple family gathering. I hope you enjoy making—and eating—this delightful dessert! If you have questions or want more recipes, let me know! 😊


